The following tutorial was written in 2014.
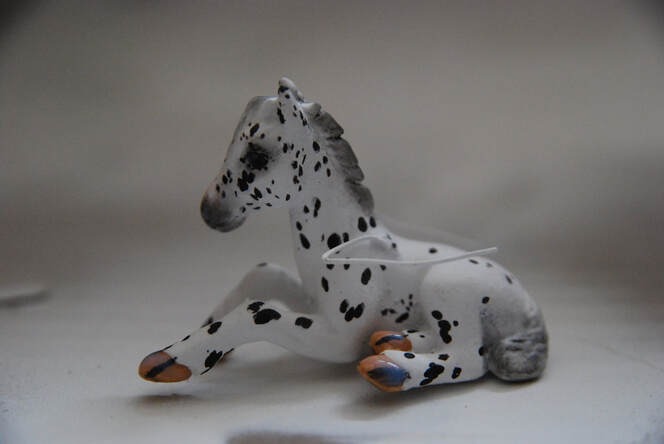
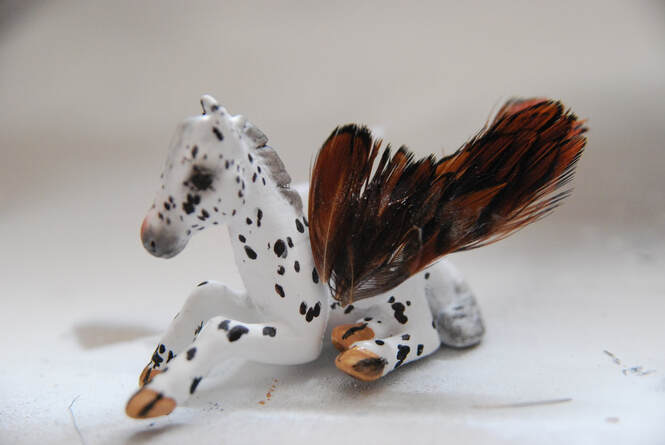
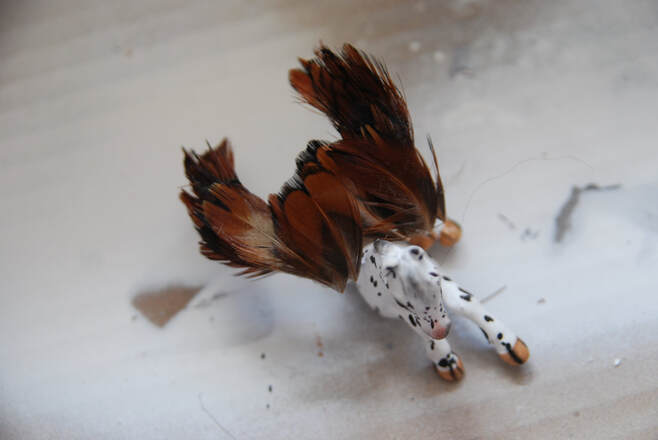
The model used is a Britains lying foal.
The feathers used are real feathers, but any type of feather will do. You will need to paint your model half way through, before adding the wings, so you will also need paints, sealant and gloss.
Difficulty Level: Easy
Approximate Cost: £25.00
The model used is a Britains lying foal.
The feathers used are real feathers, but any type of feather will do. You will need to paint your model half way through, before adding the wings, so you will also need paints, sealant and gloss.
Difficulty Level: Easy
Approximate Cost: £25.00
Shopping List
The Basics
Prepped Model Horse
Paint (your choice)
Dremel or Hand Drill
Superglue
The Wings
Wire
Feathers
Thread
Prepped Model Horse
Paint (your choice)
Dremel or Hand Drill
Superglue
The Wings
Wire
Feathers
Thread
Prepping
Step 1
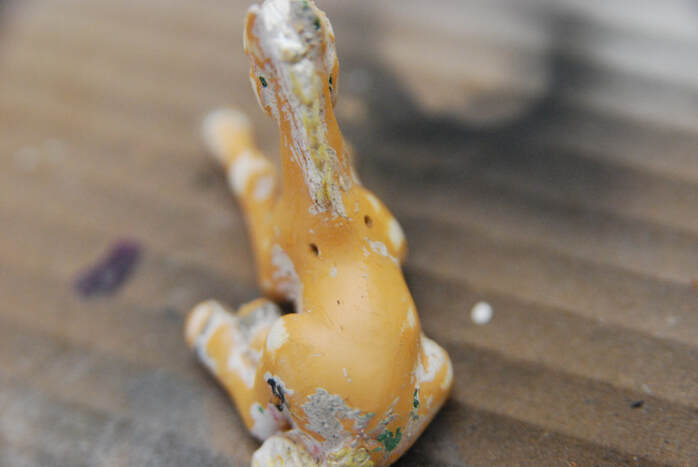
The first step is to drill two tiny holes in either side of the models wither. The easiest way to do this is with a dremel but you can use a hand drill if you don't have a dremel.
The first step is to drill two tiny holes in either side of the models wither. The easiest way to do this is with a dremel but you can use a hand drill if you don't have a dremel.
Step 2
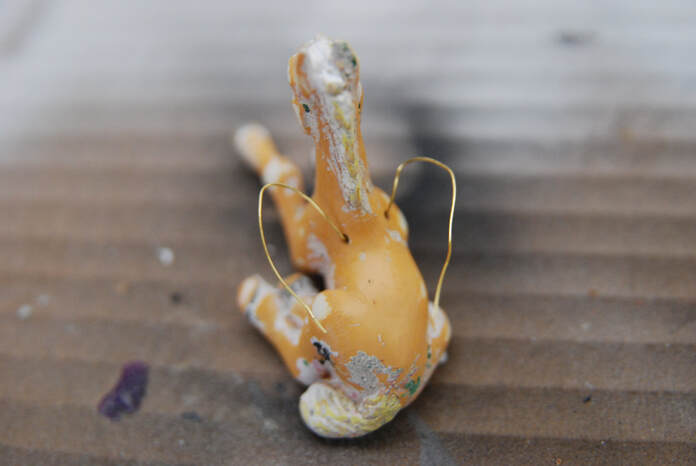
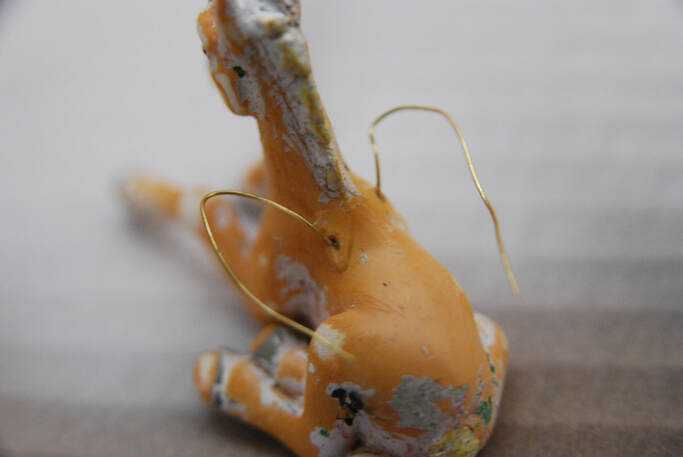
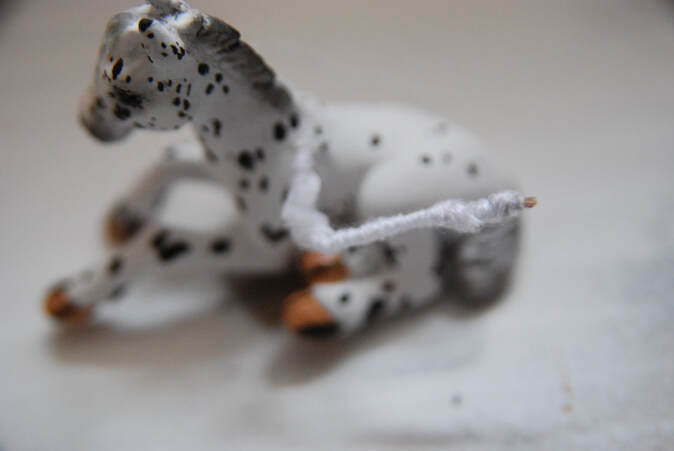
Cut two lengths of wire and insert them into the holes. Bend them so that they form a soft 'L' shape.
Cut two lengths of wire and insert them into the holes. Bend them so that they form a soft 'L' shape.
Step 3
Add some glue over the holes to secure the wire in place.
Add some glue over the holes to secure the wire in place.
Step 4
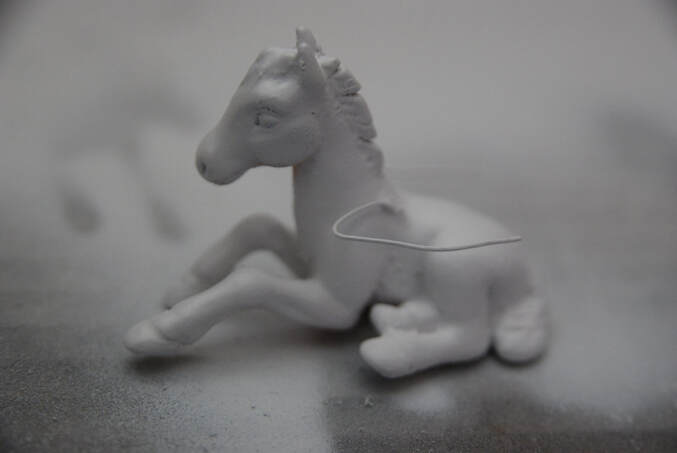
Prep your model, removing any seams or seals. Now prime your model.
Prep your model, removing any seams or seals. Now prime your model.
Step 5
Paint your model the colour of your choice.
Seal your model and gloss.
Paint your model the colour of your choice.
Seal your model and gloss.
Step 6
Wrap a piece of embroidery thread around both of the wires. Build up the layers so that it is thicker at the base than the tips.
Wrap a piece of embroidery thread around both of the wires. Build up the layers so that it is thicker at the base than the tips.
Step 7
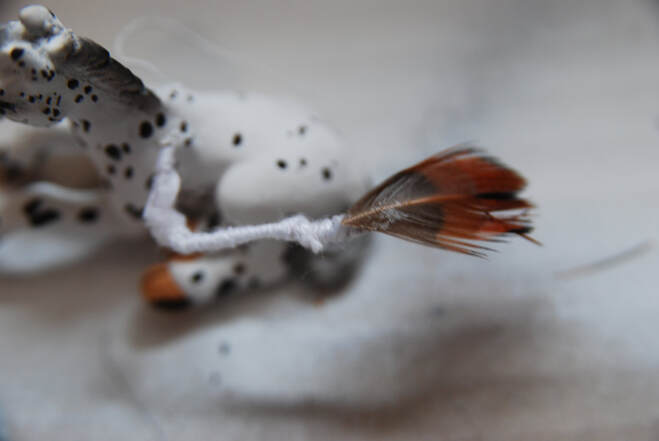
Use glue to stick a feather to the end of the wire. Add a little bit of glue to the wire and then add the feather.
Hold it in place until it is dry.
You may need to trim some of your feathers to make them fit.
Use glue to stick a feather to the end of the wire. Add a little bit of glue to the wire and then add the feather.
Hold it in place until it is dry.
You may need to trim some of your feathers to make them fit.
Step 8
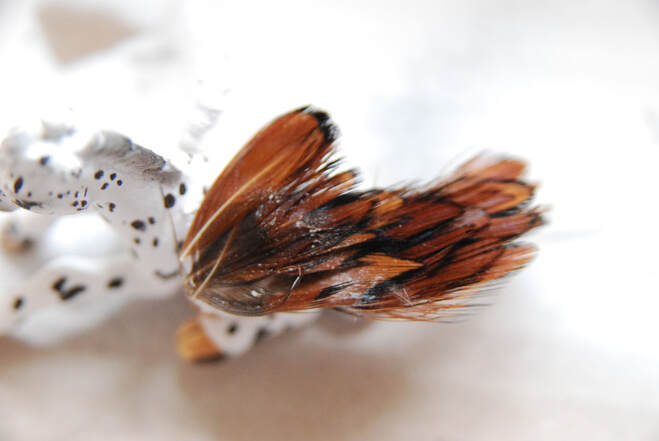
Slowly build your wings one feather at a time. Add each one slightly further forward than the last so that you create a layered effect.
Slowly build your wings one feather at a time. Add each one slightly further forward than the last so that you create a layered effect.
Step 10
Once you have finished the wing wait for the glue to completely dry before moving on to the next.
Once you have finished the wing wait for the glue to completely dry before moving on to the next.
Step 11
Repeat these steps for your other wing. Once they are completely dry you can gently bend the wire into your desired shape.
Repeat these steps for your other wing. Once they are completely dry you can gently bend the wire into your desired shape.
Gallery of Finished Pieces
If you've attempted this tutorial and would like to share an image with us for our gallery please email [email protected]
Make sure to let us know which tutorial you completed and any information (such as your name) you would like included with your picture.
Make sure to let us know which tutorial you completed and any information (such as your name) you would like included with your picture.

