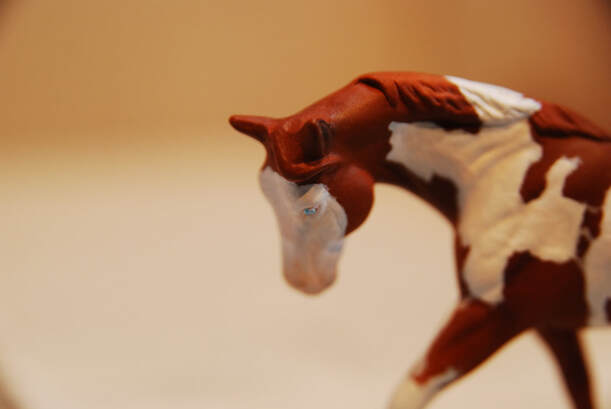
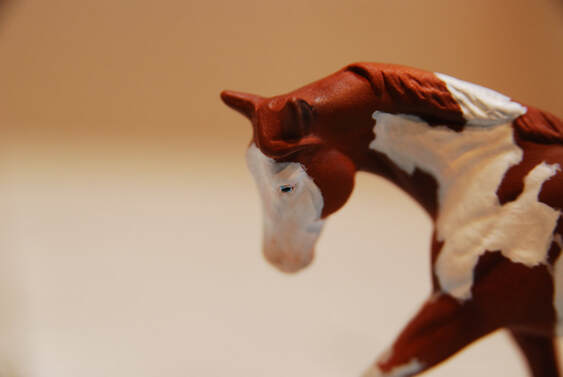
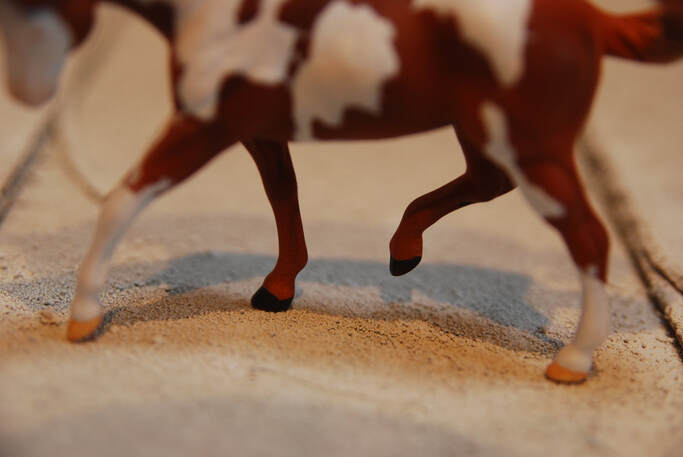
The following tutorial was written in 2011.
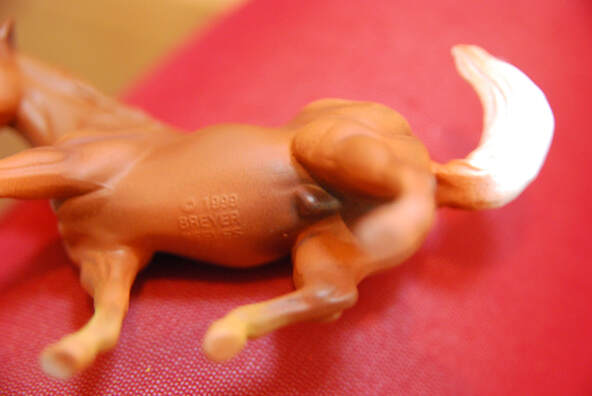
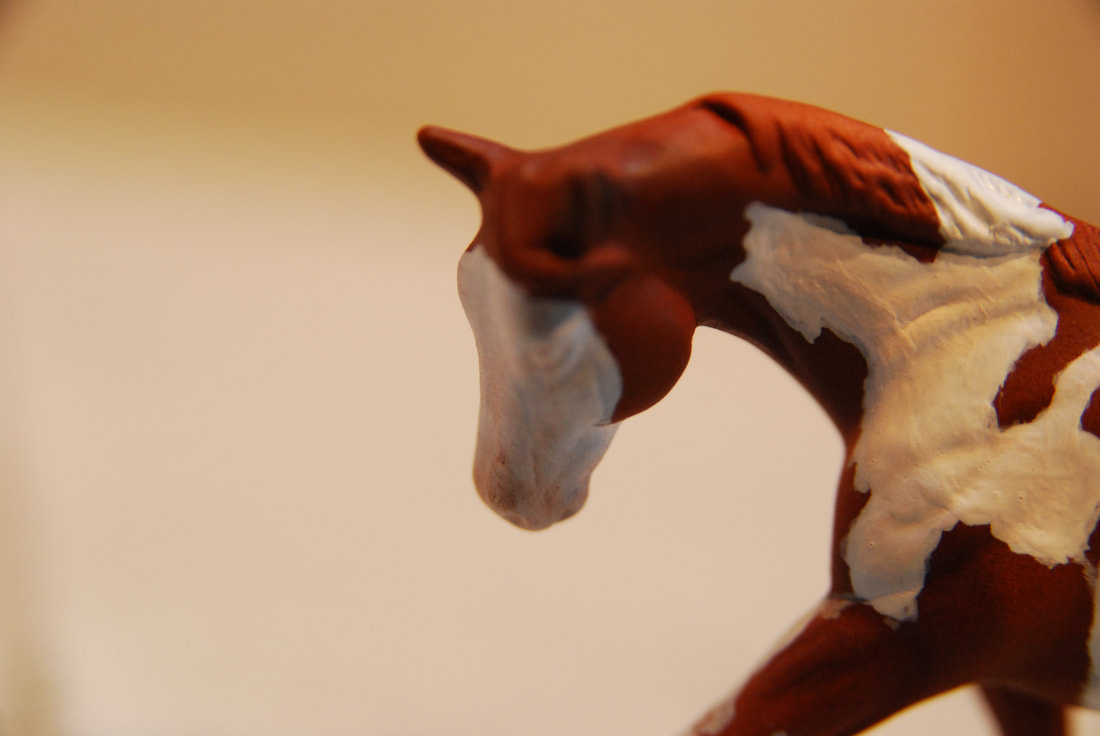
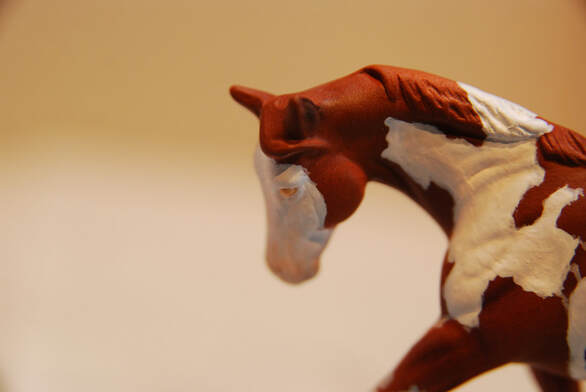
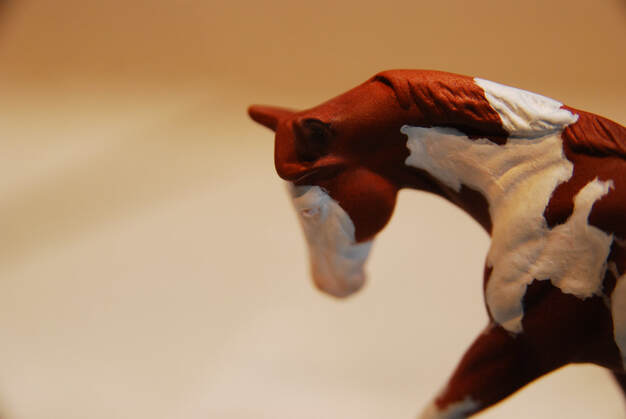
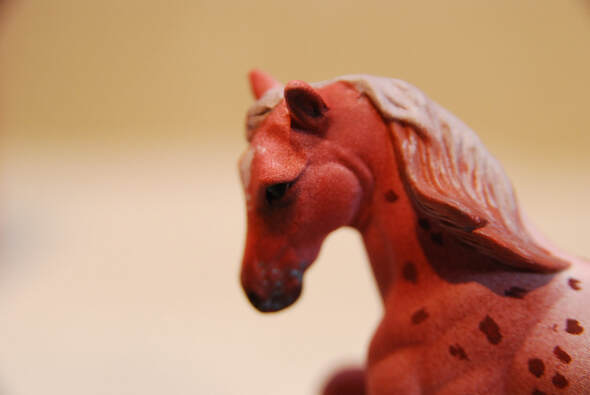
The model used is a Breyer Stablemate G2 Appaloosa.
The paints used were the Citadel range from Games Workshop, with earth tone pastels. Approximate costs are based on you buying all the items needed for this tutorial including a brushes. It is assumed you are painting a Stablemate model horse but this tutorial will work for all scales.
Difficulty Level: Medium
Approximate Cost: £65.00
Shopping List
The Basics
Prepped Model Horse
Set of Paint Brushes
Reference Picture
Sealant
Old Paint Brushes (for pastels)
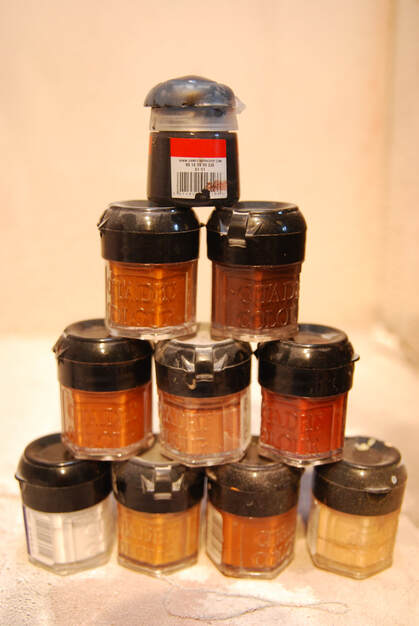
Paints
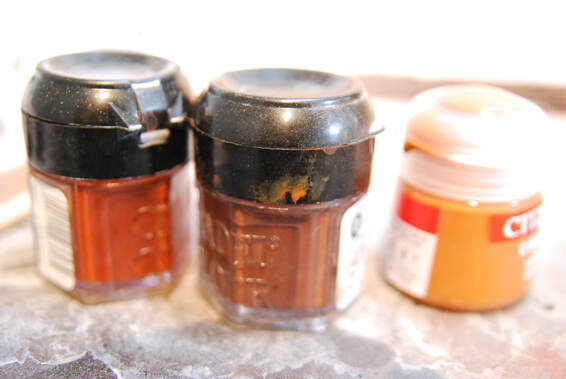
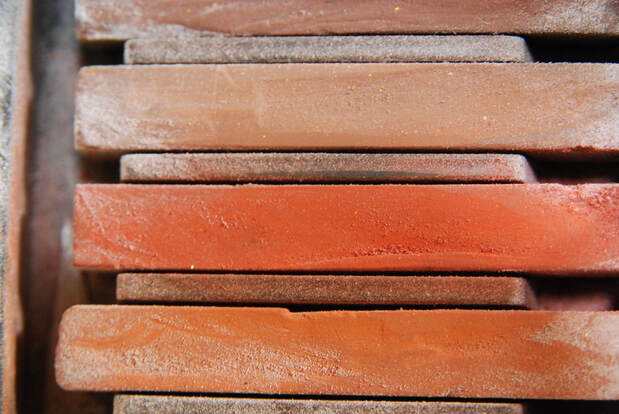
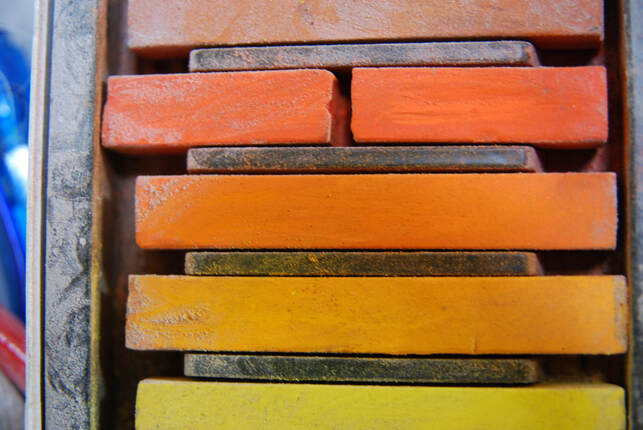
See the image below for an idea of shades needed
Black
White
Cream
Light Ochre
Medium Ochre
Dark Ochre
Red Brown
Burnt Umber
Red
Dark Grey
Pink (optional - blue eyes)
Light Blue (optional - blue eyes)
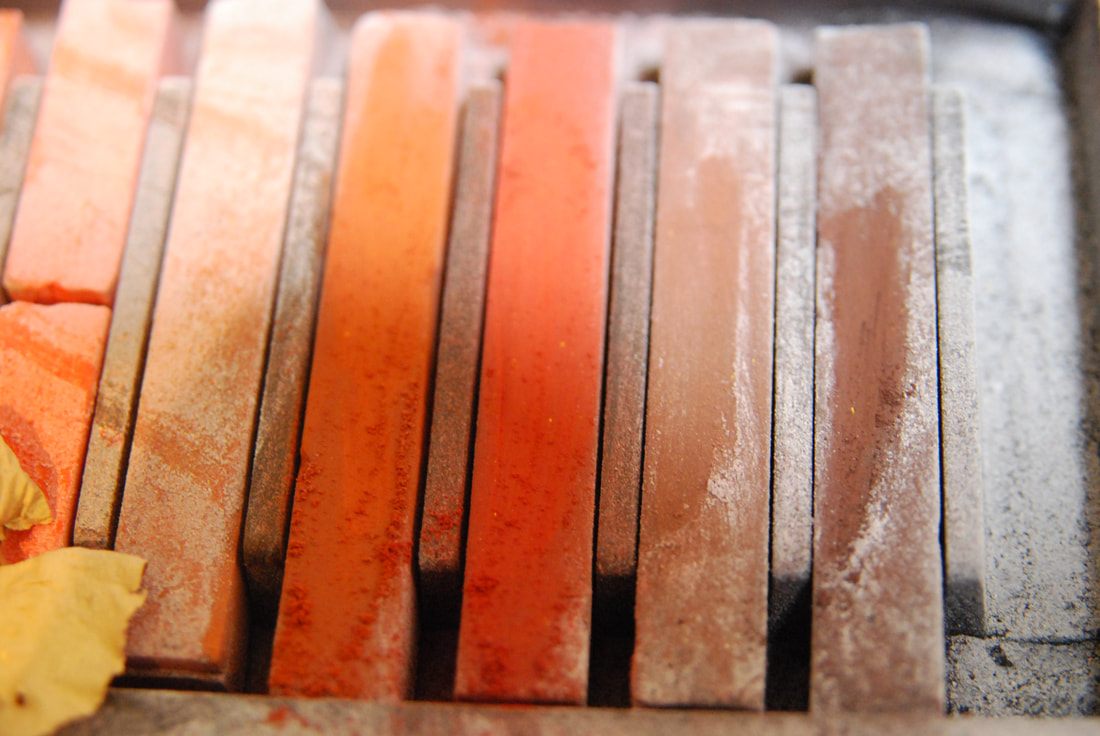
Pastels
Set of Earth Tone Pastels
Grey Pastel
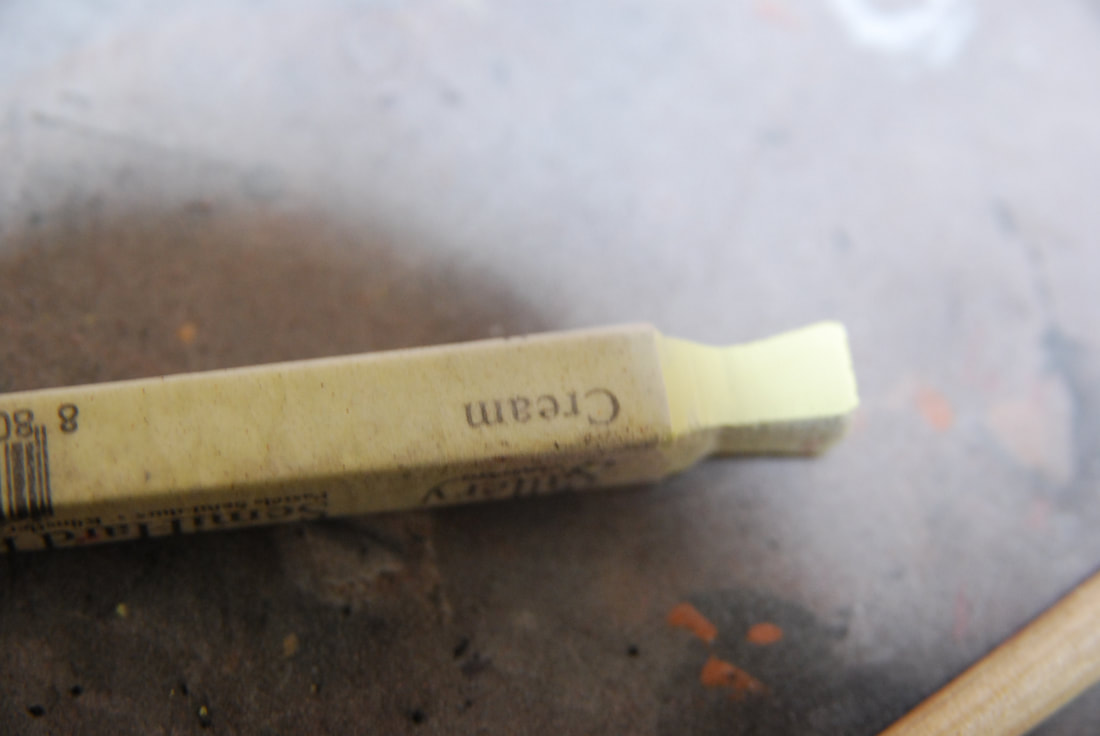
Cream Pastel
Pink Pastel (if needed for pink muzzles)
Base Colour
Step 1
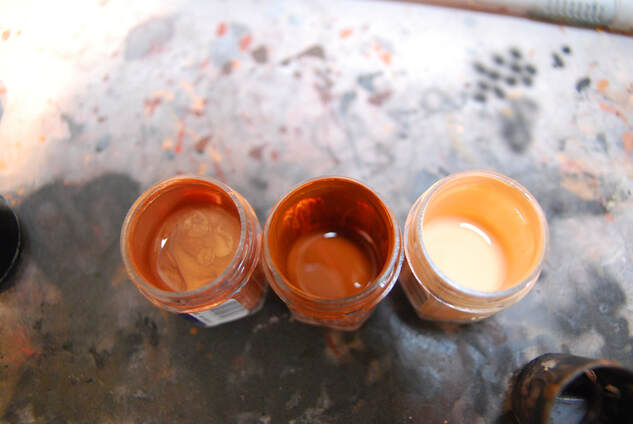
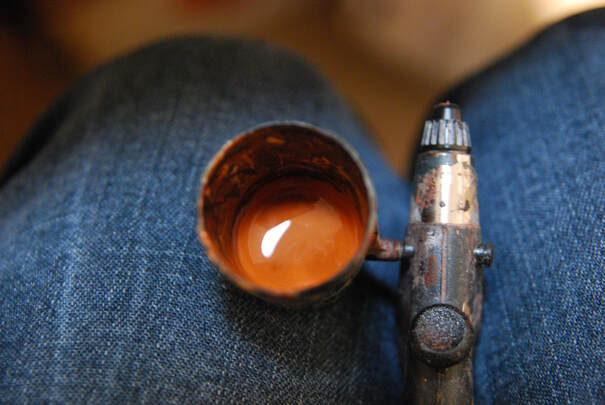
Mix together cream, light ochre and medium ochre
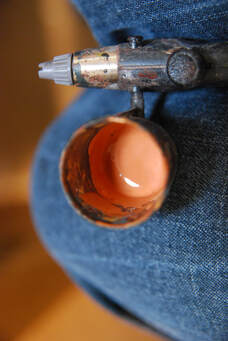
We are using an airbrush for this tutorial but you can use hand painted acrylics instead
Mix together cream, light ochre and medium ochre
We are using an airbrush for this tutorial but you can use hand painted acrylics instead
Step 2
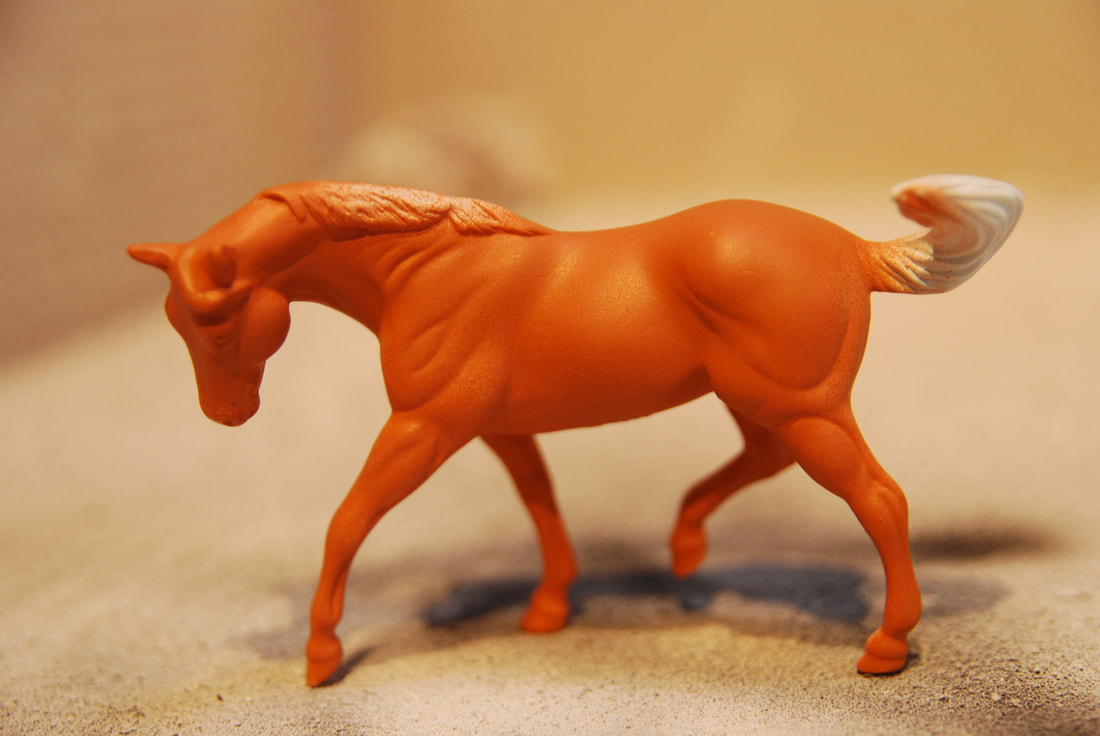
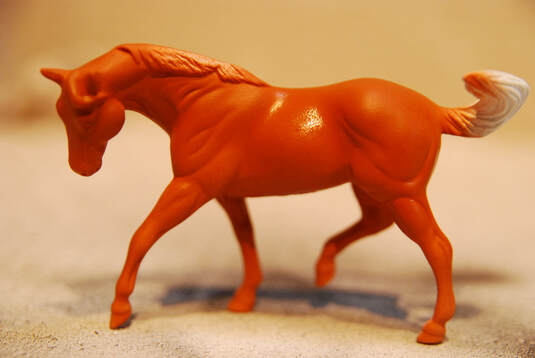
Cover the entire model (you can leave the end of the tail) in this paint mix
Cover the entire model (you can leave the end of the tail) in this paint mix
Step 3
Add a little dark ochre to your paint mix to darken the colour slightly (you may need to remix if you didn't have any left from step 1)
Add a little dark ochre to your paint mix to darken the colour slightly (you may need to remix if you didn't have any left from step 1)
Step 4
Apply this to the barrel, neck, chin and tops of the legs of your model. Use reference to see what areas are darker and lighter on a real horse.
Apply this to the barrel, neck, chin and tops of the legs of your model. Use reference to see what areas are darker and lighter on a real horse.
Step 5
Mix together red brown, burnt umber and ochre paints in equal parts.
Mix together red brown, burnt umber and ochre paints in equal parts.
Step 6
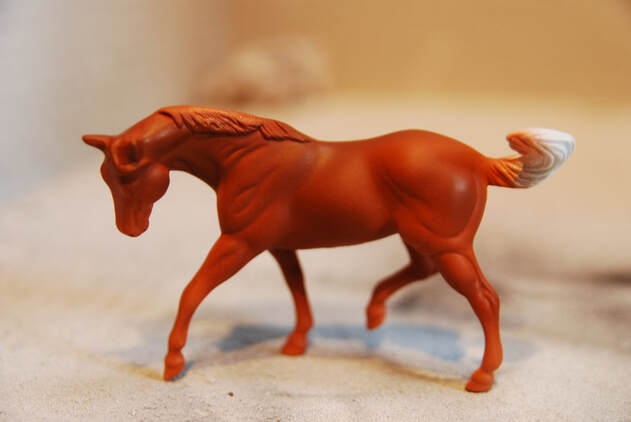
Add this to the withers, bottom of the barrel, back of the quarters, neck, ears and chin.
Again use reference to help you see what areas of the horse are darker.
Add this to the withers, bottom of the barrel, back of the quarters, neck, ears and chin.
Again use reference to help you see what areas of the horse are darker.
Step 7
Before you move on wait for the paint to fully dry and apply a layer of sealant to your horse.
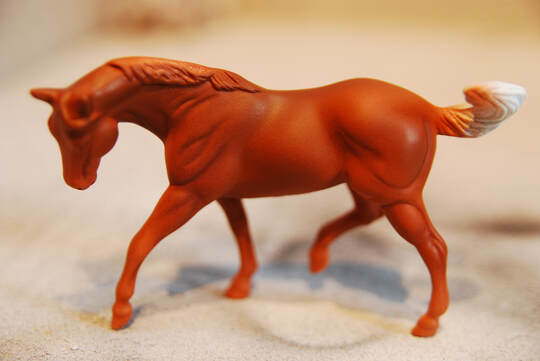
We are now going to do some pastelling. Use a red brown colour from your earth tones set and an old paint brush to apply pastels.
Before you move on wait for the paint to fully dry and apply a layer of sealant to your horse.
We are now going to do some pastelling. Use a red brown colour from your earth tones set and an old paint brush to apply pastels.
Step 8
Apply this dark pastel to the grooves of the muscles on your model - work with the model you have (even if the sculpting is a little off) so that the shading looks right on him.
Now seal your model.
Apply this dark pastel to the grooves of the muscles on your model - work with the model you have (even if the sculpting is a little off) so that the shading looks right on him.
Now seal your model.
Step 9
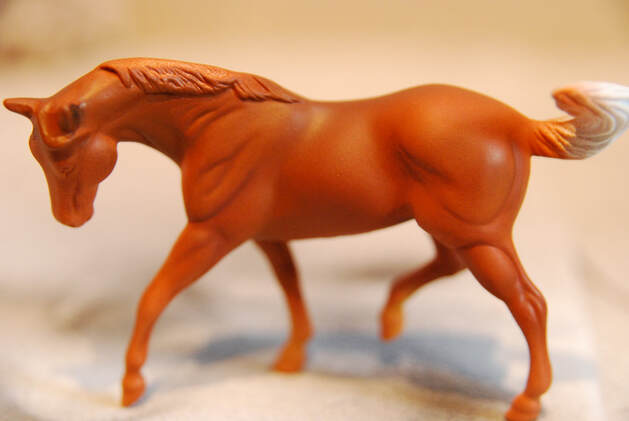
Use a lighter, almost orange, shade of pastel for the highlights
Use a lighter, almost orange, shade of pastel for the highlights
Step 10
Add this to the base of the legs and then onto the muscles (not the grooves but muscles themselves) to highlight them. Also add to the elbow and stifle.
Seal your model.
Add this to the base of the legs and then onto the muscles (not the grooves but muscles themselves) to highlight them. Also add to the elbow and stifle.
Seal your model.
Step 11
Add grey pastel to the genitals and muzzle.
Now make sure your model is well sealed before we move onto the white markings. If you just want to paint a chestnut you can skip the next few steps and avoid the white pinto pattern.
Add grey pastel to the genitals and muzzle.
Now make sure your model is well sealed before we move onto the white markings. If you just want to paint a chestnut you can skip the next few steps and avoid the white pinto pattern.
Step 12
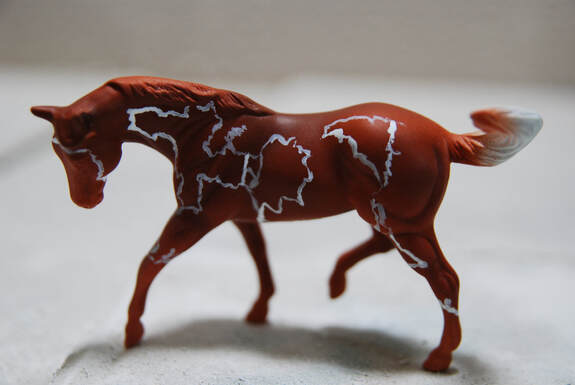
Map out your markings (use reference) using either thin white acrylic paint or a white pastel pencil.
Map out your markings (use reference) using either thin white acrylic paint or a white pastel pencil.
Step 13
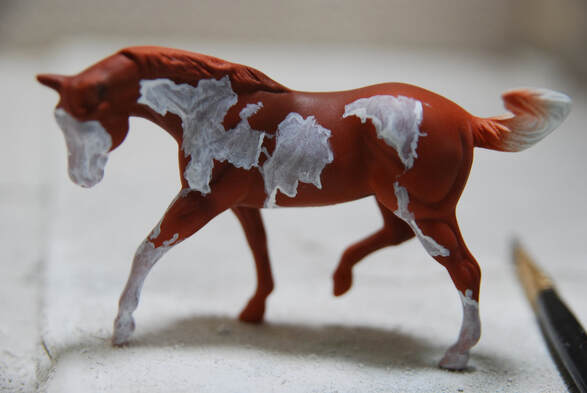
Start to fill in your markings using thin layers of watered down white acrylic paint. Make sure to wait for each layer to dry first and apply them in thin layers.
Top Tip: Layering white pastel pencil and acrylic paint will help the painting of markings go faster. Just make sure to let each layer properly dry before you apply the next one!
Step 14
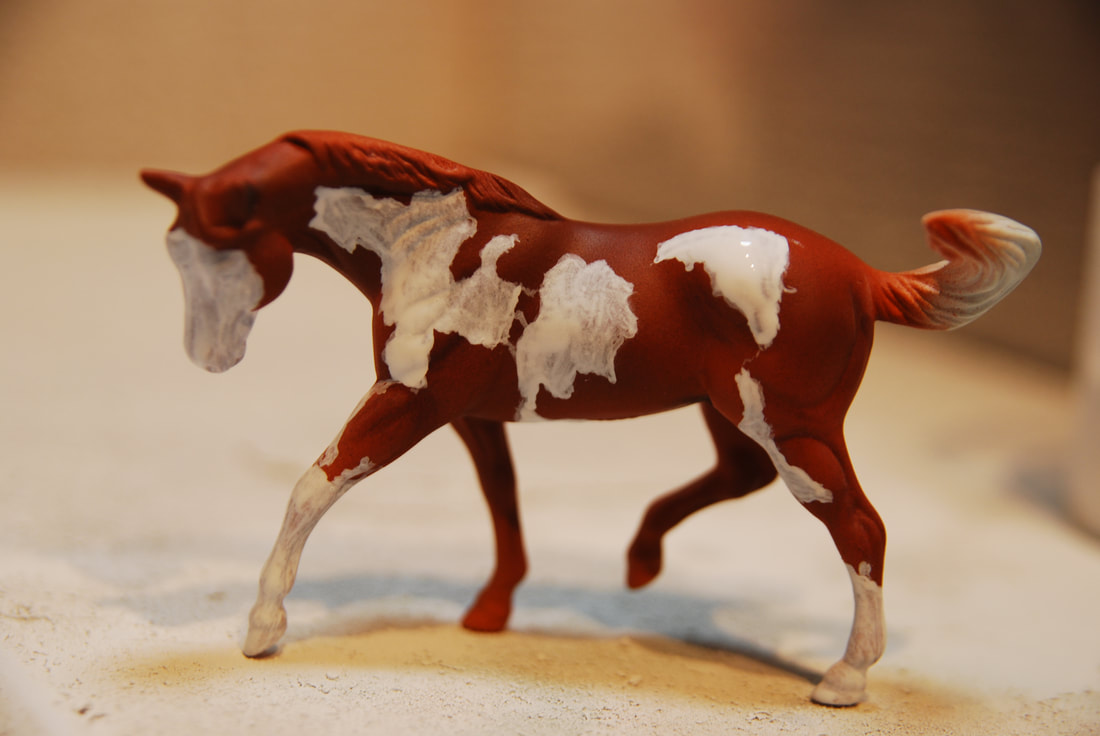
Continue to apply layers of white paint until you are happy with the finish of the white markings.
Continue to apply layers of white paint until you are happy with the finish of the white markings.
Step 15
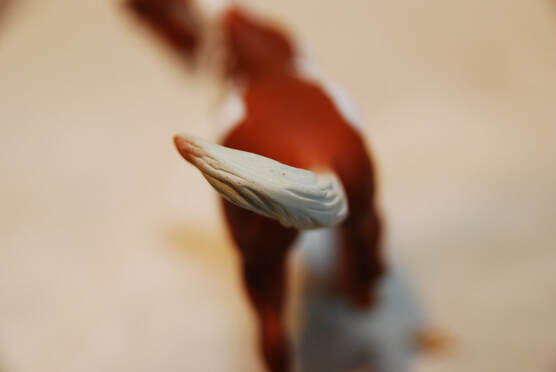
We now need to paint the tail. Your markings may mean that you have a white tail, if so you can add some cream pastel to gently highlight the ends.
If, like me, you need to colour your tail you can follow the following steps.
Firstly add a layer of cream pastel over the tail. Seal your model.
We now need to paint the tail. Your markings may mean that you have a white tail, if so you can add some cream pastel to gently highlight the ends.
If, like me, you need to colour your tail you can follow the following steps.
Firstly add a layer of cream pastel over the tail. Seal your model.
Step 16
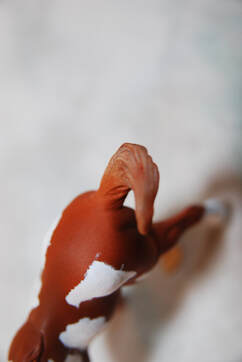
Now use a darker shade of umber pastel to add depth to the colour of the tail and smooth it into the coat colour. You may need to add several layers at this point, make sure to seal between layers.
Now seal your whole model before painting details!
Now use a darker shade of umber pastel to add depth to the colour of the tail and smooth it into the coat colour. You may need to add several layers at this point, make sure to seal between layers.
Now seal your whole model before painting details!
Step 17 - Optional If Needed
If your model has a white face like mine you will need to add some pink pastel to the muzzle. Seal your model after.
If your model has a white face like mine you will need to add some pink pastel to the muzzle. Seal your model after.
The Details
Step 1
The first thing we are going to paint are the eyes. Check your reference - some white markings (i.e. splash white) will cause the eyes to be blue.
For blue eyes add a layer of pink first, for dark eyes add a layer of black.
The first thing we are going to paint are the eyes. Check your reference - some white markings (i.e. splash white) will cause the eyes to be blue.
For blue eyes add a layer of pink first, for dark eyes add a layer of black.
Step 2
Add a layer of white to the eyes. Now put a tiny bit of red (or red brown) paint in the corner of the eye. Draw this into the eye, mixing it with your white paint.
Add a layer of white to the eyes. Now put a tiny bit of red (or red brown) paint in the corner of the eye. Draw this into the eye, mixing it with your white paint.
Step 3
Now paint the iris - for dark coloured eyes this will be using a burnt umber coloured paint. For light coloured eyes this will be using a light blue coloured paint.
Now paint the iris - for dark coloured eyes this will be using a burnt umber coloured paint. For light coloured eyes this will be using a light blue coloured paint.
Step 4
Now paint an oblong shaped pupil using black paint.
The eyes are now complete!
Now paint an oblong shaped pupil using black paint.
The eyes are now complete!
Step 5
For the hooves you will need to paint them light (on white legs) or dark (on coloured legs).
For light hooves use cream mixed with light ochre paint.
For dark coloured hooves use a dark grey paint.
Your model is now finished! Make sure to seal it and then gloss the eyes and hooves for a realistic finish. And don't forget to sign your work!
Taking It To The Next Level
The piece we have painted is quite simplistic. It is a great way to start thinking about how to paint pintos or white markings on models.
However, to take your piece to the next level you may want to think about adding more detail.
Mapping
Where the white hairs mix with the dark hairs on a real horse mapping appears. This is an area of 'fuzziness' around the white markings. You can create this using a pastel pencil or very thin white acrylic paint. Experiment to see what method works well for you.
Detailing the Details
The instructions given for details here are very basic. You may want to think about how you can make them more realistic.
Using pencils on the hooves can help to create stripes and lines as you would see on a real horse.
Mixing colours in the iris of the eye can give a more realistic look.
Think about adding extra details such as painted on chestnuts for a more realistic finish.
Gallery of Finished Pieces
If you've attempted this tutorial and would like to share an image with us for our gallery please email [email protected]
Make sure to let us know which tutorial you completed and any information (such as your name) you would like included with your picture.
Make sure to let us know which tutorial you completed and any information (such as your name) you would like included with your picture.

