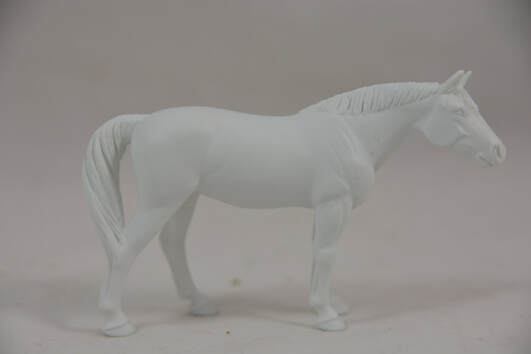
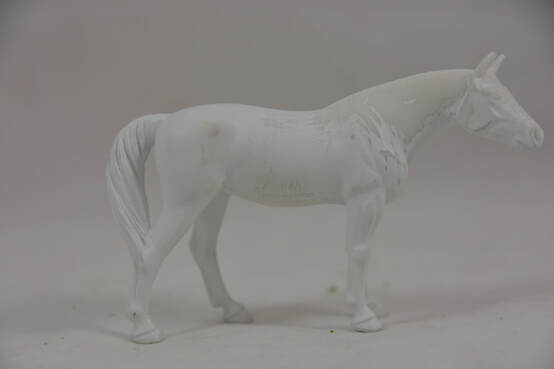
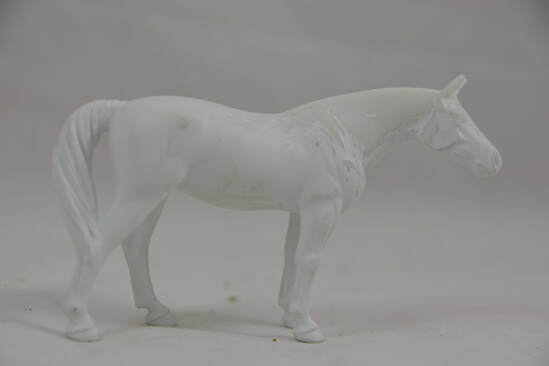
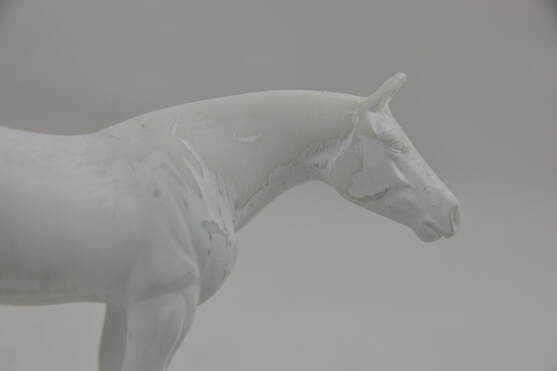
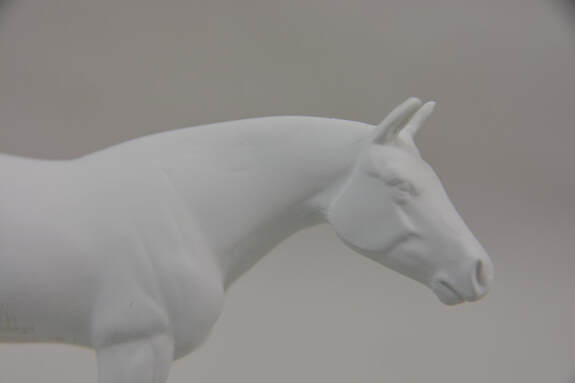
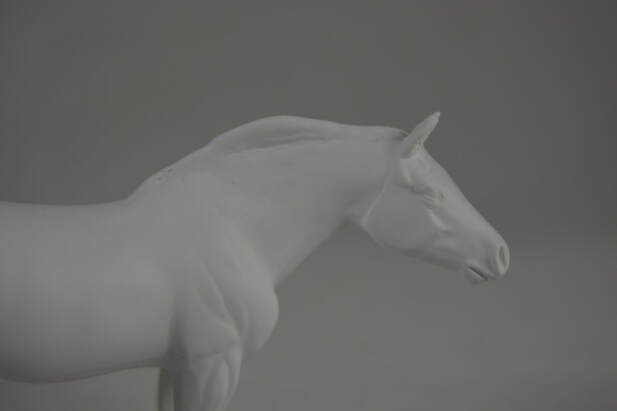
This tutorial was written in 2016. The model used is a Breyer G4 Paradressage.
This tutorial will show you how to remove a mane and create a hogged mane for your model horse. This model was given a bit of a 'stallion flop' but you can also do a fully smooth mane. For our American readers a hogged mane is a roached mane.
This is a good beginners tutorial if you've never taken a mane off a horse before.
Estimated Cost: £40.00
Difficulty Level: Medium
Shopping List
The Basics
Model Horse
Dremel or Hot Knife
Low Grade Sand Paper
High Grade Sand Paper
Metal or Silicone Sculpting Tools
Rubbing Alcohol
Old Brush
Sculpting Supplies
Epoxy Putty (e.g. milliput)
Model Horse
Dremel or Hot Knife
Low Grade Sand Paper
High Grade Sand Paper
Metal or Silicone Sculpting Tools
Rubbing Alcohol
Old Brush
Sculpting Supplies
Epoxy Putty (e.g. milliput)
Removing The Mane
Step 1
How easy the mane is to remove will depend on your model horse. If this is your first time choose a model with a relatively short mane.
How easy the mane is to remove will depend on your model horse. If this is your first time choose a model with a relatively short mane.
Step 2
Use a hot knife or dremel (a dremel is safer and easier) to hack off most of the mane and forelock. Don't worry if it isn't smooth but try to avoid leaving huge holes in the horse's neck!
Use a hot knife or dremel (a dremel is safer and easier) to hack off most of the mane and forelock. Don't worry if it isn't smooth but try to avoid leaving huge holes in the horse's neck!
Step 3
Get a low grade sand paper and sand the whole neck and poll. You don't want any lumps or bumps around the neck area.
Get a low grade sand paper and sand the whole neck and poll. You don't want any lumps or bumps around the neck area.
Step 4
Use a high grade sand paper to smooth the finish. It should be smooth over the whole neck and poll of the horse.
If you have any holes fill these with epoxy putty and let it set before sanding down the excess.
Use a high grade sand paper to smooth the finish. It should be smooth over the whole neck and poll of the horse.
If you have any holes fill these with epoxy putty and let it set before sanding down the excess.
Step 5
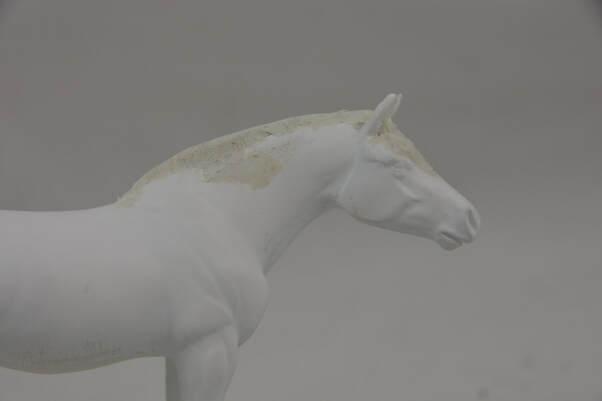
Here you can see that the neck area is really smooth with just a few 'holes'. These can be filled with epoxy putty.
Here you can see that the neck area is really smooth with just a few 'holes'. These can be filled with epoxy putty.
Step 6
Apply a coat of primer to the head and neck. Look for any imperfections, lumps or bumps. If they exist deal with them before moving on.
Apply a coat of primer to the head and neck. Look for any imperfections, lumps or bumps. If they exist deal with them before moving on.
Step 7
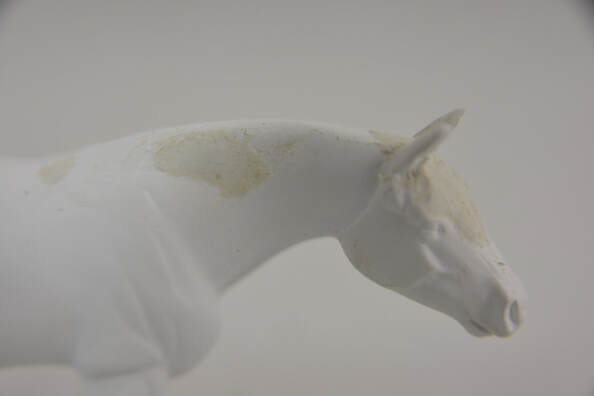
Here you can see the epoxy being used to fill any holes. The horse required a lot of epoxy over the face where the forelock had been removed. This should be allowed to set before it is sanded smooth.
We recommend a two part epoxy putty. I currently use Apoxie Sculpt, but Amazing Sculpt and Milliput are also recommended.
Sculpting
Step 8
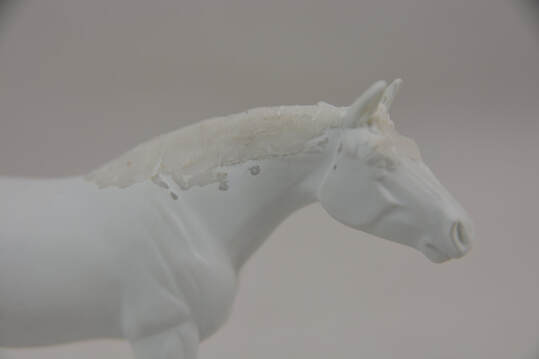
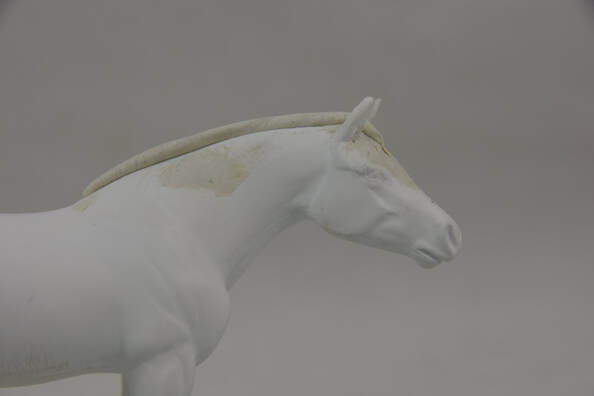
We are now going to start to sculpt the mane. We are giving this horse quite a raised mane as we want a bit of a stallion crest.
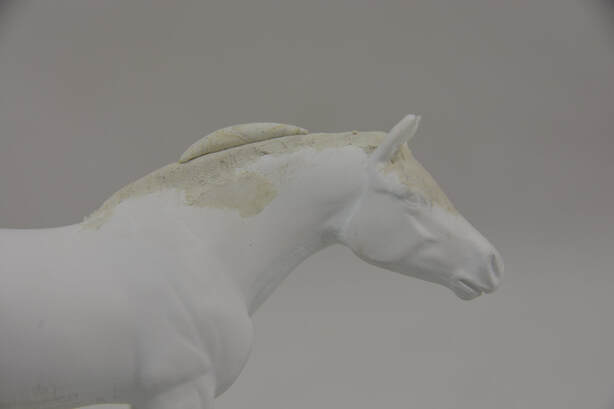
Start by making a long sliter of epoxy putty the length of the horse's neck. Place this along the crest of the horse.
We are now going to start to sculpt the mane. We are giving this horse quite a raised mane as we want a bit of a stallion crest.
Start by making a long sliter of epoxy putty the length of the horse's neck. Place this along the crest of the horse.
Step 9
Now use a sculpting tool (I recommend silicone but metal will also work) to blend the mane downwards into the neck. Do this the whole length of the neck.
Now use a sculpting tool (I recommend silicone but metal will also work) to blend the mane downwards into the neck. Do this the whole length of the neck.
Step 10
We are now going to give our stallion a bit of a built up crest. You don't need to do this if you are sculpting a mare!
Create a smaller slither of epoxy putty and place this on the horse's crest, about half way up their neck. You may want to use reference to help you with the placement.
We are now going to give our stallion a bit of a built up crest. You don't need to do this if you are sculpting a mare!
Create a smaller slither of epoxy putty and place this on the horse's crest, about half way up their neck. You may want to use reference to help you with the placement.
Step 11
Now blend your smaller slither into the epoxy putty below it. Try to make sure it stays reasonably upright as you blend.
Now blend your smaller slither into the epoxy putty below it. Try to make sure it stays reasonably upright as you blend.
Step 12
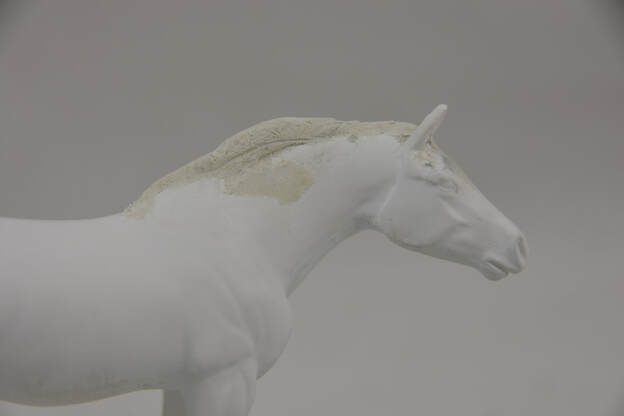
Continue blending until you feel like the crest is continuous.
Once you are happy use an old brush and rubbing alcohol to smooth down your sculpting.
Continue blending until you feel like the crest is continuous.
Once you are happy use an old brush and rubbing alcohol to smooth down your sculpting.
Step 13
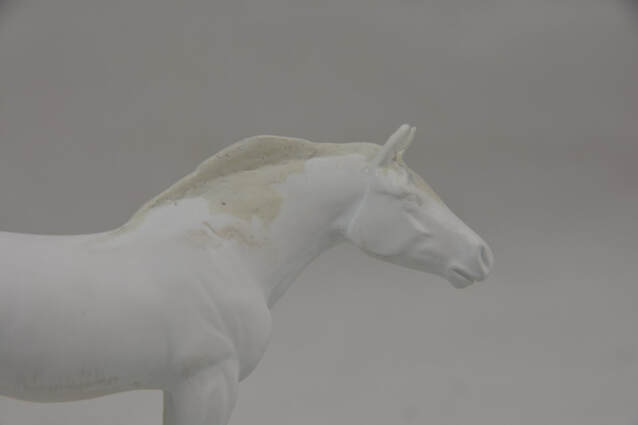
Spray a coat of primer to look for imperfections. These can be sanded down or you may want to remove what you've done and start again.
Once you are happy your model is finished! Prime the whole model and give it a coat of paint.
Spray a coat of primer to look for imperfections. These can be sanded down or you may want to remove what you've done and start again.
Once you are happy your model is finished! Prime the whole model and give it a coat of paint.
Gallery of Finished Pieces
If you've attempted this tutorial and would like to share an image with us for our gallery please email [email protected]
Make sure to let us know which tutorial you completed and any information (such as your name) you would like included with your picture.
Make sure to let us know which tutorial you completed and any information (such as your name) you would like included with your picture.

