The following tutorial was written in 2011.
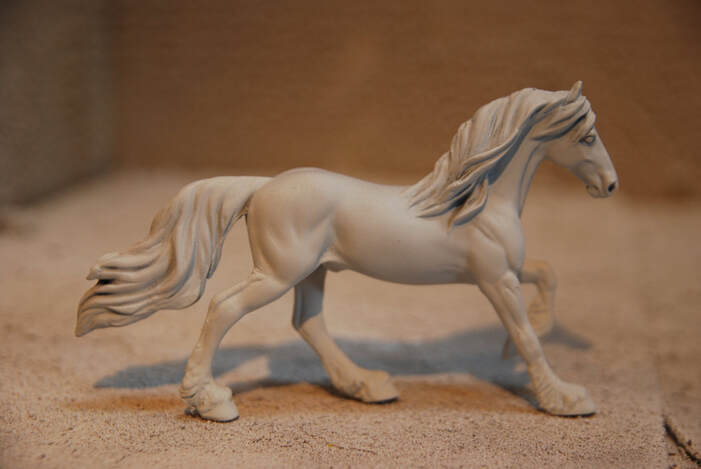
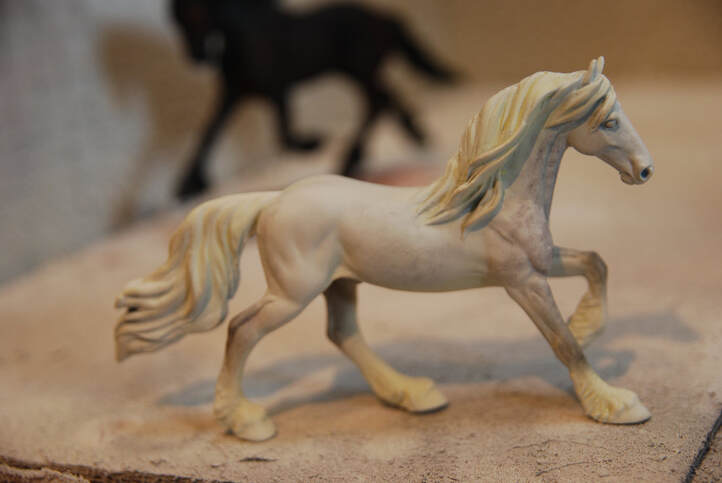
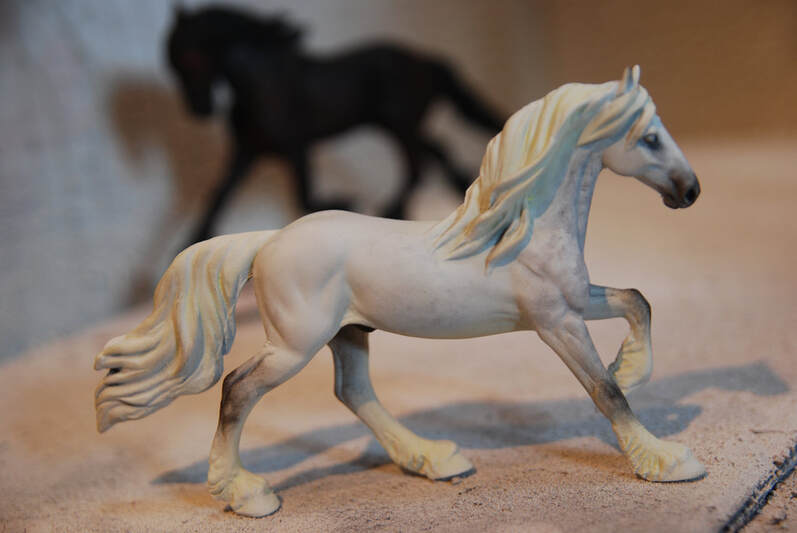
The model used is a Peter Stone Chips Friesian.
The pastels used were a generic earthtone set. For the pricing it is assumed you are using reasonably priced pastels. It is assumed you are painting a Stablemate model horse but this tutorial will work for all scales.
A note about pastels: There are two kinds of pastels you can get, water based (soft) and oil based. For model horse customising you need soft pastels, oil based ones won't work.
Difficulty Level: Medium
Approximate Cost: £25.00
Supplies Needed
The Basics
Prepped Model Horse
Sealant
Old Paint Brushes
Sharp Blade (such as a scalpel or small knife)
Pastels
Light Ochre
Light Grey
Medium Grey
Black
To finish off details such as hooves and eyes you will want to use acrylic paint.
Prepped Model Horse
Sealant
Old Paint Brushes
Sharp Blade (such as a scalpel or small knife)
Pastels
Light Ochre
Light Grey
Medium Grey
Black
To finish off details such as hooves and eyes you will want to use acrylic paint.
The Basics
Step 1
If you haven't primed your horse with white primer add a coat of white primer now. This white is going to show through on the final horse so make sure it is a smooth all over covering.
If you haven't primed your horse with white primer add a coat of white primer now. This white is going to show through on the final horse so make sure it is a smooth all over covering.
Step 2
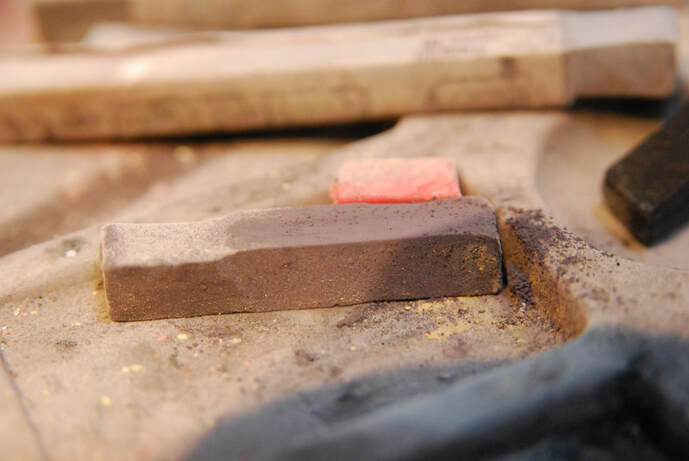
To pastel you will need to turn the stick of pastel into a fine dust. The best way to do this is to use a sharp blade (see the one used top right) to carefully scrape the pastel into a container.
We are starting with a light ochre (or pastel yellow) shade.
To pastel you will need to turn the stick of pastel into a fine dust. The best way to do this is to use a sharp blade (see the one used top right) to carefully scrape the pastel into a container.
We are starting with a light ochre (or pastel yellow) shade.
Step 3
Use an old brush to apply this to the horse's mane, tail and legs.
Seal your model.
Pastelling ruins your paint brushes so don't use new or expensive ones! I use old ones from a Breyer craft kit, they work brilliantly. If they are clumped up they are better as they will hold the pigment well.
Use an old brush to apply this to the horse's mane, tail and legs.
Seal your model.
Pastelling ruins your paint brushes so don't use new or expensive ones! I use old ones from a Breyer craft kit, they work brilliantly. If they are clumped up they are better as they will hold the pigment well.
Step 4
You now need a thinner brush, one that is quite clumped up will work well as it will give you a bit more control. Silicone brushes can also work or this step.
Take your light grey pastel and scrape off some dust as you have done before.
You now need a thinner brush, one that is quite clumped up will work well as it will give you a bit more control. Silicone brushes can also work or this step.
Take your light grey pastel and scrape off some dust as you have done before.
Step 5
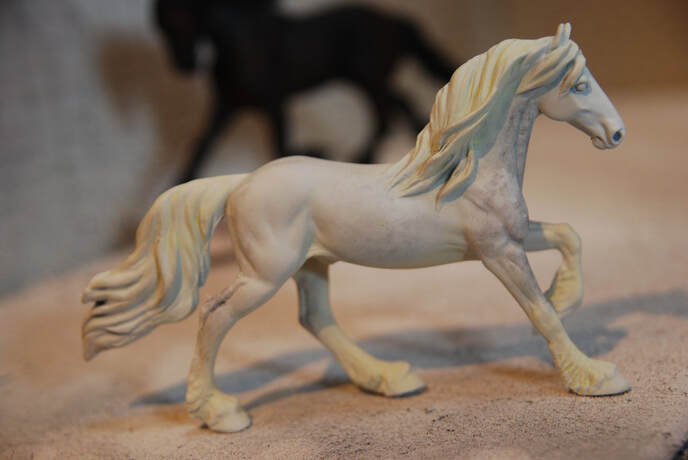
Use this light grey pastel to start to add the shape of dapple across the model. Follow your reference closely. We have added them to the barrel, should and neck. There are also some across the croup and towards the back of the quarters.
Seal your model.
Use this light grey pastel to start to add the shape of dapple across the model. Follow your reference closely. We have added them to the barrel, should and neck. There are also some across the croup and towards the back of the quarters.
Seal your model.
Step 6
Take a medium grey pastel and scrap off some dust.
Take a medium grey pastel and scrap off some dust.
Step 7
Now add some darker dapples. We have added these to the neck, shoulder, a few on the barrel, croup and back of the quarters. Again follow your reference.
Seal your model.
Now add some darker dapples. We have added these to the neck, shoulder, a few on the barrel, croup and back of the quarters. Again follow your reference.
Seal your model.
Step 8
Now use the medium grey pastel to add shading the horse's hocks, knees and genitals. You may also want to add some to the ears and muzzle depending on the shade you are going for.
Add a small amount to the mane and tail as well.
Seal your model.
Now use the medium grey pastel to add shading the horse's hocks, knees and genitals. You may also want to add some to the ears and muzzle depending on the shade you are going for.
Add a small amount to the mane and tail as well.
Seal your model.
Step 9
Get a black pastel and add some final shading to the back of the hocks, front of the knees, muzzle, eyes and genitals.
Seal your model.
Get a black pastel and add some final shading to the back of the hocks, front of the knees, muzzle, eyes and genitals.
Seal your model.
Finishing Off
Use hand painted acrylics to finish off your horse's eyes and hooves. Remember if you want them to have white leg markings they should have light hooves, but if not they should have dark hooves.
Give your horse a final coat of sealant and then gloss the hooves and eyes.
If you have followed this tutorial and want to share an image of your completed piece for our gallery then email [email protected]
Give your horse a final coat of sealant and then gloss the hooves and eyes.
If you have followed this tutorial and want to share an image of your completed piece for our gallery then email [email protected]

