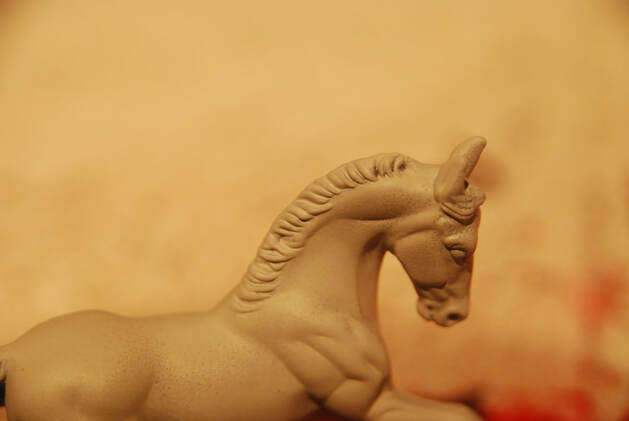
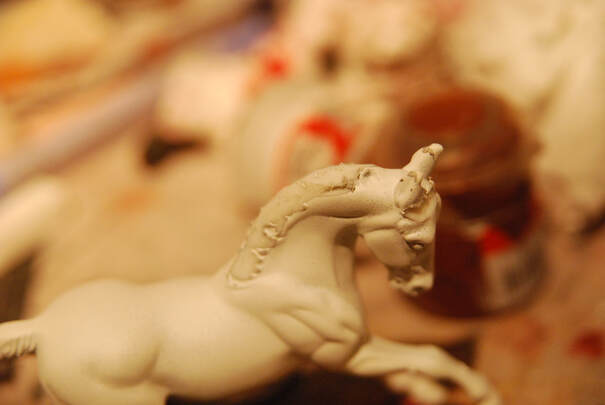
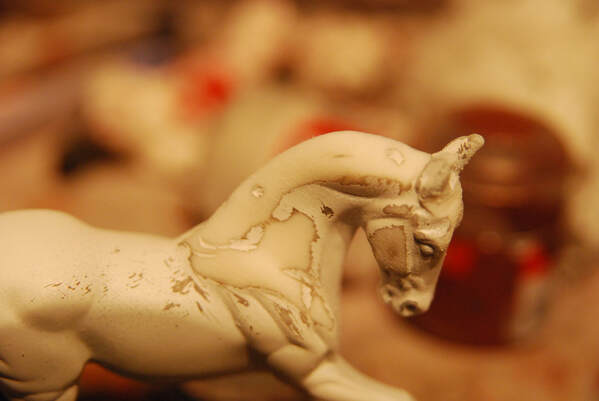
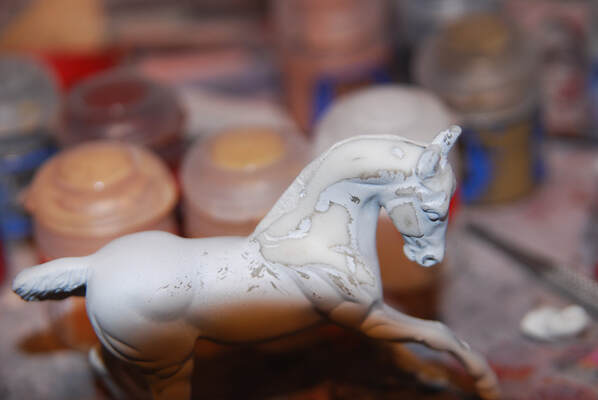
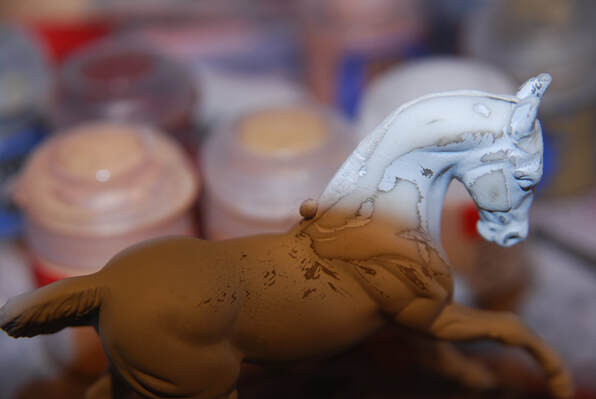
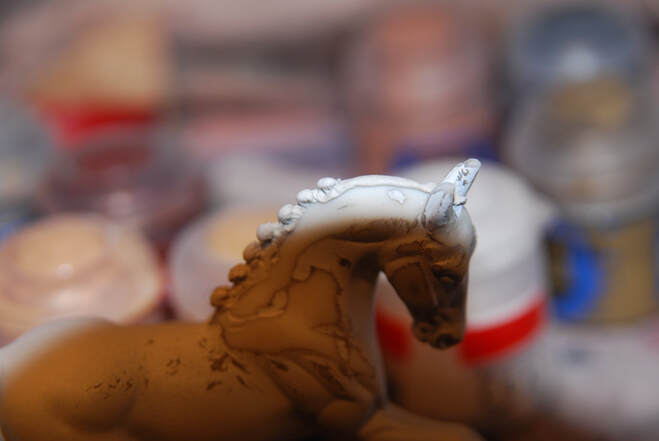
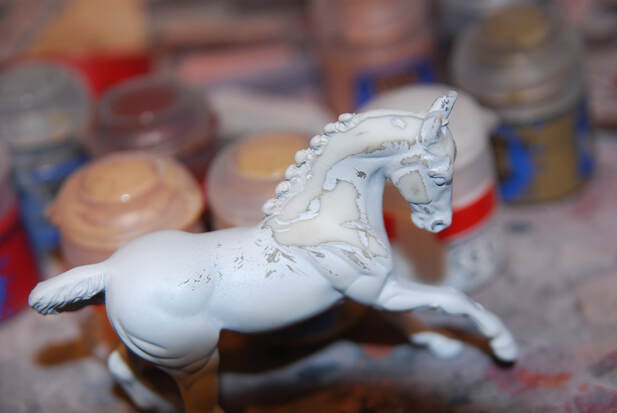
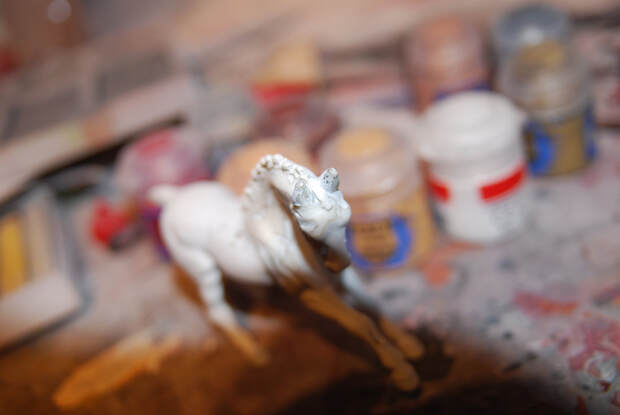
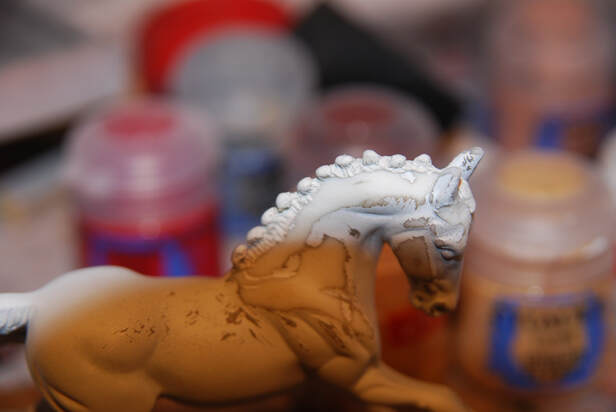
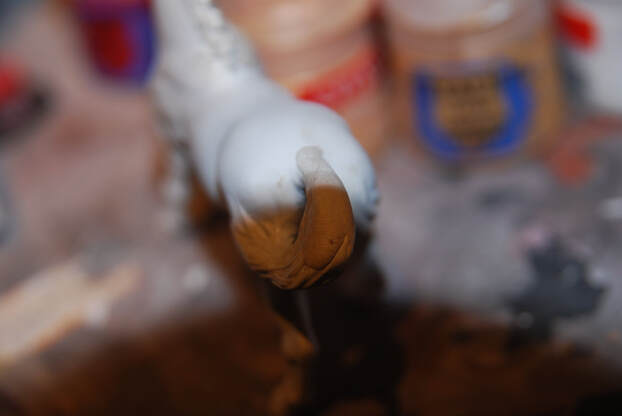
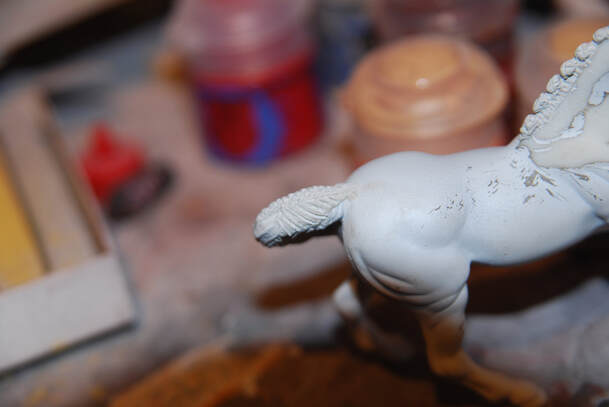
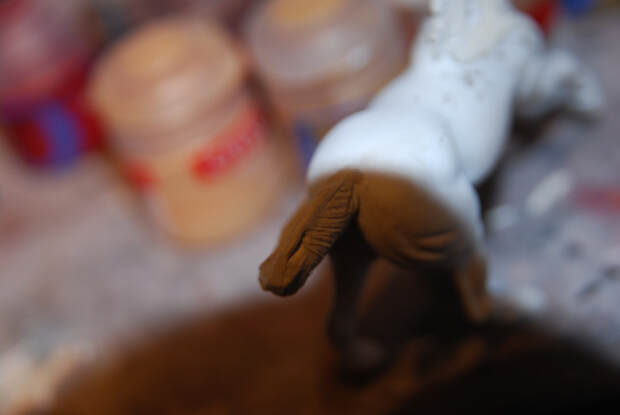
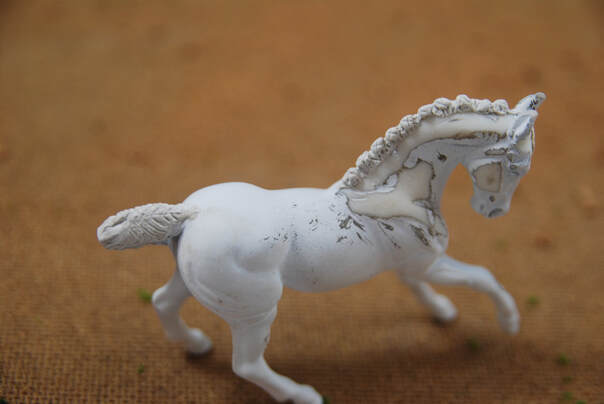
This tutorial was written in 2013. The model used is a Breyer Stablemate G2 Warmblood.
This tutorial will show you how to create a plaited mane and tail for your model horse.
For this tutorial you will need a two part epoxy putty. The tutorial uses Amazing Sculpt but other brands that work well are Millput and Apoxie Sculpt.
Estimated Cost: £30.00
Difficulty Level: Beginner
This tutorial will show you how to create a plaited mane and tail for your model horse.
For this tutorial you will need a two part epoxy putty. The tutorial uses Amazing Sculpt but other brands that work well are Millput and Apoxie Sculpt.
Estimated Cost: £30.00
Difficulty Level: Beginner
Shopping List
The Basics
Model Horse Body
Dremel or Hot Knife
Sculpting
Two Part Epoxy Putty
Silicone or Metal Sculpting Tools
Craft Knife
Model Horse Body
Dremel or Hot Knife
Sculpting
Two Part Epoxy Putty
Silicone or Metal Sculpting Tools
Craft Knife
Prep Work
Step 1
Find a suitable model to add a plaited mane to. A Warmblood type such as this one is always a good first choice.
The smaller the mane and the more it flows off the neck the easier the prep work!
Find a suitable model to add a plaited mane to. A Warmblood type such as this one is always a good first choice.
The smaller the mane and the more it flows off the neck the easier the prep work!
Step 2
Use a dremel or hot knife to carefully remove as much of the mane and forelock as you can.
Use a dremel or hot knife to carefully remove as much of the mane and forelock as you can.
Step 3
Use sandpaper to sand the rest of the mane off. Continue to sand until the neck is completely smooth.
Use sandpaper to sand the rest of the mane off. Continue to sand until the neck is completely smooth.
Step 4
Take a small cylinder (snake shape) of epoxy putty and put it the whole length of the horse's neck. Use a tool to gently smooth it down so that it blends into the horse's neck.
At this point you can also use small blobs of epoxy to fill any holes in the neck.
Take a small cylinder (snake shape) of epoxy putty and put it the whole length of the horse's neck. Use a tool to gently smooth it down so that it blends into the horse's neck.
At this point you can also use small blobs of epoxy to fill any holes in the neck.
The Mane
Step 5
Create a small ball of epoxy putty and place it on the bottom of the neck. It should be on top of the epoxy you have already added.
Create a small ball of epoxy putty and place it on the bottom of the neck. It should be on top of the epoxy you have already added.
Step 6
In order to create a plaited effect and to secure the balls use a sculpting tool to pull the neck milliput up to the ball. Work your way around the ball gently drawing the epoxy putty up.
In order to create a plaited effect and to secure the balls use a sculpting tool to pull the neck milliput up to the ball. Work your way around the ball gently drawing the epoxy putty up.
Step 7
Continue to add balls up the length of the horse's neck. As you add each one draw the putty up to the ball like in step 6.
Continue to add balls up the length of the horse's neck. As you add each one draw the putty up to the ball like in step 6.
Step 8
Create the forelock by adding a small cylinder to the front of the horse's head between the ears and bonding it as you did with the balls. You will need to bond at the horse's poll and not the forehead!
Create the forelock by adding a small cylinder to the front of the horse's head between the ears and bonding it as you did with the balls. You will need to bond at the horse's poll and not the forehead!
Step 10
Use a knife to cut a little X in the centre of each plait.
For the forelock create a little line of xs all the way down.
Use a knife to cut a little X in the centre of each plait.
For the forelock create a little line of xs all the way down.
The Tail
Step 11
Use a dremel to flatten down the top of your model's tail. Ours was already relatively flat which helped!
Add some epoxy all the way down the tail to the where the end of the dock would be.
Use a dremel to flatten down the top of your model's tail. Ours was already relatively flat which helped!
Add some epoxy all the way down the tail to the where the end of the dock would be.
Step 12
Use a knife to create diagonal lines all along the tail.
Your lines should start at the middle and go to the outside as shown.
Use a knife to create diagonal lines all along the tail.
Your lines should start at the middle and go to the outside as shown.
Step 13
Add a strip of epoxy down the centre of the tail. Gently blend it into the lines below using a fine tool.
Add a strip of epoxy down the centre of the tail. Gently blend it into the lines below using a fine tool.
Step 14
Use a knife to create a criss-cross pattern all the way down the strip in the middle.
Your plaited model is now complete! Wait until the epoxy is dry and then prep and paint your model.
Use a knife to create a criss-cross pattern all the way down the strip in the middle.
Your plaited model is now complete! Wait until the epoxy is dry and then prep and paint your model.
Gallery of Completed Pieces
If you've attempted this tutorial and would like to share an image with us for our gallery please email [email protected]
Make sure to let us know which tutorial you completed and any information (such as your name) you would like included with your picture.
Make sure to let us know which tutorial you completed and any information (such as your name) you would like included with your picture.

