The following tutorial was written in 2017.
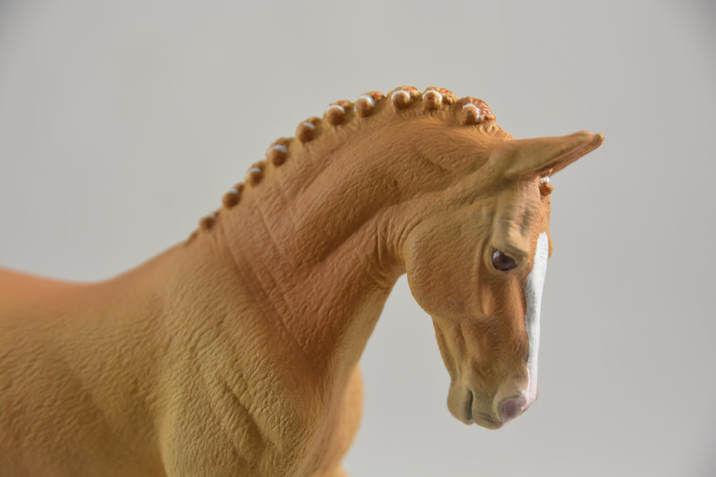
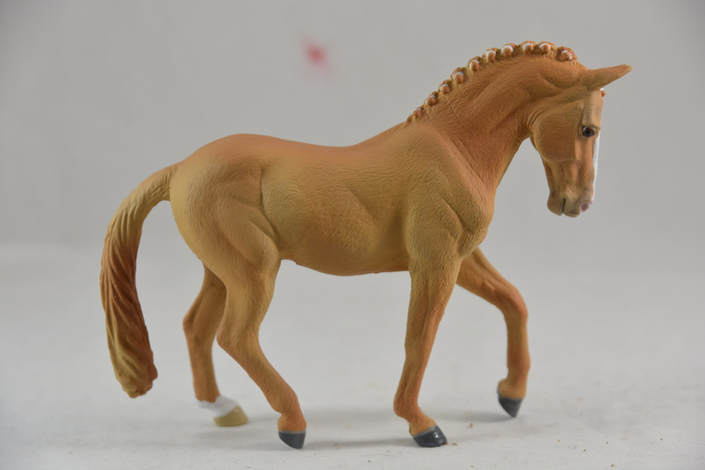
The model used is a CollectA Trakehner.
The paints used were all humbrol acrylics from the current range as it stood in 2017, please note that paint ranges do vary so double check that the colours you buy look correct. For the pricing it is assumed you are painting a Stablemate model horse but this tutorial will work for all scales.
Difficulty Level: Medium
Approximate Cost: £59.00
You can find the tutorial as originally written on our Facebook page here.
Supplies Needed
The Basics
Prepped Model Horse
Set of Paint Brushes (you could also use an airbrush, paint brushes will be needed for the details)
Sealant
Paints
All the below codes are for the Humbrol Acrylics range.
Base Coat
237
94
63
62
Details
27
22
85
60
160
Prepped Model Horse
Set of Paint Brushes (you could also use an airbrush, paint brushes will be needed for the details)
Sealant
Paints
All the below codes are for the Humbrol Acrylics range.
Base Coat
237
94
63
62
Details
27
22
85
60
160
The Base Coat
Step 1
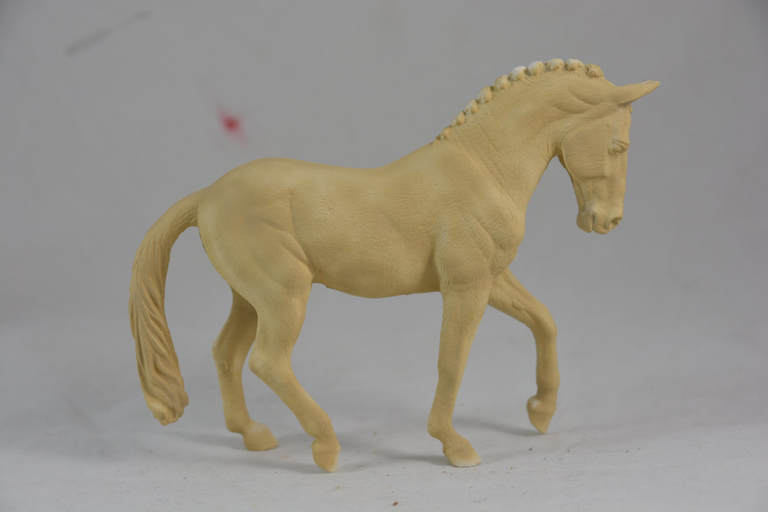
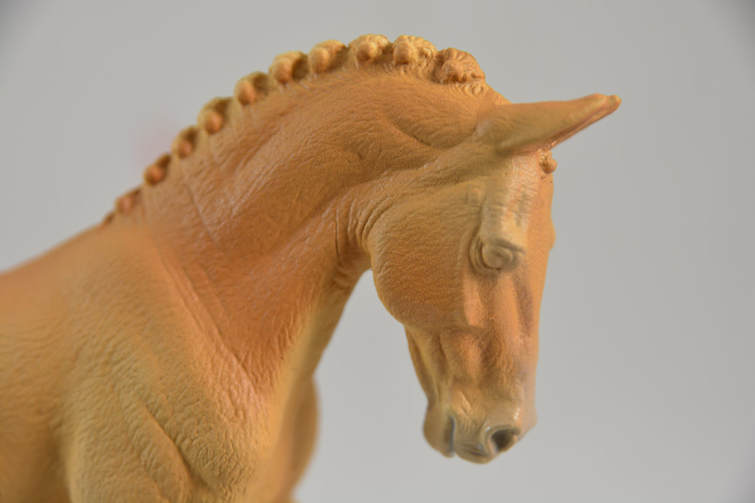
Cover the entire horse in 237 to create a base coat
Cover the entire horse in 237 to create a base coat
Step 2
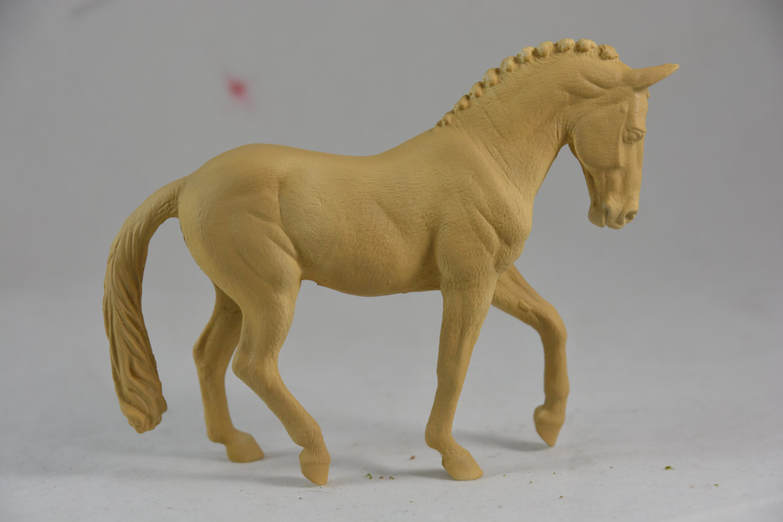
Start the shading with 94 - we recommend using reference to see where you need to add shading
Start the shading with 94 - we recommend using reference to see where you need to add shading
Step 3
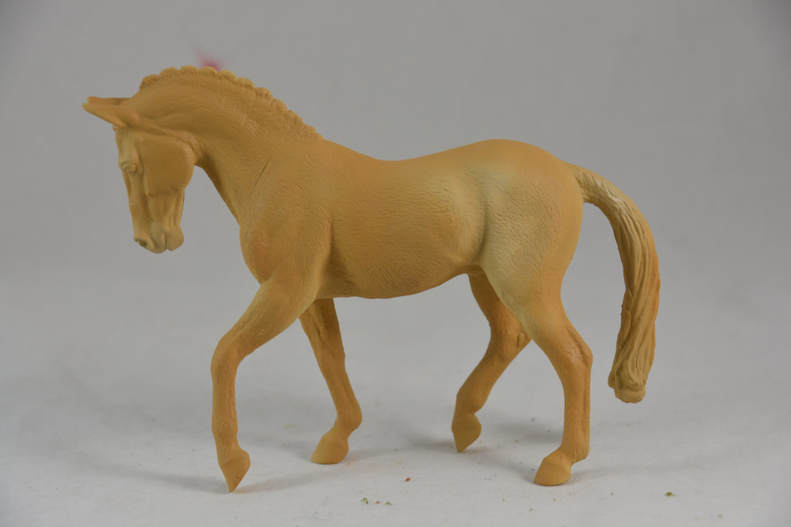
Add more shading around the neck legs and muscles using 63
Add more shading around the neck legs and muscles using 63
Step 4
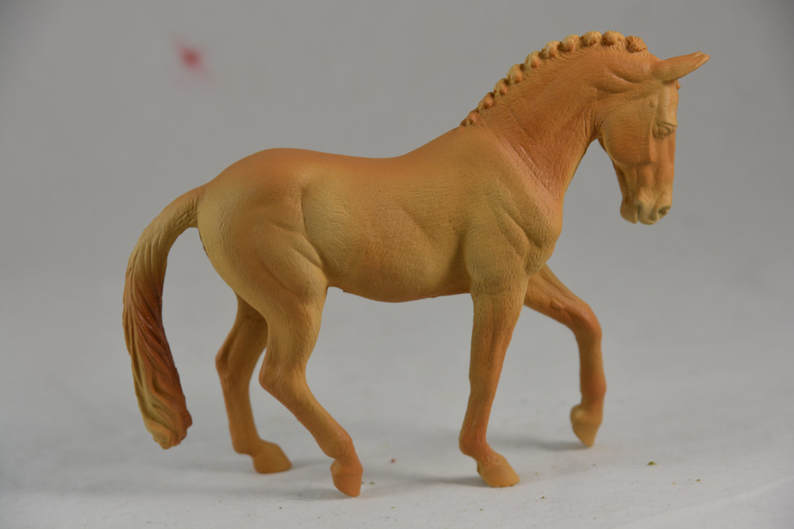
Add the final darker shading using 62. Add it to the hocks, knees, elbow, neck and face. Also add some to the mane and tail for a darker finish.
Your base colour is now complete. I recommend sealing your horse before moving onto the details so not to damage the finish with handling.
Add the final darker shading using 62. Add it to the hocks, knees, elbow, neck and face. Also add some to the mane and tail for a darker finish.
Your base colour is now complete. I recommend sealing your horse before moving onto the details so not to damage the finish with handling.
The Details
Step 1
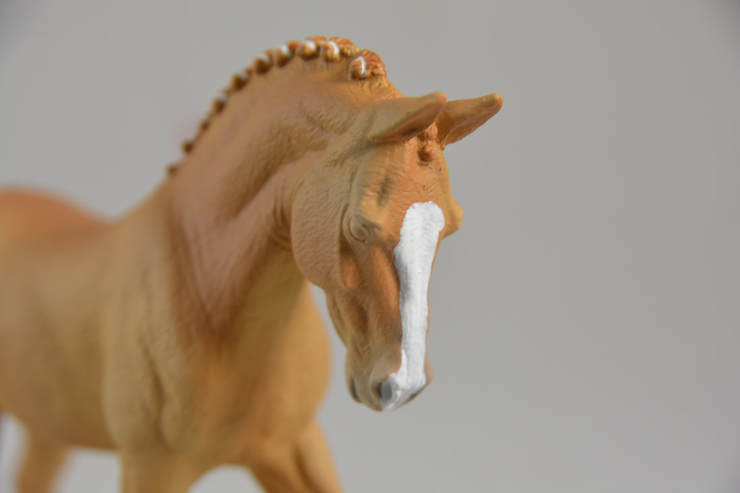
Use 129 to add grey to the muzzle, eyes and genitals.
Use 129 to add grey to the muzzle, eyes and genitals.
Step 2
Use 22 (white) to add any white markings you would like to add. We have given him a stripe and sock.
Use 22 (white) to add any white markings you would like to add. We have given him a stripe and sock.
Step 3
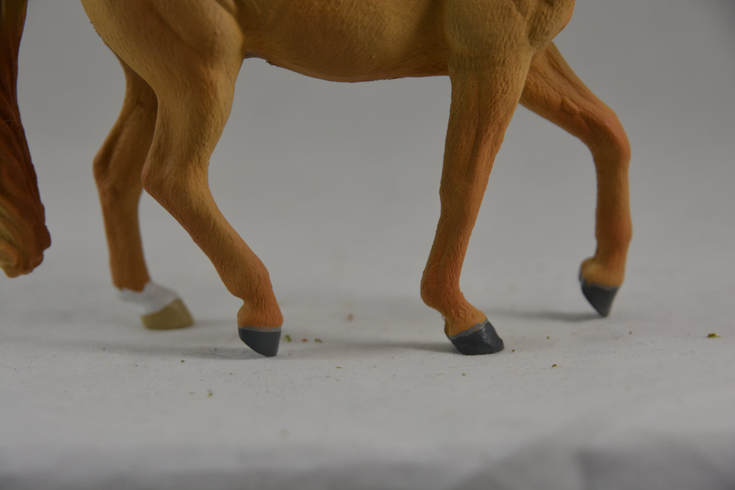
Time to paint the hooves.
For light coloured hooves (where you have white markings) use 237
For darker hooves use 129 as a base coat and then 27 on top leaving a small band of light grey around the top.
Time to paint the hooves.
For light coloured hooves (where you have white markings) use 237
For darker hooves use 129 as a base coat and then 27 on top leaving a small band of light grey around the top.
Step 4
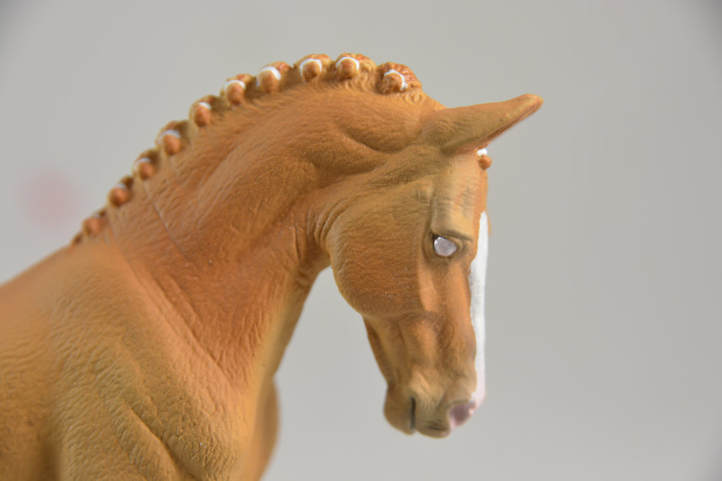
Start work on the eyes.
First add a base of 85 (black).
Second add some 22 (white) with a small amount of 60 mixed in. At the same time use this paint mix to paint the muzzle if you have added white over this area as I have done.
Start work on the eyes.
First add a base of 85 (black).
Second add some 22 (white) with a small amount of 60 mixed in. At the same time use this paint mix to paint the muzzle if you have added white over this area as I have done.
Step 5
Add an iris using 160 (or equivalent dark brown).
Add an iris using 160 (or equivalent dark brown).
Step 6
Finish off by adding an oblong pupil in 85 (black). You can now seal your horse (we use Games Workshop Purity Spray). Finally add some clear gloss to the eyes, nostrils and hooves.
Finish off by adding an oblong pupil in 85 (black). You can now seal your horse (we use Games Workshop Purity Spray). Finally add some clear gloss to the eyes, nostrils and hooves.
Your Finished Piece
Don't forget to sign your work once you have finished so that everyone knows it was painted by you.
If you have followed this tutorial to create your very own model we would love to see a picture and add it to our completed gallery below. Please email [email protected] with a picture and we will add it in.
If you have followed this tutorial to create your very own model we would love to see a picture and add it to our completed gallery below. Please email [email protected] with a picture and we will add it in.

