The following tutorial was written in 2011.
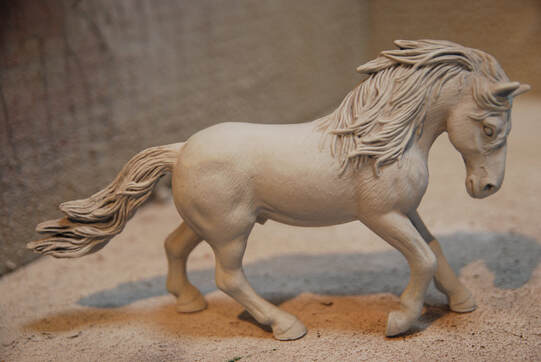
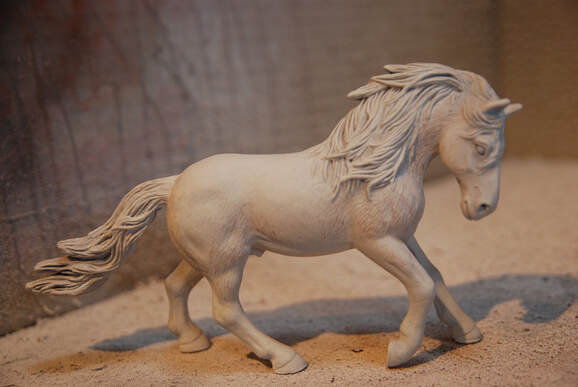
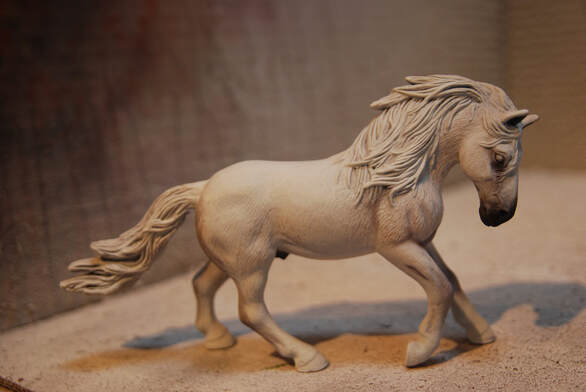
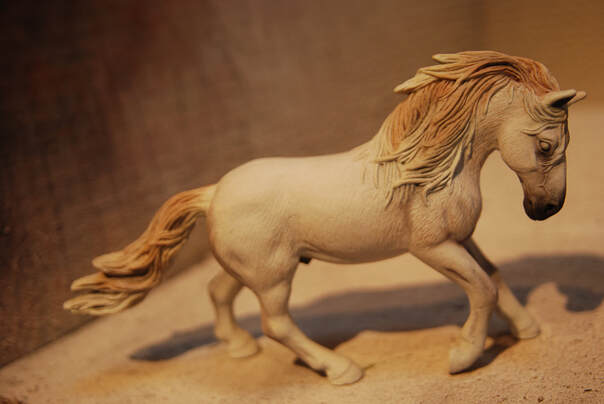
The model used is a Schleich Andalusian Stallion.
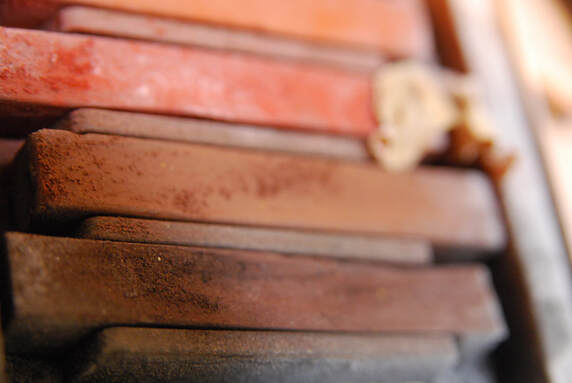
The pastels and pencils used were a generic unbranded. You need to make sure that you buy soft pastels NOT oil based ones. Artist pigments will also work. Approximate costs are based on you buying all the items needed for this tutorial including a cheap airbrush and compressor. It is assumed you are painting a Stablemate model horse but this tutorial will work for all scales.
Difficulty Level: Beginner
Approximate Cost: £26.00
Shopping List
The Basics
Prepped model horse
Sealant
Old paint brushes
Pastels
Earthtone Set
Dark Grey
Pencils
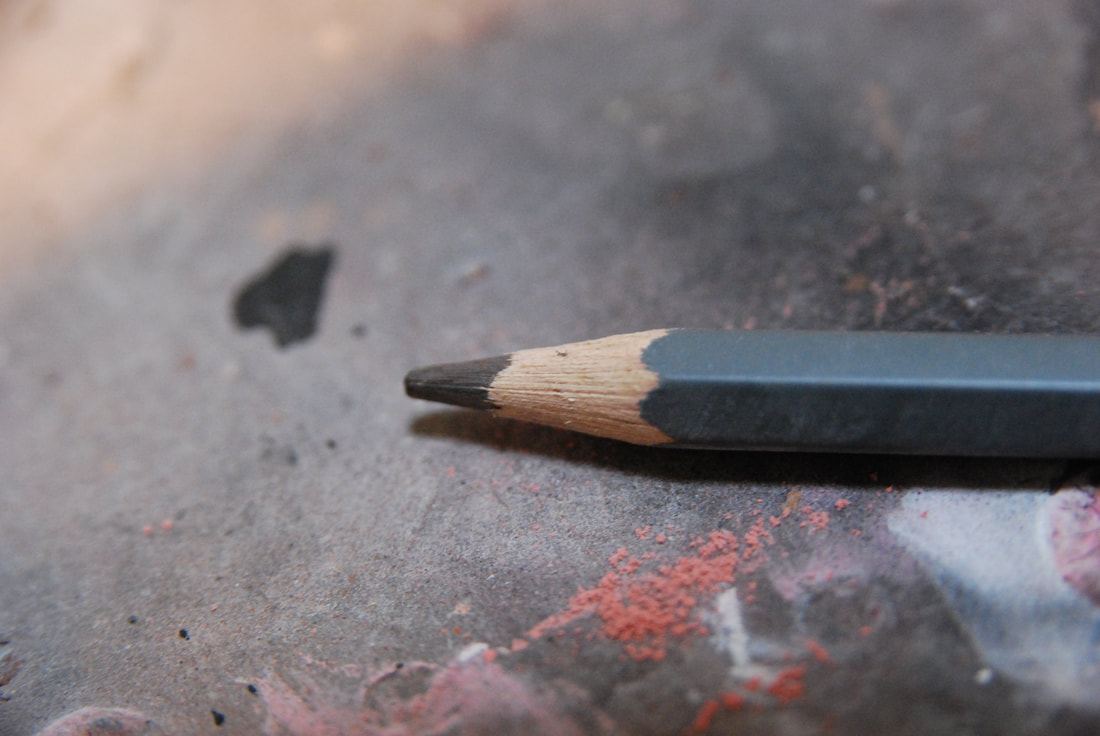
Red Brown or Burnt Umber
Prepped model horse
Sealant
Old paint brushes
Pastels
Earthtone Set
Dark Grey
Pencils
Red Brown or Burnt Umber
The Base Colour
Step 1
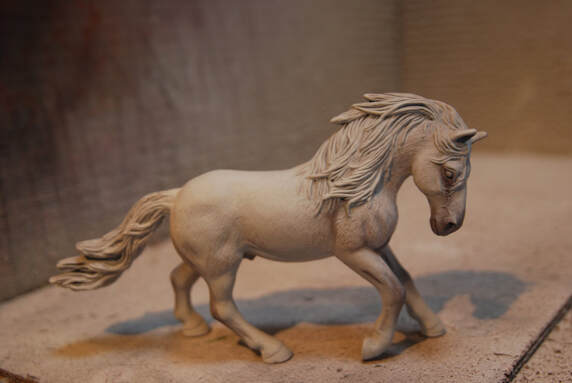
Prime your horse with white primer. If you have used grey primer then add a coat of white over the top now.
Prime your horse with white primer. If you have used grey primer then add a coat of white over the top now.
Step 2
Use a burnt umber (red brown) pencil to start adding fleabites to your horse. Use reference to follow the direction of the coat hairs.
Add these over the neck, shoulder, croup, buttock, stifle and tops of the legs. When you have finished one side seal your model before moving onto the other. When both are complete seal your model again.
Step 3
Add dark grey pastel to the muzzle, eyes, inside of ears, genitals, knees and hocks. If your horse has heavy muscling lightly add some to the muscle grooves as well.
Seal your model.
Add dark grey pastel to the muzzle, eyes, inside of ears, genitals, knees and hocks. If your horse has heavy muscling lightly add some to the muscle grooves as well.
Seal your model.
Step 4
Add black pastel to the muzzle, eyes, inside of ears and genitals.
Seal your model.
Add black pastel to the muzzle, eyes, inside of ears and genitals.
Seal your model.
Step 5
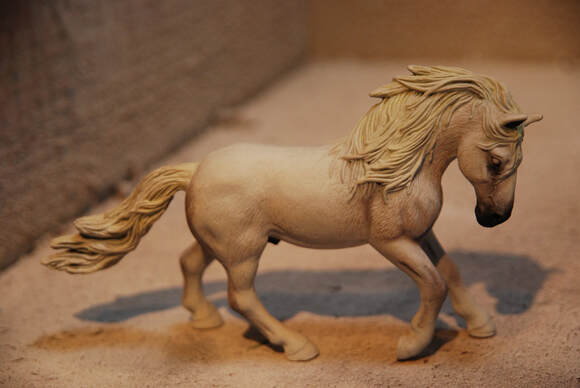
Use a light ochre pastel to cover the whole of the mane and and tail.
Seal your model.
Use a light ochre pastel to cover the whole of the mane and and tail.
Seal your model.
Step 6
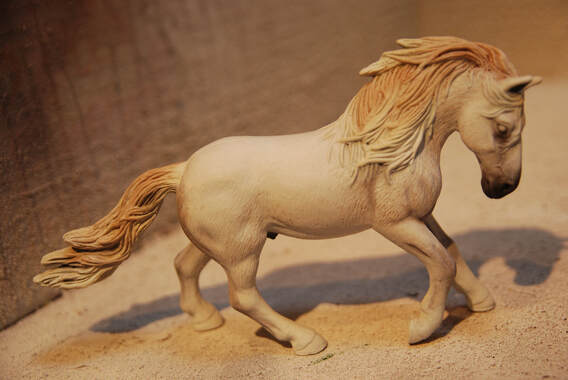
Use a red brown pastel on the mane and tail. Start close to the body of the horse and work out, leaving the ends yellow.
Seal your model.
Use a red brown pastel on the mane and tail. Start close to the body of the horse and work out, leaving the ends yellow.
Seal your model.
Step 7
Now add some burnt umber to the mane and tail at the parts closest to the body of the horse. Use reference to help you, you may struggle a bit with horses with manes such as this one, so try to think logically about where the hair has come from.
Seal your model.
Finish your model by painting the eyes and hooves. Remember where there are white markings you have light coloured hooves and where there aren't you have dark hooves. If you want any light hooves make sure there is no pastel around where the marking would be.
The Finished Piece
Finish your piece with a few layers of sealant. You can then gloss the eyes and hooves of your model.
Once done make sure to sign your new custom so that everybody knows it was by you! If you have used this tutorial to finish a model horse why not email us a picture and we can feature it in our completed pieces gallery below.
Once done make sure to sign your new custom so that everybody knows it was by you! If you have used this tutorial to finish a model horse why not email us a picture and we can feature it in our completed pieces gallery below.

