The following tutorial was written in 2011.
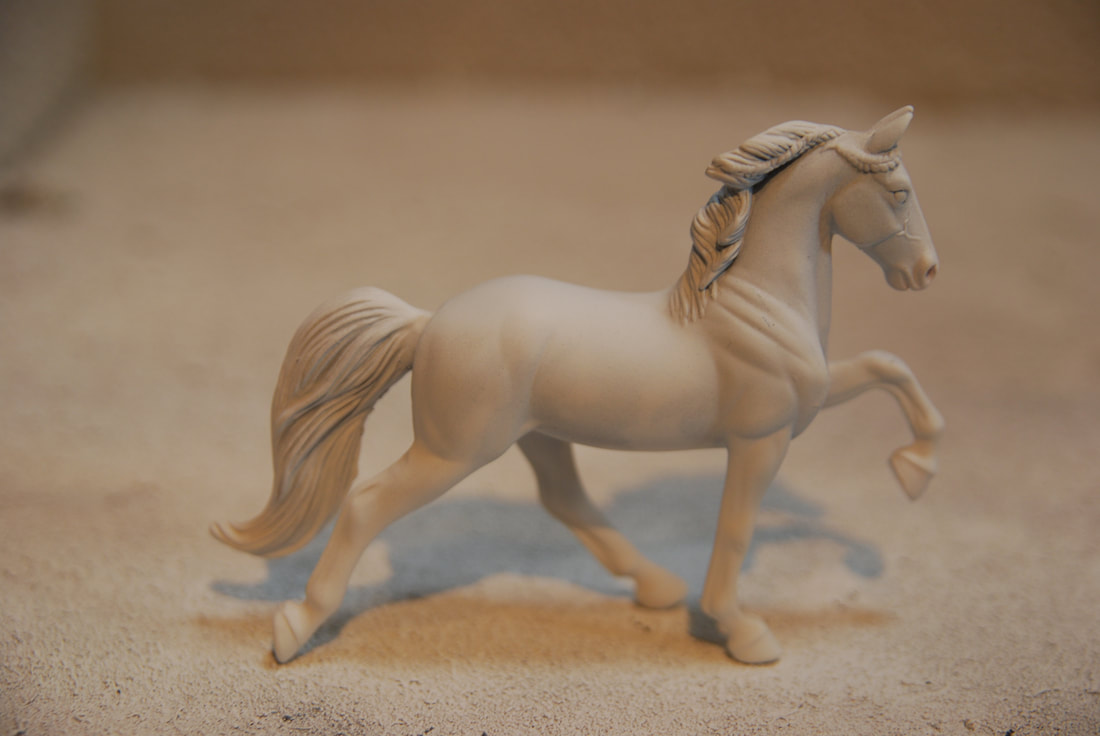
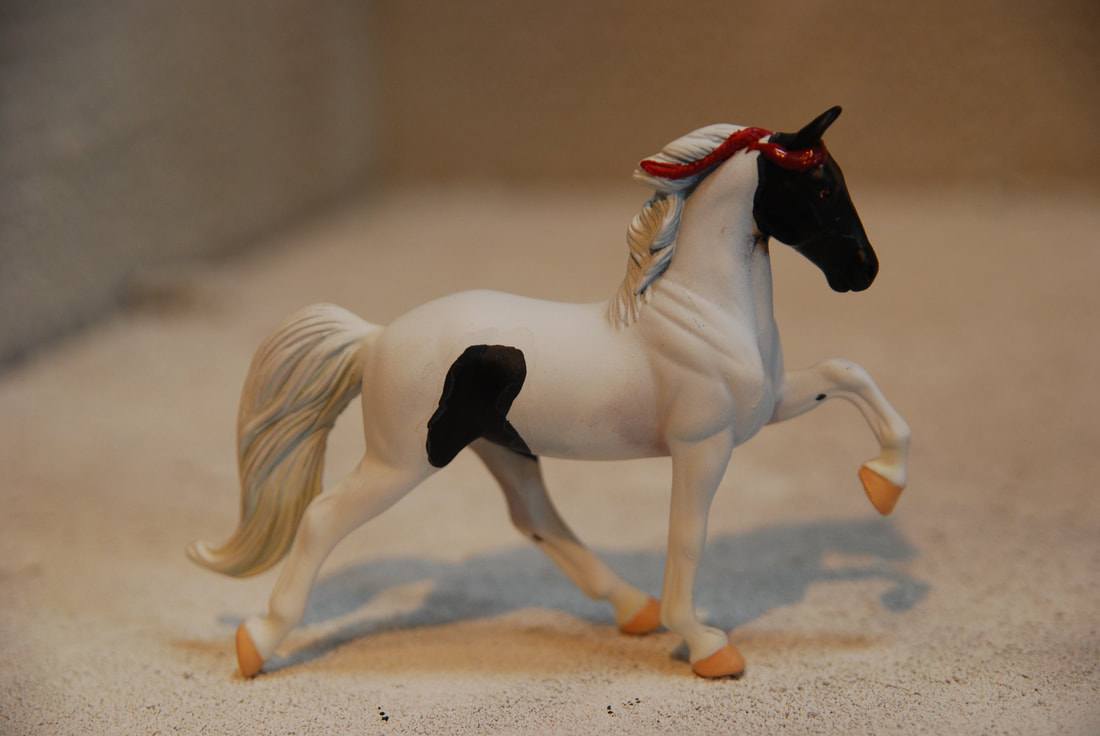
The model used is a Breyer G3 Tennessee Walking Horse.
This tutorial was completed using airbrushed acrylics (Citadel range) and pencils. For the price estimate it is assumed you are using hand painted acrylics or pastels. It is assumed you are painting a Stablemate model horse but this tutorial will work for all scales.
Difficulty Level: Beginner
Approximate Cost: £15.00
Shopping List
The Basics
Prepped Model Horse (white primed)
Paint Brushes
Paints Needed
Base Colour
Black
White Pencil
Pink Pastel
Prepped Model Horse (white primed)
Paint Brushes
Paints Needed
Base Colour
Black
White Pencil
Pink Pastel
The Base Colour
Step 1
Start with a white model horse. If you have primed in a colour other than white add a coat of white primer to your model. This colour will show through so make sure it is smooth.
Start with a white model horse. If you have primed in a colour other than white add a coat of white primer to your model. This colour will show through so make sure it is smooth.
Step 2
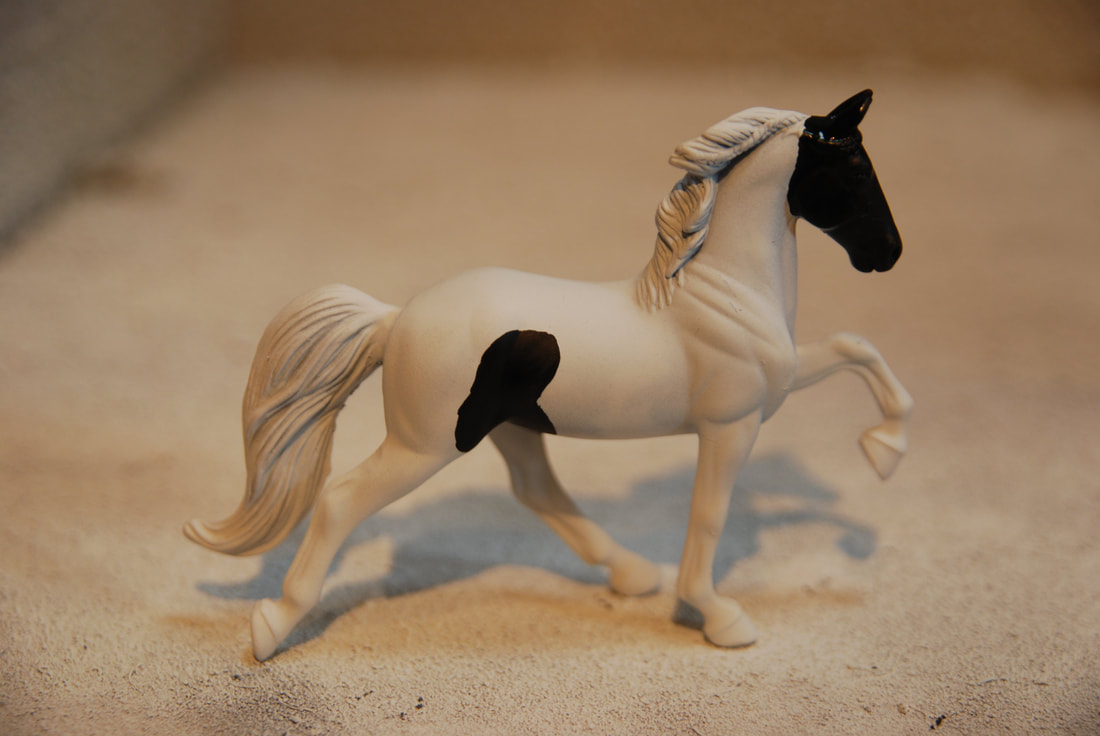
Slowly build up layers of thin black paint to create your markings. Use reference to ensure the positioning of your markings is accurate.
Slowly build up layers of thin black paint to create your markings. Use reference to ensure the positioning of your markings is accurate.
Step 3
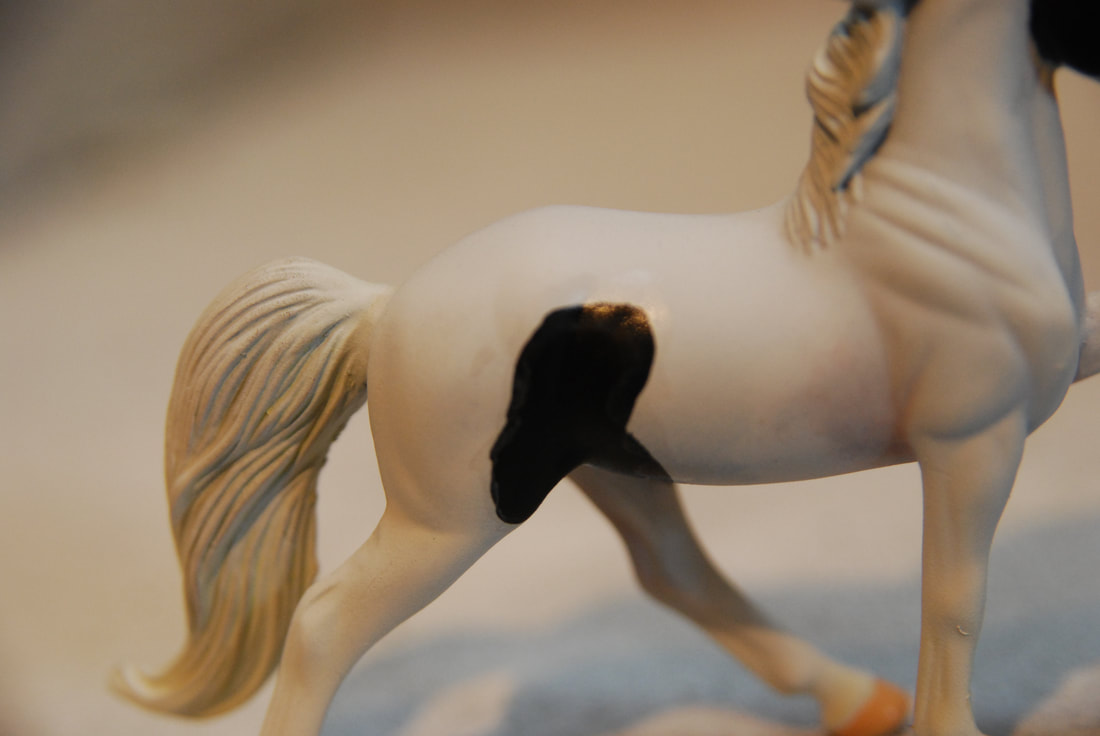
Add some pink pastel to the areas of the finer exposed skin such as in the leg joints, around the muzzle and genitals.
Add some pink pastel to the areas of the finer exposed skin such as in the leg joints, around the muzzle and genitals.
Step 4
Add a thin layer of white pencil around the edge of the markings to create mapping (watered down white paint will also work).
Add a thin layer of white pencil around the edge of the markings to create mapping (watered down white paint will also work).
Finishing Your Piece
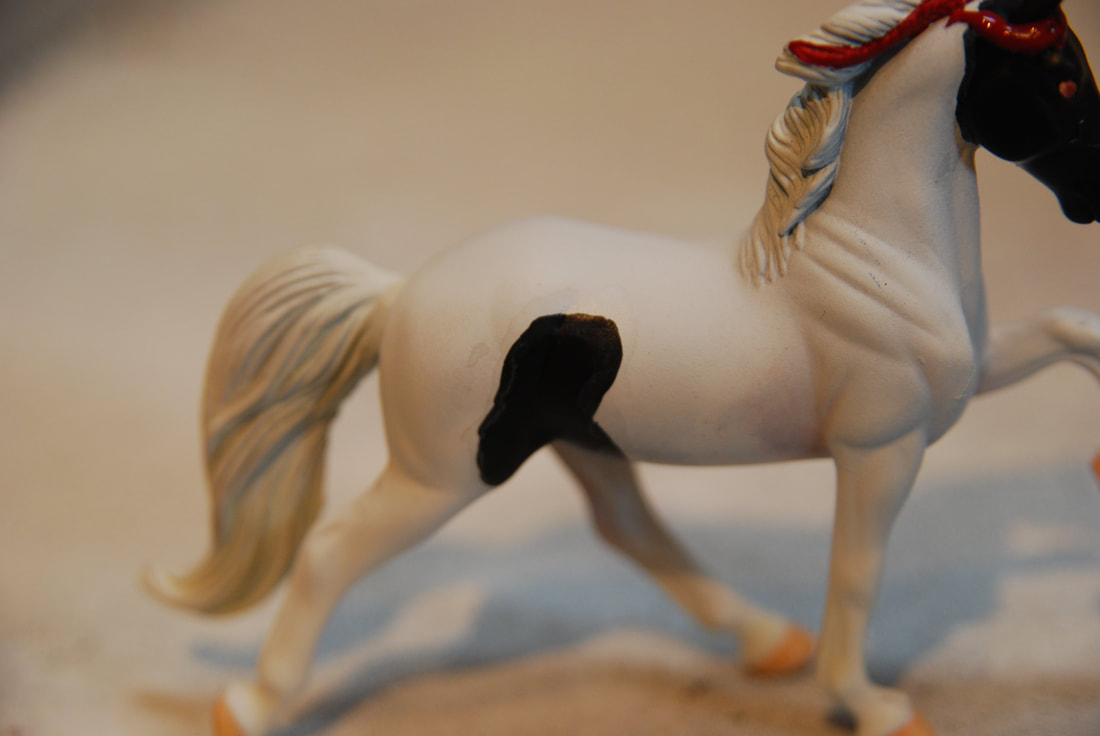
Finish off your model by painting the details such as the hooves and eyes. You can then sign and seal your model completing it by glossing the hooves and eyes.
If you have followed this tutorial and would like your completed piece featured in our gallery please email [email protected]
If you have followed this tutorial and would like your completed piece featured in our gallery please email [email protected]

