The following tutorial was written in 2017.
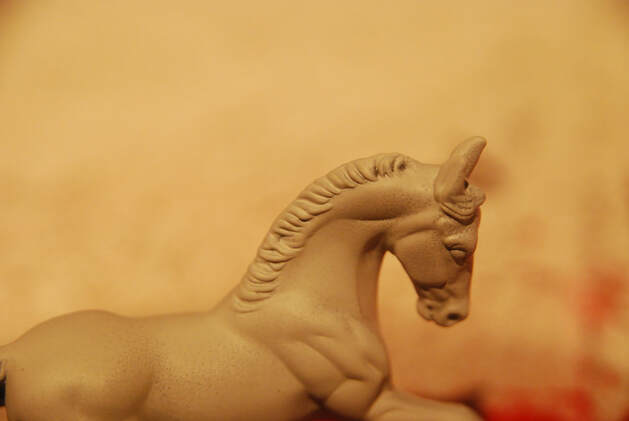
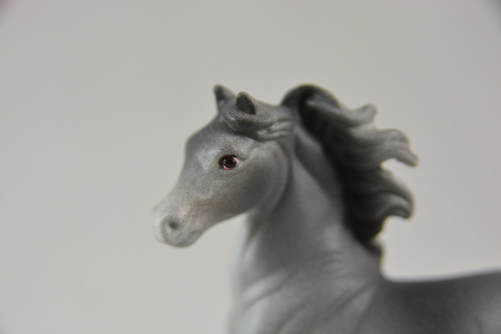
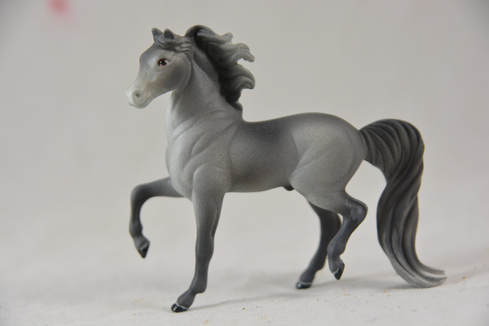
The model used is a Breyer Stablemate G2 Morgan.
The paints used were a mixture of vallejo, citadel and humbrol acrylics. Approximate costs are based on you buying all the items needed for this tutorial including a cheap airbrush and compressor. It is assumed you are painting a Stablemate model horse but this tutorial will work for all scales.
Difficulty Level: Medium
Approximate Cost: £134.00
Shopping List
The Basics
Prepped Model Horse
Airbrush
Compressor/Air Canister
Small Paint Brushes
Sealant
Gloss
Fine Liner Pen
Paints
Light Grey
Medium Grey
Dark Grey
Ginger or Light Red Brown
For the eyes/details
White
Black
Brown
Red
Prepped Model Horse
Airbrush
Compressor/Air Canister
Small Paint Brushes
Sealant
Gloss
Fine Liner Pen
Paints
Light Grey
Medium Grey
Dark Grey
Ginger or Light Red Brown
For the eyes/details
White
Black
Brown
Red
The Base Colour
Step 1
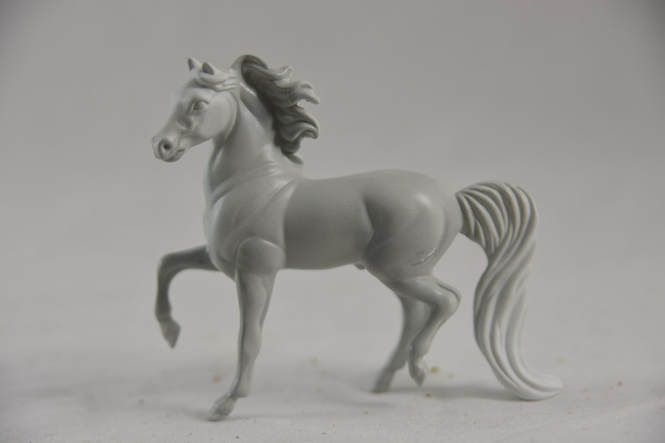
Start with a prepped model horse and white primer.
Cover the entire model in light grey - make sure you leave a smooth finish over the whole horse. Apply two layers if needed.
Start with a prepped model horse and white primer.
Cover the entire model in light grey - make sure you leave a smooth finish over the whole horse. Apply two layers if needed.
Step 2
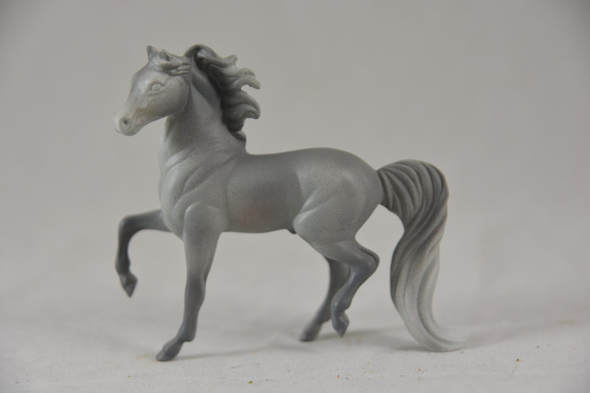
Add some ginger (a light red brown will also work) around the horse's belly.
This will add some colour depth to the coat.
Add some ginger (a light red brown will also work) around the horse's belly.
This will add some colour depth to the coat.
Step 3
Now it is time to start adding the shading. Use a medium to dark grey (or build up layers, starting lighter and then adding a little more darker grey in for more depth of colour).
Add colour to the legs, withers, neck, back, flanks and top of tail. Use reference and the photo below to help you work out where colour is needed.
Step 4
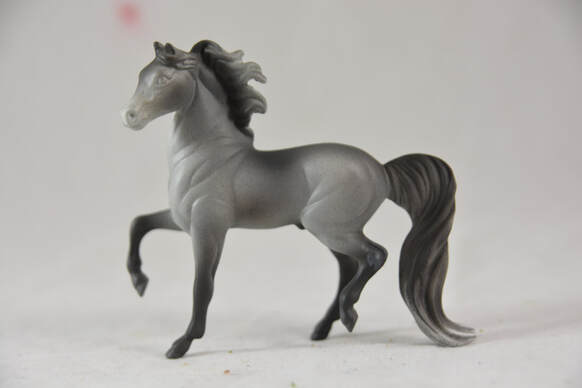
Add dark grey to the legs, top of tail, back and base of the mane. It is worth also adding some shading to the muzzle, genital area and ears at this point.
As with step 3 use reference and the photo below to help guide you.
The base coat colour is now complete. You may want to add even darker shading using black to the legs and top of the tail if you feel your colour is too light.
The Eyes
Step 1
You will need a reasonably fine detail brush to finish off the eyes, it will depend on the size of model you are using though!
Add a base coat of black to both eyes.
You will need a reasonably fine detail brush to finish off the eyes, it will depend on the size of model you are using though!
Add a base coat of black to both eyes.
Step 2
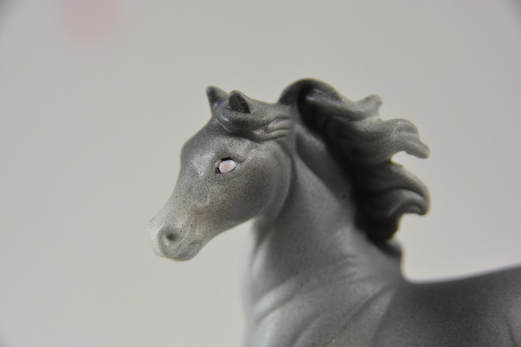
Mix white with a tiny bit of red and cover the entire eye. You will want to leave a very fine black outline but this should only be very small.
For a little extra realism paint the whole eye white and then add the red in the corner and drag it inwards. This is easier to do on larger models than smaller ones.
Step 3
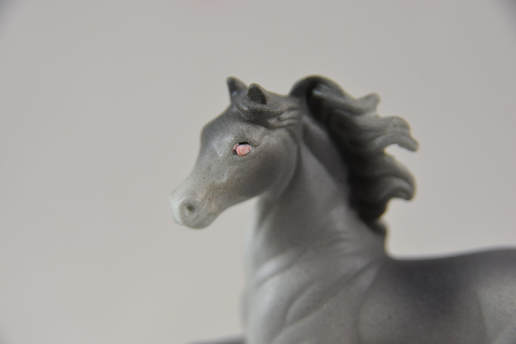
Add a very fine watery layer of red brown paint over the entirety of both eyes.
Add a very fine watery layer of red brown paint over the entirety of both eyes.
Step 4
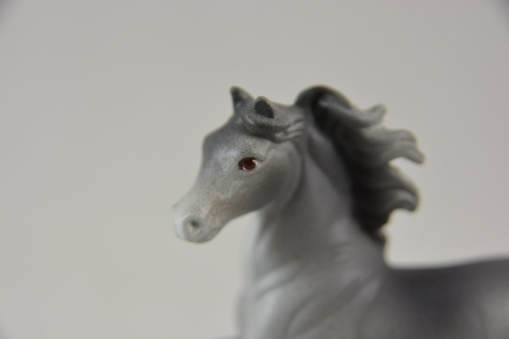
Create the iris out of dark brown paint. It should be round in shape and expose only a tiny amount of the white underneath.
Create the iris out of dark brown paint. It should be round in shape and expose only a tiny amount of the white underneath.
Step 5
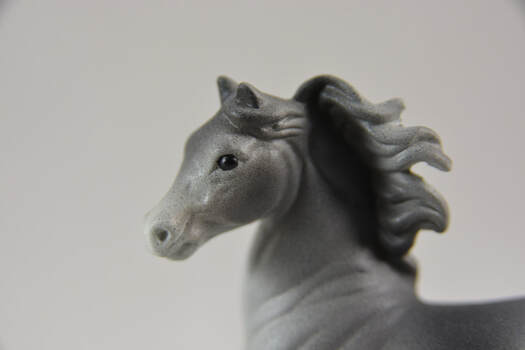
Finish your eyes by adding the oblong shaped pupil in black paint.
Finish your eyes by adding the oblong shaped pupil in black paint.
The Hooves
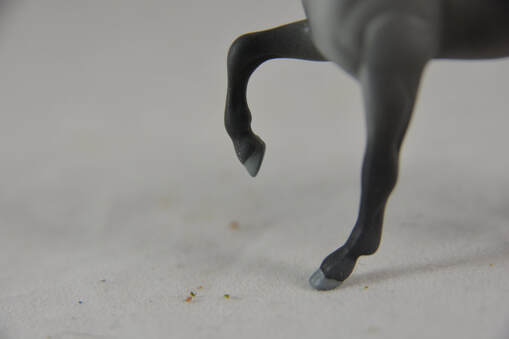
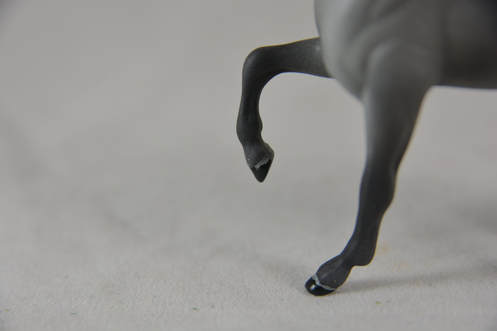
The horse in this tutorial has no white markings, so we are assuming you are painting dark hooves. Obviously if you want to add white leg markings you will need to paint light coloured hooves.
Step 1
Paint the hooves a light grey colour.
Step 1
Paint the hooves a light grey colour.
Step 2
Add a layer of dark grey exposing the light grey around the coronet band of the hoof.
Add a layer of dark grey exposing the light grey around the coronet band of the hoof.
Finishing
Use a fineliner pen to sign your model on the belly or under one hoof.
Now use a good quality sealant to seal your model. This may take a couple of layers. It should feel smooth to the touch when done but not be shiny.
Now finish your piece by adding some gloss. This horse has glossed hooves, eyes, nostrils and the very edge of his lips.
Now use a good quality sealant to seal your model. This may take a couple of layers. It should feel smooth to the touch when done but not be shiny.
Now finish your piece by adding some gloss. This horse has glossed hooves, eyes, nostrils and the very edge of his lips.
Taking It To the Next Level
The piece we have painted is quite simplistic. It would be a good colour to try if you are new to airbrushing and simply wish to practise controlling the airbrush and developing shading.
However, to take your piece to the next level you may want to think about adding more detail.
Pastel Shading
To add much more depth to this colour think about using pastels for finer shading work such as within the muscles or around the facial area. You could also add white paint mixed with a little pink pastel to create mottling around the muzzle and genitals.
Pencilled Hairs
Using a white or black pencil can add real detail when attempting to create a mixture of fine hairs. Look at reference and think about where this could be used to enhance your piece.
Detailing the Details
The instructions given for details here are very basic. You may want to think about how you can make them more realistic.
Using pencils on the hooves can help to create stripes and lines as you would see on a real horse.
Mixing colours in the iris of the eye can give a more realistic look.
Think about adding extra details such as painted on chestnuts for a more realistic finish.
Gallery of Finished Pieces
If you've attempted this tutorial and would like to share an image with us for our gallery please email [email protected]
Make sure to let us know which tutorial you completed and any information (such as your name) you would like included with your picture.
Make sure to let us know which tutorial you completed and any information (such as your name) you would like included with your picture.

