The following tutorial was written in 2011.
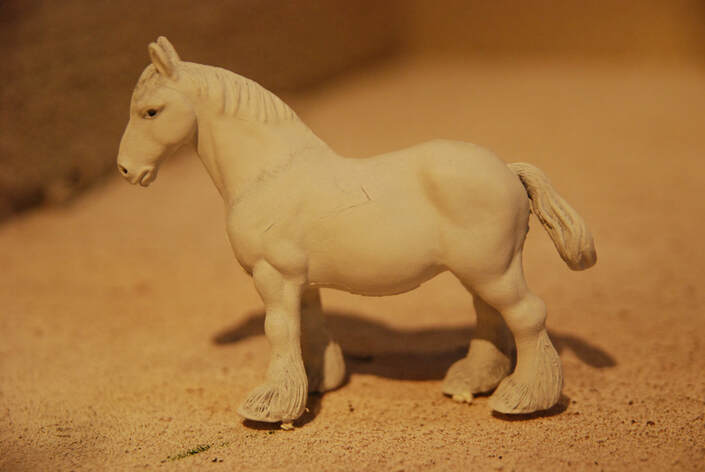
The model used is a Britains Heavy Horse
This tutorial was completed using airbrushed acrylics, hand painted acrylics and pastels. It is perfectly possible to complete this without the use of an airbrush. It is assumed you are painting a Stablemate model horse but this tutorial will work for all scales.
Difficulty Level: Intermediate
Approximate Cost: £28.00
Shopping List
Paints Needed
White
Black
Grey
Light Blue
Dark Red
Supplies Needed
Paint Brushes
Prepped Model Horse
Airbrush (optional)
Old Paint Brushes
White
Black
Grey
Light Blue
Dark Red
Supplies Needed
Paint Brushes
Prepped Model Horse
Airbrush (optional)
Old Paint Brushes
Base Colour
Step 1
You will need to start with a prepped model horse primed in white primer. If you have used a coloured primer then add a coat of white primer over the top to give you a white base.
You will need to start with a prepped model horse primed in white primer. If you have used a coloured primer then add a coat of white primer over the top to give you a white base.
Step 2
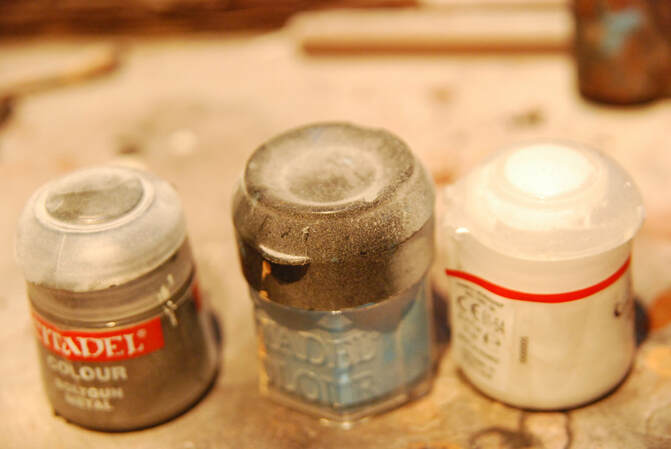
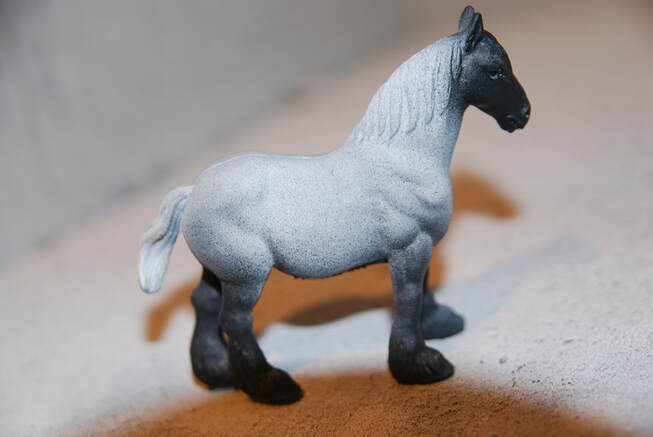
To create the base coat colour we are going to use three colours: white, grey and light blue.
To create the base coat colour we are going to use three colours: white, grey and light blue.
Step 3
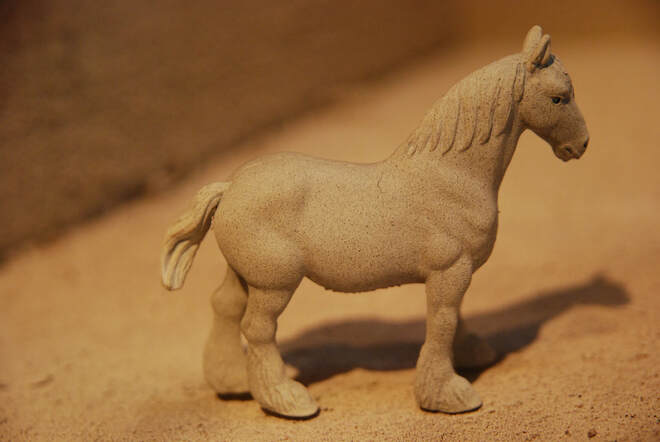
Mix one part blue to two parts grey and four parts white. Use an airbrush (or an old paint brush that is 'stubby' and has separated hairs) to cover the entire body with slightly more colour on the head and legs.
Mix one part blue to two parts grey and four parts white. Use an airbrush (or an old paint brush that is 'stubby' and has separated hairs) to cover the entire body with slightly more colour on the head and legs.
Step 4
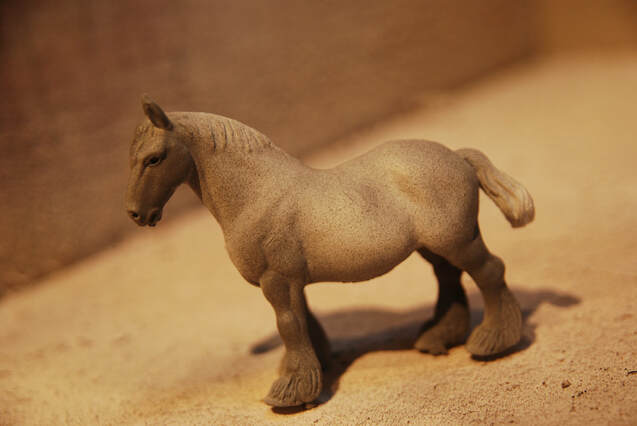
Add more grey to the pain mix and add a layer of this darker colour to the legs, head, top of tail and belly.
Add more grey to the pain mix and add a layer of this darker colour to the legs, head, top of tail and belly.
Step 5
Add a layer of black (you may want to mix in a tiny bit of blue depending on the shade of your black) and add this to the head and legs.
Add a layer of black (you may want to mix in a tiny bit of blue depending on the shade of your black) and add this to the head and legs.
Step 6
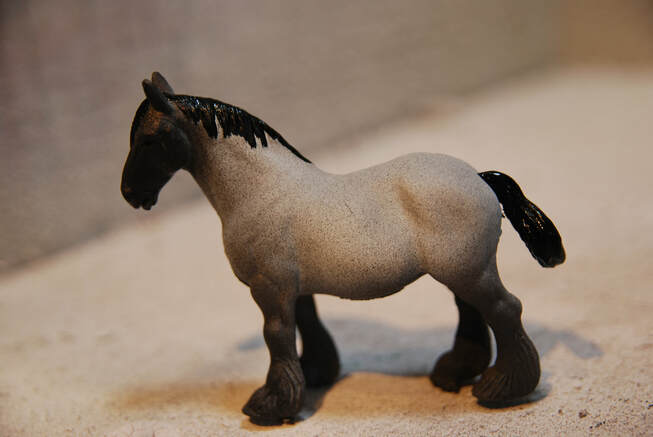
Add a layer of black paint to the mane and tail. For even more realism you can add some white hairs into them once the black paint has dried.
Add a layer of black paint to the mane and tail. For even more realism you can add some white hairs into them once the black paint has dried.
Step 7
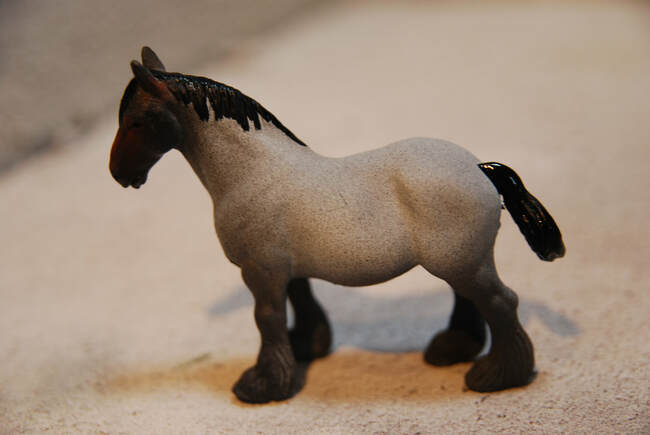
Using either pastels or paint add some red shading behind the ears and on the face. You may want to also add some to the top of the legs.
Using either pastels or paint add some red shading behind the ears and on the face. You may want to also add some to the top of the legs.
Step 8
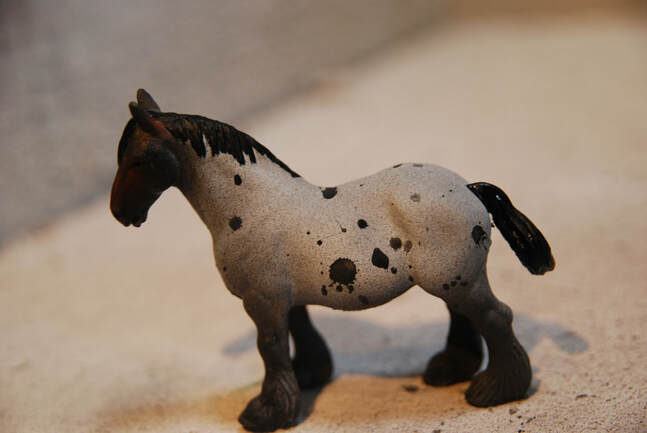
Finish your piece by flicking any left over paint onto the model using a paint brush. This will create an unusual patterned effect across the model.
Finish your piece by flicking any left over paint onto the model using a paint brush. This will create an unusual patterned effect across the model.
Finishing Your Model
Finish your model by painting your model's eyes and hooves. You can also add details such as the chestnuts.
Once the paintwork is complete add a layer of sealant to protect your model. Then gloss the hooves and eyes for a realistic finish.
Once the paintwork is complete add a layer of sealant to protect your model. Then gloss the hooves and eyes for a realistic finish.
Gallery of Completed Pieces
If you have attempted this tutorial then why not send us a picture of your completed piece? Email it to [email protected] and we will feature it in the gallery below.

