The following tutorial was written in 2011.
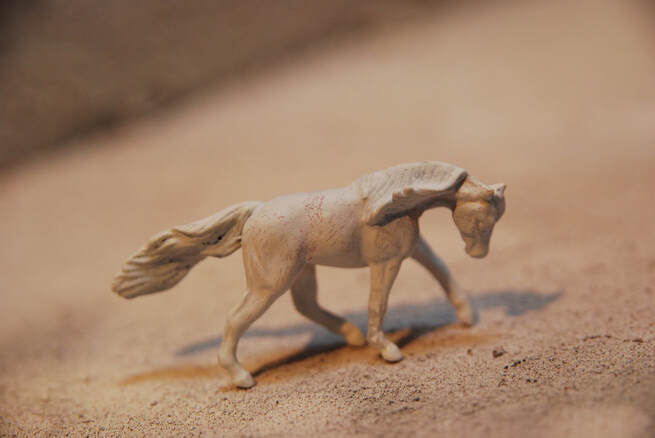
The model used is a Breyer Miniature Running Walk Tennessee Walking Horse Mare.
The pencils used were standard WHS colouring pencils, any brand will work for this tutorial. For the pricing it is assumed you are using reasonably priced pencils. It is assumed you are painting a Stablemate model horse but this tutorial will work for all scales.
Difficulty Level: Easy
Approximate Cost: £11.00
Shopping List
The Basics
Prepped Model Horse
Pencils
Red Brown
Light Grey
Dark Grey
Black
To finish off details such as hooves and eyes you will want to use acrylic paint.
Prepped Model Horse
Pencils
Red Brown
Light Grey
Dark Grey
Black
To finish off details such as hooves and eyes you will want to use acrylic paint.
The Basics
Step 1
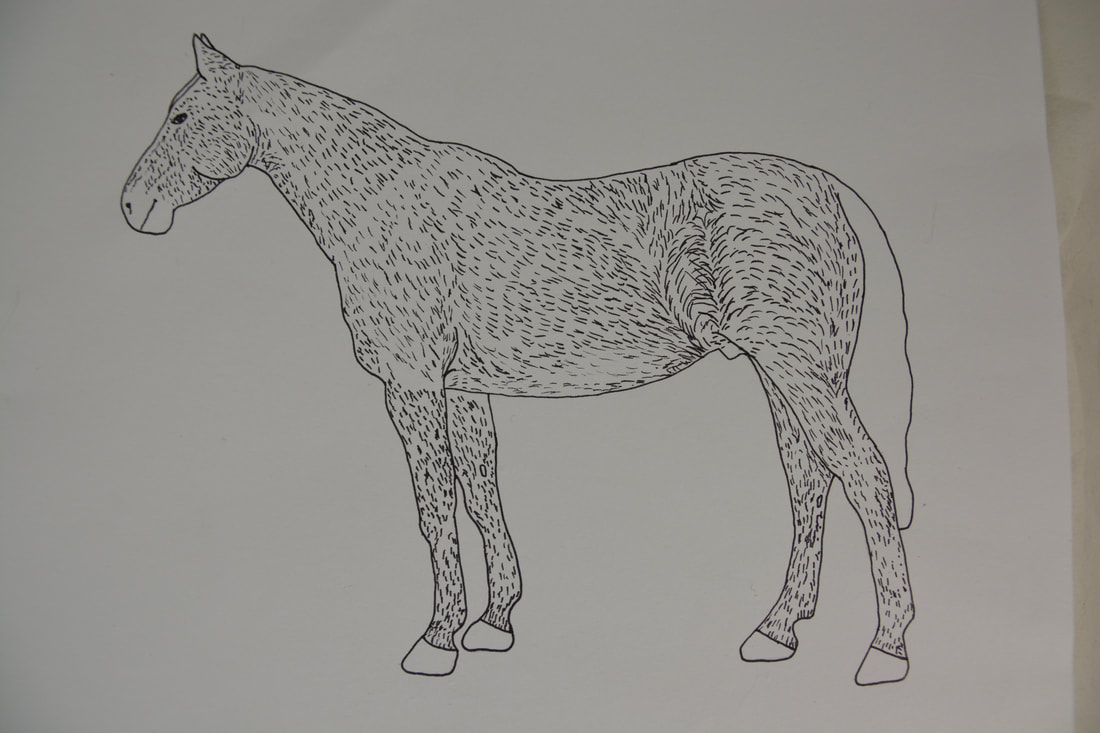
To start you will need a prepped model horse primed in white primer. You will also need a good reference picture of a fleabitten grey. Above we have included a diagram of coat hair directions to help you with this project but we recommend also using reference pictures.
To start you will need a prepped model horse primed in white primer. You will also need a good reference picture of a fleabitten grey. Above we have included a diagram of coat hair directions to help you with this project but we recommend also using reference pictures.
Step 2
You will need to make sure your pencils are sharp. We are using quite a hard colouring pencil for this, softer pastel pencils may prove too soft and smudgy for smaller scale models. Experiment and see what you like best. A reasonable mid-priced brand such as these WH Smith pencils will work fine.
You will need to make sure your pencils are sharp. We are using quite a hard colouring pencil for this, softer pastel pencils may prove too soft and smudgy for smaller scale models. Experiment and see what you like best. A reasonable mid-priced brand such as these WH Smith pencils will work fine.
Step 3
Using reference and the diagram to help you start to add each individual fleck of colour. It is really important that you follow the flow of the horse's coat, so carefully follow your reference. Add red flecks up from the stifle to the point of hip. Add a few flecks on the quarters and barrel.
Using reference and the diagram to help you start to add each individual fleck of colour. It is really important that you follow the flow of the horse's coat, so carefully follow your reference. Add red flecks up from the stifle to the point of hip. Add a few flecks on the quarters and barrel.
Step 4
We are now going to use a light grey to finish off the body specks. Again make sure it is sharp.
We are now going to use a light grey to finish off the body specks. Again make sure it is sharp.
Step 5
Add light grey flecks across the rest of the horse's body, head and neck. Add some at the top of the legs. Exclude the horse's points (think about where a bay horse would normally have black and exclude those).
Add light grey flecks across the rest of the horse's body, head and neck. Add some at the top of the legs. Exclude the horse's points (think about where a bay horse would normally have black and exclude those).
Step 6
Now get a dark grey pencil and do the fleabites on the horse's points (legs, muzzle, ears and genitals).
Then add longer strokes to the mane and tail, you may want to use a pastel pencil for this if you have it as it will look smoother.
Now get a dark grey pencil and do the fleabites on the horse's points (legs, muzzle, ears and genitals).
Then add longer strokes to the mane and tail, you may want to use a pastel pencil for this if you have it as it will look smoother.
Step 8
Get a black pencil and add some more flecks to the hocks, knees, muzzle and a bit on the mane and tail. Again for the mane and tail you may find a pastel pencil easier.
Seal your model and leave to dry.
Your base colour is now complete!
Get a black pencil and add some more flecks to the hocks, knees, muzzle and a bit on the mane and tail. Again for the mane and tail you may find a pastel pencil easier.
Seal your model and leave to dry.
Your base colour is now complete!
Finishing Your Piece
You can now finish your piece by adding any white markings you want and painting the details such as the hooves and eyes.
Once you have sealed and signed your horse gloss the hooves and eyes.
Top Tip! If you want your model to have had white markings instead of painting these on after leave those areas blank as you do your pencil fleabites. Add a little pink pastel to the muzzle if you are doing a white face marking that would cover the muzzle and only add the flecks around the outside of this pink.
If you have followed this tutorial and want to share an image of your completed piece for our gallery then email [email protected]

