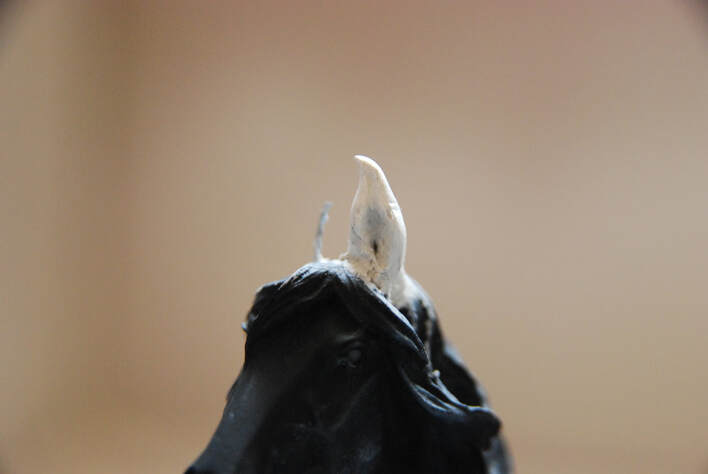
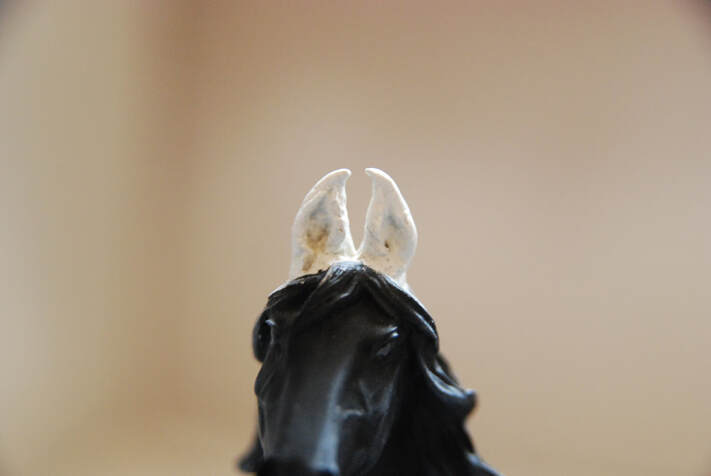
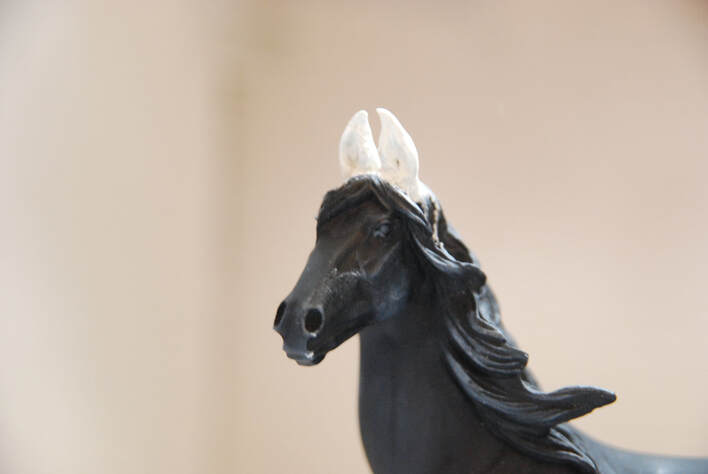
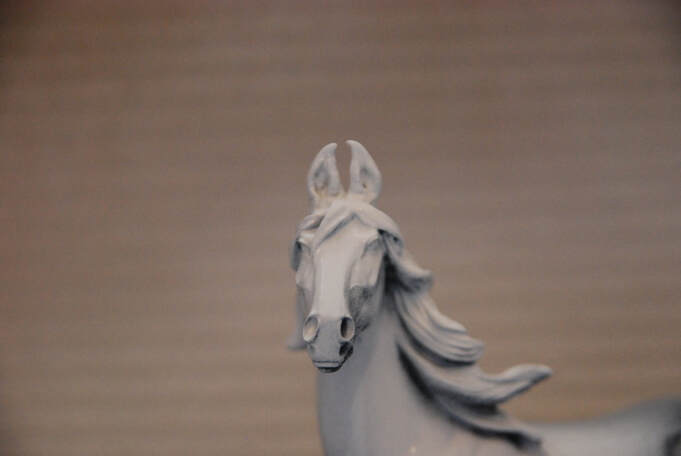
This tutorial was written in 2015. The model used is a commercial resin (they came free with magazines I believe).
This tutorial will show you how to remove a model's ears and replace them with turned in Marwari or Kathiawari style ears.
This is a fun tutorial if you've got a model that you want to look a bit different. If you have a good base to work from you can also do it without removing the ears. I used Amazing Sculpt for the sculpting in this tutorial but any two part epoxy putty will work.
Estimated Cost: £30.00
Difficulty Level: Medium
Shopping List
The Basics
Model Horse
You'll need a model that has Marwari style conformation if you aren't going to completely resculpt.
Dremel
Sculpting Tools (I prefer silicone but metal will work)
Super Glue
Rubbing Alcohol
If not using a dremel:
Hot Knife
Hand Drill
Sculpting
Wire
Epoxy Putty (e.g. Milliput or Amazing Sculpt)
Prep Work
Step 1
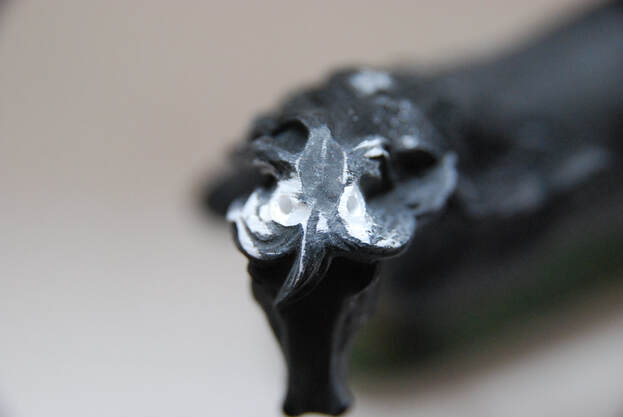
The first step is to remove the ears. Use a dremel or a hot knife to carefully cut them off.
Now use a dremel or hand drill to drill two small holes where you want the ears to go.
The first step is to remove the ears. Use a dremel or a hot knife to carefully cut them off.
Now use a dremel or hand drill to drill two small holes where you want the ears to go.
Step 2
Take two small lengths of wire that are both equal in length.
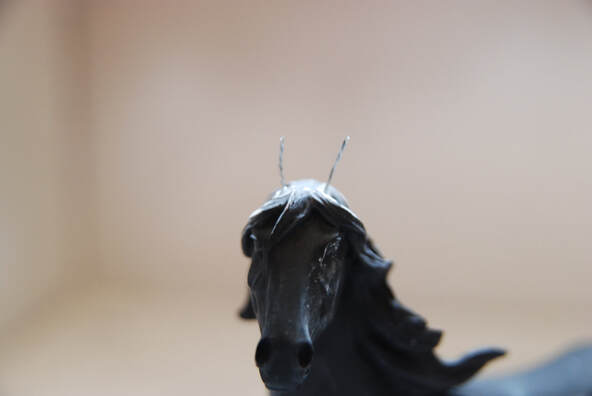
Stick the wire in the holes and then trim down so they are the same length as the horse's ears would be.
My wire was around 1cm long with most of it in the hole.
Take two small lengths of wire that are both equal in length.
Stick the wire in the holes and then trim down so they are the same length as the horse's ears would be.
My wire was around 1cm long with most of it in the hole.
Step 3
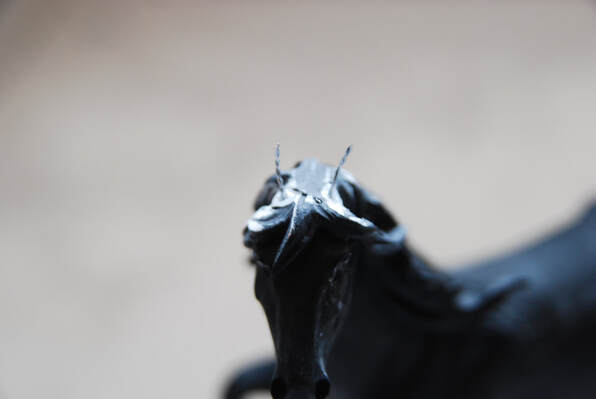
Fill each hole with a strong adhesive glue and place the wire in.
Don't worry if they aren't the perfect shape just try to get the right angle for each ear. You may need to hold them whilst the glue starts to set.
Once your glue is perfectly set you can move on.
Fill each hole with a strong adhesive glue and place the wire in.
Don't worry if they aren't the perfect shape just try to get the right angle for each ear. You may need to hold them whilst the glue starts to set.
Once your glue is perfectly set you can move on.
Step 4
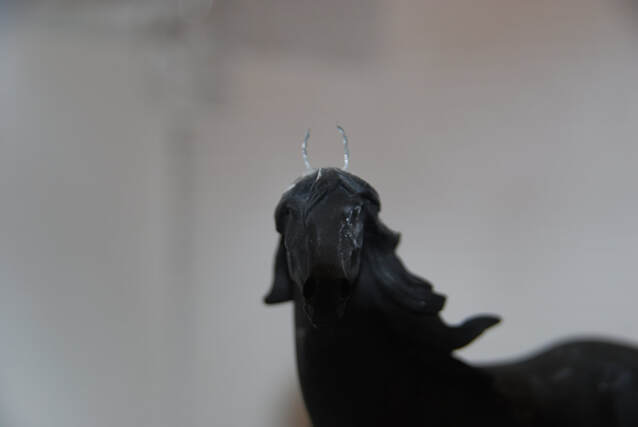
Once they are set use a pair of pliers to gently bend the wire into more of an ear shape. Your horse should now look like a cute little bug.
Once they are set use a pair of pliers to gently bend the wire into more of an ear shape. Your horse should now look like a cute little bug.
Sculpting
Step 5
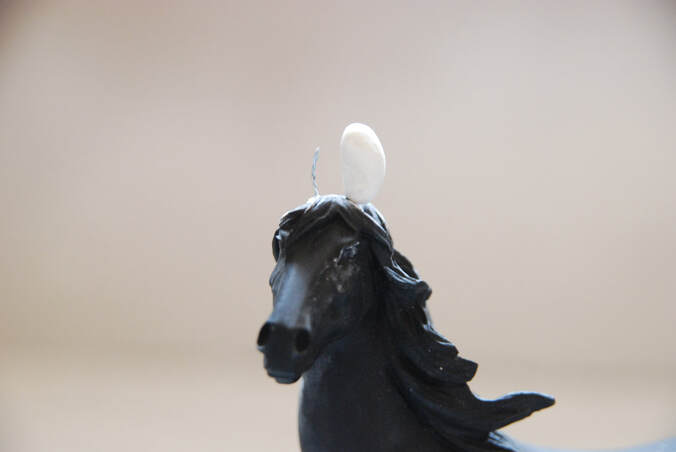
We will now sculpt the actual ears.
An alternative is to sculpt them around the wire on your workbench and then stick them on after. We are going to sculpt on the horse.
Start by making a small cylinder of epoxy putty, this should be just longer than your wire supports.
Push the cylinder gently down over the wire.
Step 6
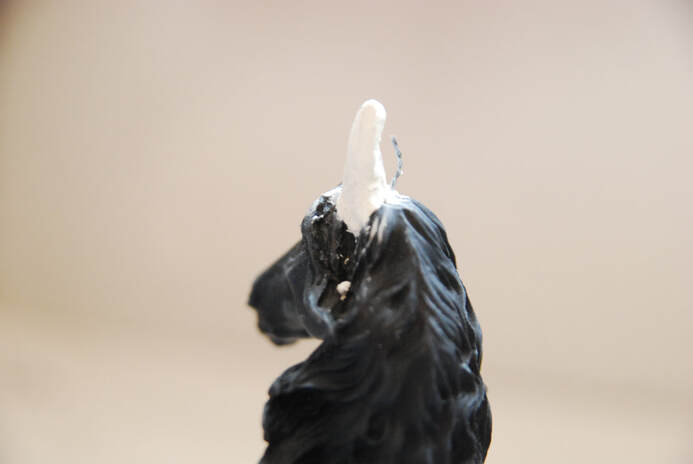
Use a flat sculpting tool to smooth the putty onto the horse's head around the bottom of the ear. This will create the join between the head and the ear.
Use a flat sculpting tool to smooth the putty onto the horse's head around the bottom of the ear. This will create the join between the head and the ear.
Step 7
Start to create the basic shape of your ear. Use either your fingers or tools to carefully bend the putty around so that it is curved towards the other ear. Then flatten the front of the ear.
The back of the ear should still be rounded. Smooth this down so it creates a smooth slope al the way from the top of the ear to the head.
Step 8
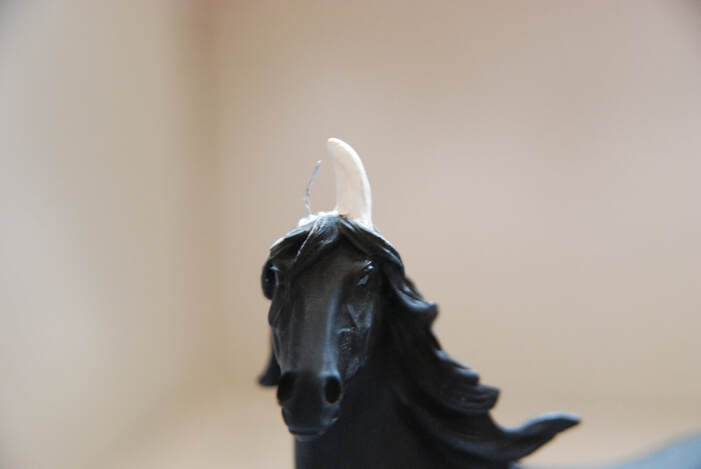
Use a sculpting tool to push the putty in the centre of the front of the ear inwards. The shape of the inside of the ear should mirror the contours of the outside. Use two tools to pinch together the sides of the ear and then carefully bend them in front of the hole. This should create a good ear shape.
Use a sculpting tool to push the putty in the centre of the front of the ear inwards. The shape of the inside of the ear should mirror the contours of the outside. Use two tools to pinch together the sides of the ear and then carefully bend them in front of the hole. This should create a good ear shape.
Step 9
We will now adapt the ear to give it the characteristic Marwari curve.
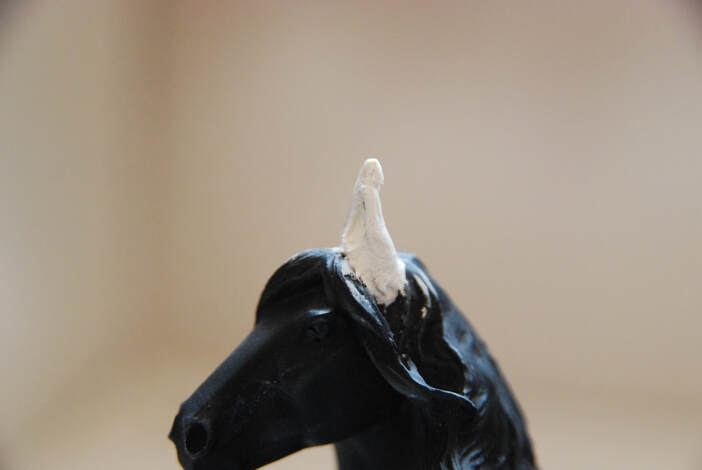
Pinch together the top of the ear to create a very pointed triangle and then gently bend it over to create the curve. You may need to extend your inner ear dent upwards to follow the length of your new ear.
We will now adapt the ear to give it the characteristic Marwari curve.
Pinch together the top of the ear to create a very pointed triangle and then gently bend it over to create the curve. You may need to extend your inner ear dent upwards to follow the length of your new ear.
Step 10
Repeat steps 5-9 for the other ear.
Repeat steps 5-9 for the other ear.
Step 11
Use rubbing alcohol and an old brush to carefully smooth down your putty to a good finish.
Use rubbing alcohol and an old brush to carefully smooth down your putty to a good finish.
Step 12
Once the putty is dry add some primer and check for any lumps and bumps. You can always use sand paper to lightly sand down if you are unhappy with the finish. Or if you're really unhappy just snap them off, dig out the wire and start again!
Once the putty is dry add some primer and check for any lumps and bumps. You can always use sand paper to lightly sand down if you are unhappy with the finish. Or if you're really unhappy just snap them off, dig out the wire and start again!
Finishing Your Model
You may need to add some new mane around the horse's ears if you've had to remove some for sculpting.
Once you are happy with your horse you can go ahead and paint him!
Once you are happy with your horse you can go ahead and paint him!
Gallery of Finished Pieces
If you've attempted this tutorial and would like to share an image with us for our gallery please email [email protected]
Make sure to let us know which tutorial you completed and any information (such as your name) you would like included with your picture.
Make sure to let us know which tutorial you completed and any information (such as your name) you would like included with your picture.

