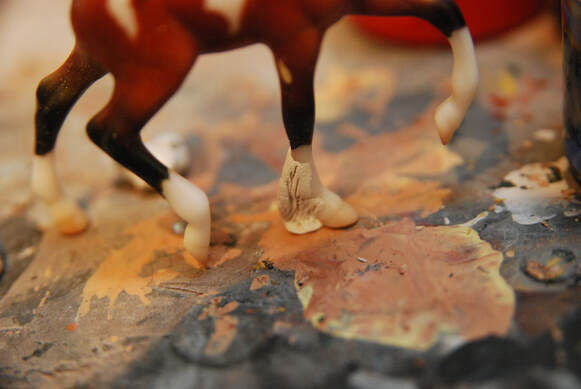
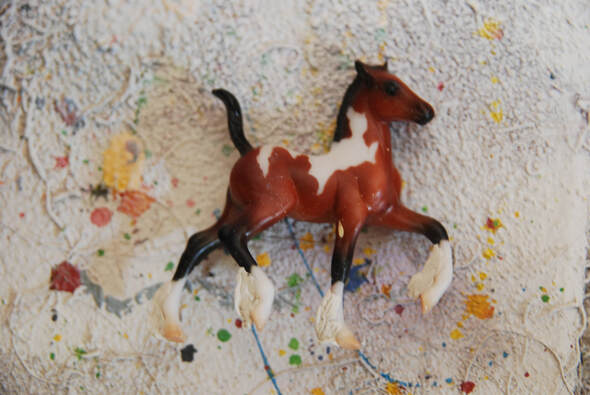
This tutorial was written in 2013. The model used is a Breyer G2 Trotting Foal.
This tutorial will show you how to add feathers to a model horse to turn it into a draught or heavy type horse. The price is based on you using milliput but any two part epoxy putty will work.
Estimated Cost: £33.00
Difficulty Level: Medium
This tutorial will show you how to add feathers to a model horse to turn it into a draught or heavy type horse. The price is based on you using milliput but any two part epoxy putty will work.
Estimated Cost: £33.00
Difficulty Level: Medium
Shopping List
The Basics
Model Horse
Primer
Metal or Silicone Sculpting Tools
Other Supplies
Two Part Epoxy Putting (e.g. Milliput)
Rubbing Alcohol
Model Horse
Primer
Metal or Silicone Sculpting Tools
Other Supplies
Two Part Epoxy Putting (e.g. Milliput)
Rubbing Alcohol
Step 1
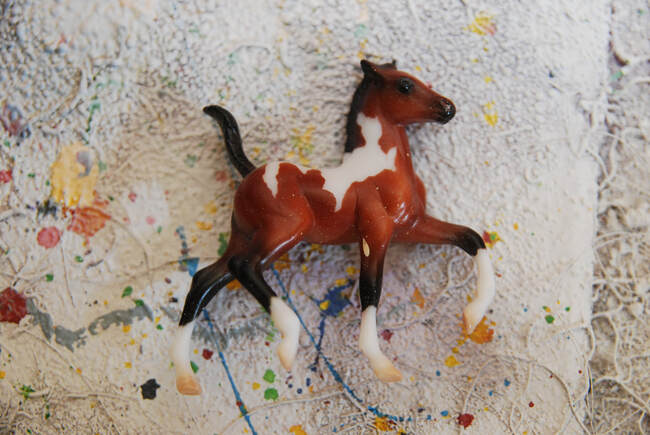
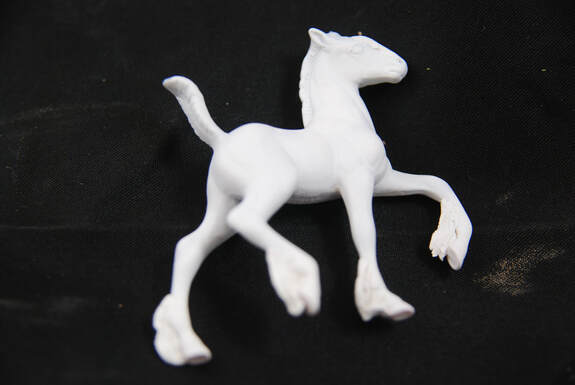
You will need a model horse to add the feathers to. I am using this little foal (he also had his face resculpted to give him a heavier appearance).
First off prepare your model, make sure the area around the lower legs is clear and then lightly sand it with a high grade sand paper.
It's important to make the finish a little bit rough or the epoxy putty won't have anything to grip onto!
Step 2
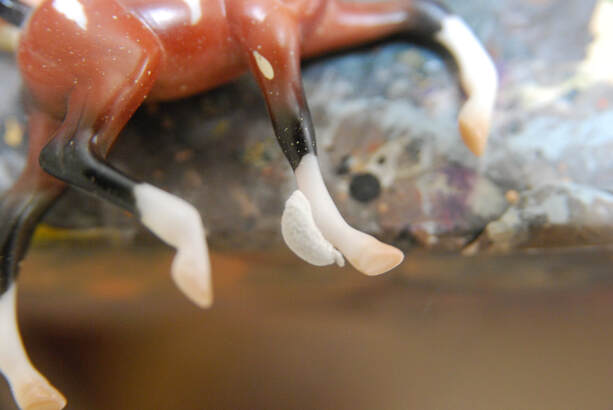
Make a little slug shape out of epoxy putty and place this on your horse's lower leg. It should wrap around the joint and onto the fetlock.
Make a little slug shape out of epoxy putty and place this on your horse's lower leg. It should wrap around the joint and onto the fetlock.
Step 3
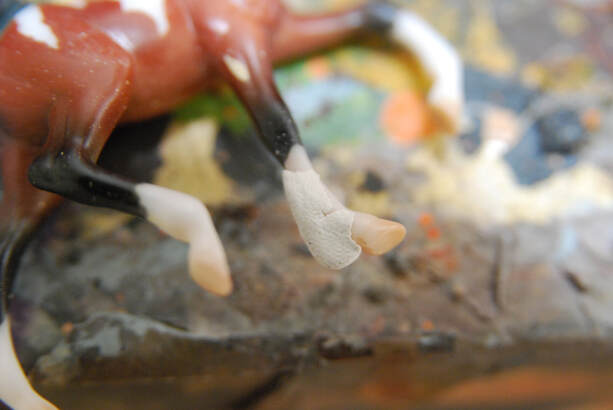
We now need to make sure that our feathers are attached to the horse's leg.
Smooth the epoxy putty around the leg so that it forms a smooth join and blends into the leg.
You may want to smooth it down with rubbing alcohol at this point (let it dry before moving onto Step 4)
We now need to make sure that our feathers are attached to the horse's leg.
Smooth the epoxy putty around the leg so that it forms a smooth join and blends into the leg.
You may want to smooth it down with rubbing alcohol at this point (let it dry before moving onto Step 4)
Step 4
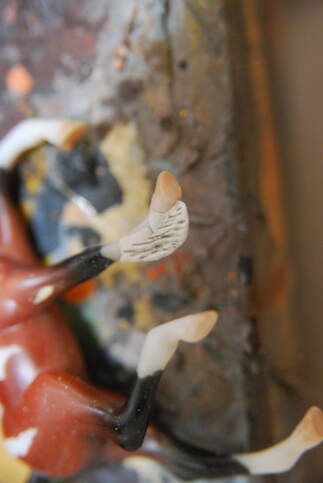
Now add the grooves for the feathers. Use a metal or silicone sculpting tool to add lines away from the horse's leg and down. I prefer silicone tools because they give a softer feel but a metal tool was used for this tutorial.
Now add the grooves for the feathers. Use a metal or silicone sculpting tool to add lines away from the horse's leg and down. I prefer silicone tools because they give a softer feel but a metal tool was used for this tutorial.
Step 5
Stand your model up to check that the feathers aren't too long! If you are going for the super fluffy look you will need to make sure they fall naturally against the ground. Continue to add detail using a silicone tool.
Stand your model up to check that the feathers aren't too long! If you are going for the super fluffy look you will need to make sure they fall naturally against the ground. Continue to add detail using a silicone tool.
Step 6
Repeat the process for each of the horse's legs. Once they have set a bit use rubbing alcohol and a soft brush to smooth them down.
Repeat the process for each of the horse's legs. Once they have set a bit use rubbing alcohol and a soft brush to smooth them down.
Step 7
Prime your model with grey or white primer to see if there are any areas that still need smoothing. Use sand paper to lightly stand down any rough areas. You may need to remove the feathers entirely and start again. Don't worry! It's just failing forward :)
Once your model is complete you can now paint it your chosen colour.
Gallery of Completed Pieces
If you've attempted this tutorial and would like to share an image with us for our gallery please email [email protected]
Make sure to let us know which tutorial you completed and any information (such as your name) you would like included with your picture.
Make sure to let us know which tutorial you completed and any information (such as your name) you would like included with your picture.

