The following tutorial was written in 2011.
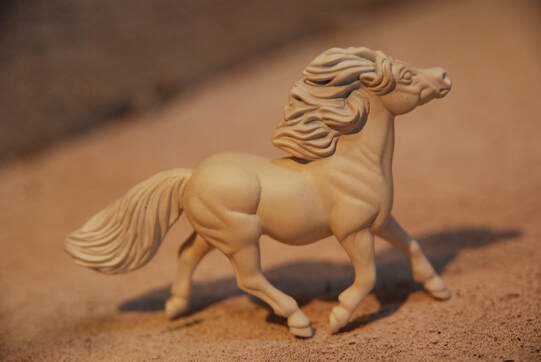
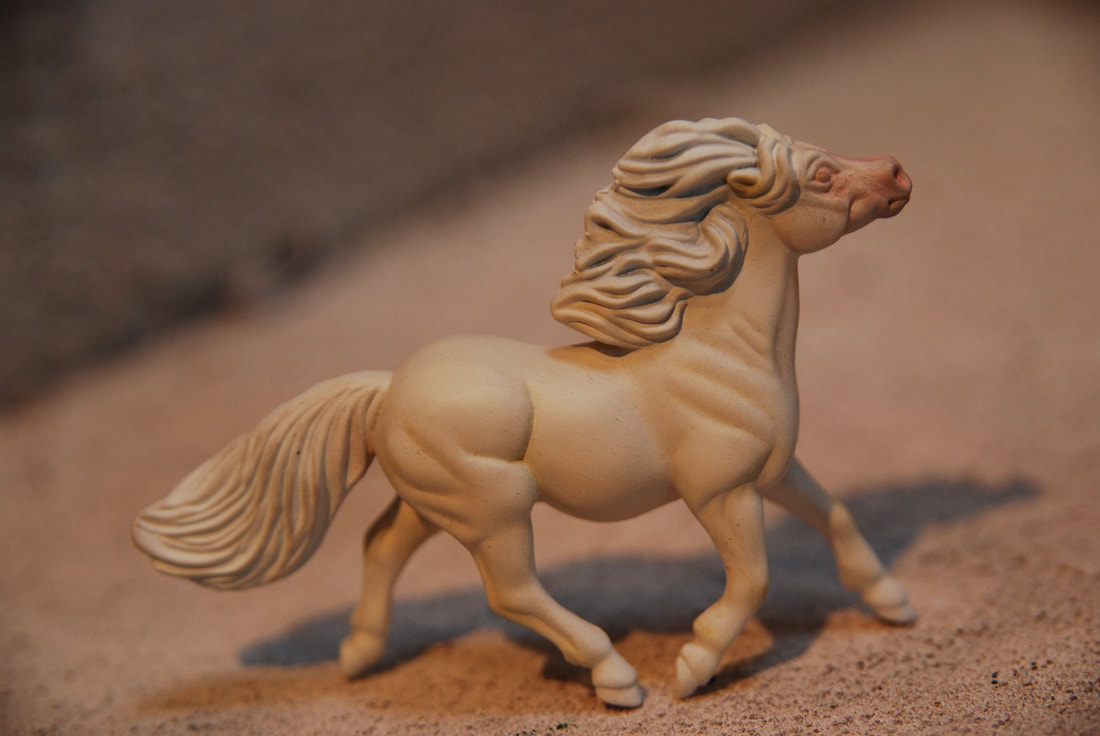
The model used is a Breyer Stablemate G2 Shetland.
The paints used were the Citadel range from Games Workshop, with earth tone pastels. Approximate costs are based on you buying all the items needed for this tutorial including a brushes. It is assumed you are painting a Stablemate model horse but this tutorial will work for all scales.
Difficulty Level: Beginner
Approximate Cost: £48.00
Shopping List
The Basics
Prepped Model Horse
Set of Paint Brushes
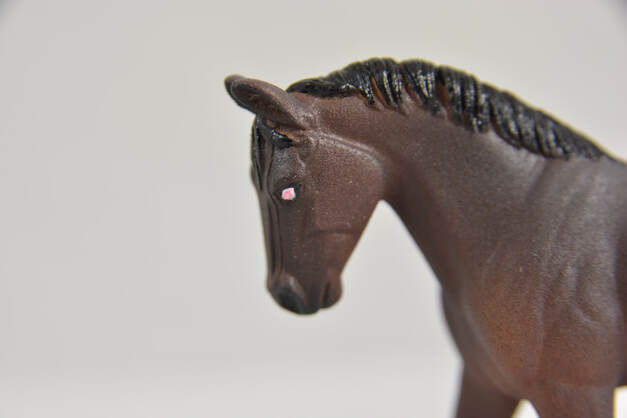
Reference Picture
Sealant
Old Paint Brushes (for pastels)
Paints
White
Flesh Tone
Details
Black
White
Light Blue
Red
Ochre
Pastels
Dark Flesh
Light Ochre
Prepped Model Horse
Set of Paint Brushes
Reference Picture
Sealant
Old Paint Brushes (for pastels)
Paints
White
Flesh Tone
Details
Black
White
Light Blue
Red
Ochre
Pastels
Dark Flesh
Light Ochre
The Basics
Step 1
Mix white with a light flesh tone paint to create a similar shade to above. This will be the base colour for most of the model so you don't want it to be too dark.
Mix white with a light flesh tone paint to create a similar shade to above. This will be the base colour for most of the model so you don't want it to be too dark.
Step 2
Cover the body of the model in this colour, leaving the mane and tail white.
Cover the body of the model in this colour, leaving the mane and tail white.
Step 3
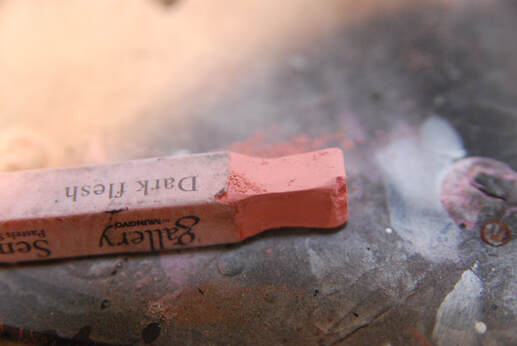
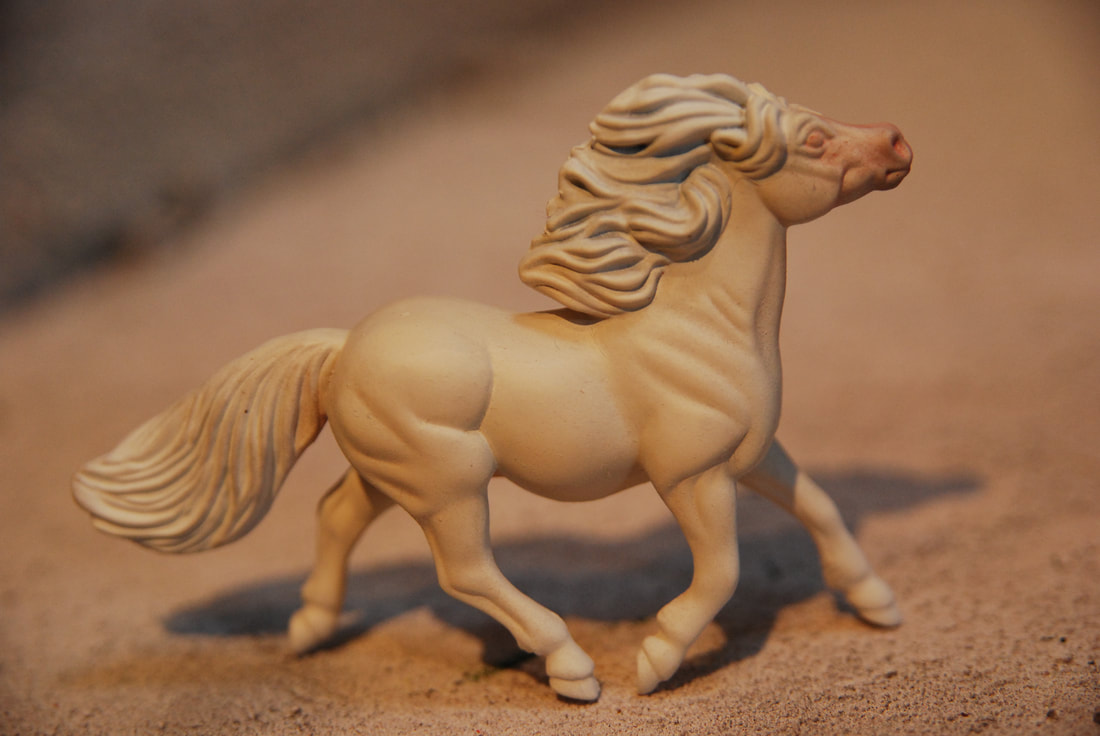
Use a dark flesh coloured pastel to add shading to:
Muzzle
Eyes
Genitals
Use a dark flesh coloured pastel to add shading to:
Muzzle
Eyes
Genitals
Step 4
Use a light ochre to fill in the areas where you would normally see shading on a model. In particular focus on the muscle 'dents' of the mould you are working on.
Use a light ochre to fill in the areas where you would normally see shading on a model. In particular focus on the muscle 'dents' of the mould you are working on.
Step 5
Seal your model before finishing the details. Make sure to give him blue eyes as he is a double dilute!
TOP TIP! If you overpainted onto the main and tail make sure to add a few coats of white paint so that they are not the same colour as the model's body.
Seal your model before finishing the details. Make sure to give him blue eyes as he is a double dilute!
TOP TIP! If you overpainted onto the main and tail make sure to add a few coats of white paint so that they are not the same colour as the model's body.
Taking it to the Next Level
The piece we have painted is quite simplistic. It is a great basic tutorial to get you into customising and can be completed with just a few supplies.
However, to take your piece to the next level you may want to think about adding more detail.
Detailing the Details
The instructions given for details here are very basic. You may want to think about how you can make them more realistic.
Using pencils on the hooves can help to create stripes and lines as you would see on a real horse.
Mixing colours in the iris of the eye can give a more realistic look.
Think about adding extra details such as painted on chestnuts for a more realistic finish.

