The following tutorial was written in 2012.
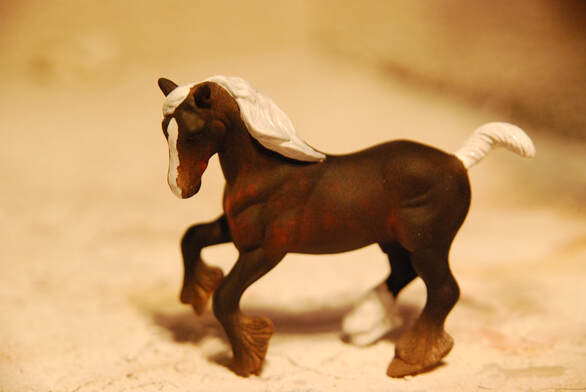
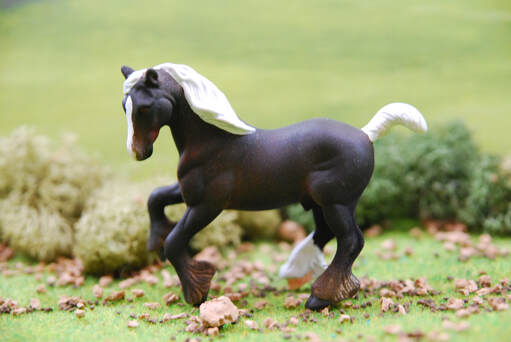
The model used is a Breyer Stablemate G2 Clydesdale.
The paints used were the Citadel range from Games Workshop, with earth tone pastels. Approximate costs are based on you buying all the items needed for this tutorial including a brushes. It is assumed you are painting a Stablemate model horse but this tutorial will work for all scales.
Difficulty Level: Medium
Approximate Cost:
Shopping List
The Basics
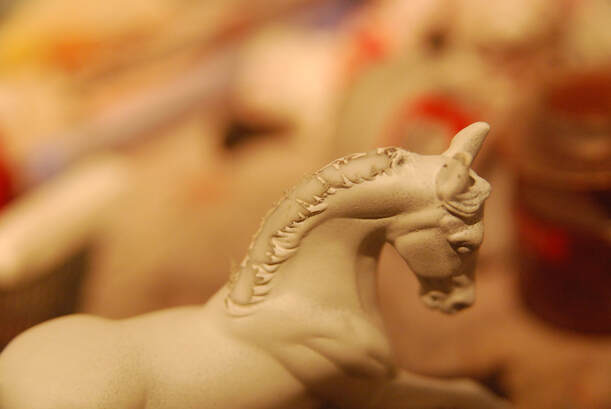
Prepped Model Horse
Set of Paint Brushes
Reference Picture
Sealant
Old Brushes for Pastels
Paints
Ochre
Burnt Umber
White
Pastels
Burnt Sienna
Burnt Umber
Other Supplies
White Eye Shadow
Prepped Model Horse
Set of Paint Brushes
Reference Picture
Sealant
Old Brushes for Pastels
Paints
Ochre
Burnt Umber
White
Pastels
Burnt Sienna
Burnt Umber
Other Supplies
White Eye Shadow
Base Colour
Step 1
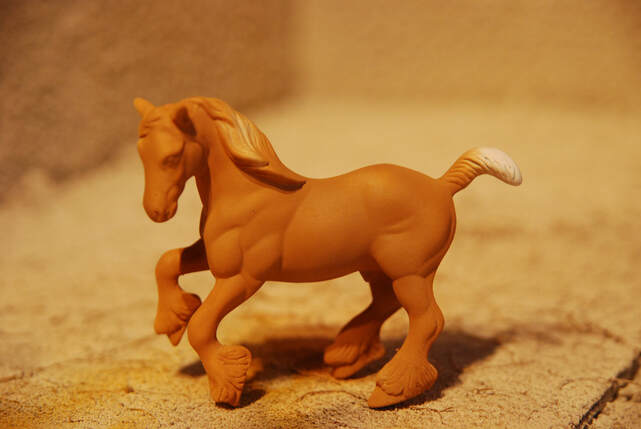
Paint the whole horse in ochre, you can leave the mane and tail.
Paint the whole horse in ochre, you can leave the mane and tail.
Step 2
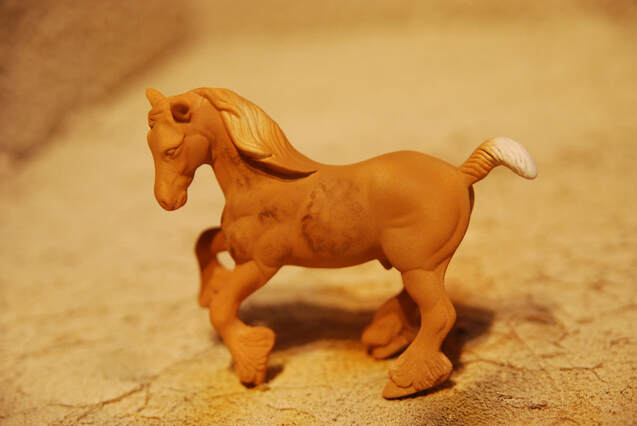
Using an old brush that has clumped up with paint add the outline of dapples in burnt umber pastel. These should be added to the barrel, shoulder and neck.
Once done seal your model horse.
Using an old brush that has clumped up with paint add the outline of dapples in burnt umber pastel. These should be added to the barrel, shoulder and neck.
Once done seal your model horse.
Step 3
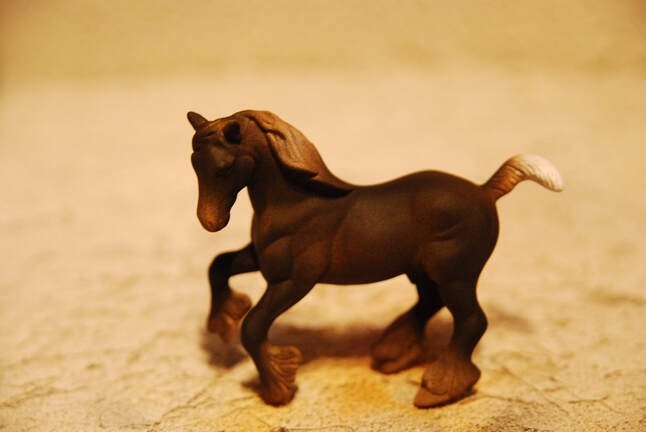
Now cover most of the horse in a layer of burnt umber. You want the points of the horse to show through and you also want to be able to see the dapples. You might find it easier to blend using pastel than paint (although an airbrush works well for this stage). The darkest area should be along the back.
Now cover most of the horse in a layer of burnt umber. You want the points of the horse to show through and you also want to be able to see the dapples. You might find it easier to blend using pastel than paint (although an airbrush works well for this stage). The darkest area should be along the back.
Step 4
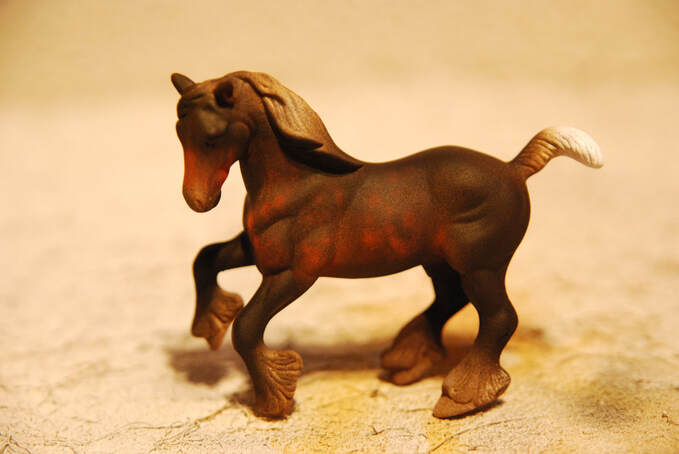
Use a burnt sienna pastel in the same way as you did in Step 2. Add dapples across the belly and shoulder muscles. You may also want to add some dapples to the face.
Then add highlights to the cheeks and bridge of the nose.
Seal your model.
Use a burnt sienna pastel in the same way as you did in Step 2. Add dapples across the belly and shoulder muscles. You may also want to add some dapples to the face.
Then add highlights to the cheeks and bridge of the nose.
Seal your model.
Step 5
Now paint the mane and tail with white. You will need to build up several thin layers at the same time.
You might want to add some white markings at this point too.
Now paint the mane and tail with white. You will need to build up several thin layers at the same time.
You might want to add some white markings at this point too.
Step 6
Add a little shine to your model by putting white eye shadow on your models mane and tail.
You will now need to finish the details (hooves and eyes).
Add a little shine to your model by putting white eye shadow on your models mane and tail.
You will now need to finish the details (hooves and eyes).
Finishing
Use a fineliner pen to sign your model on the belly or under one hoof.
Now use a good quality sealant to seal your model. This may take a couple of layers. It should feel smooth to the touch when done but not be shiny.
Now finish your piece by adding some gloss. This horse has glossed hooves, eyes, nostrils and the very edge of his lips.
Now use a good quality sealant to seal your model. This may take a couple of layers. It should feel smooth to the touch when done but not be shiny.
Now finish your piece by adding some gloss. This horse has glossed hooves, eyes, nostrils and the very edge of his lips.
Gallery of Finished Pieces
If you've attempted this tutorial and would like to share an image with us for our gallery please email [email protected]
Make sure to let us know which tutorial you completed and any information (such as your name) you would like included with your picture.
Make sure to let us know which tutorial you completed and any information (such as your name) you would like included with your picture.

