The following tutorial was written in 2013.
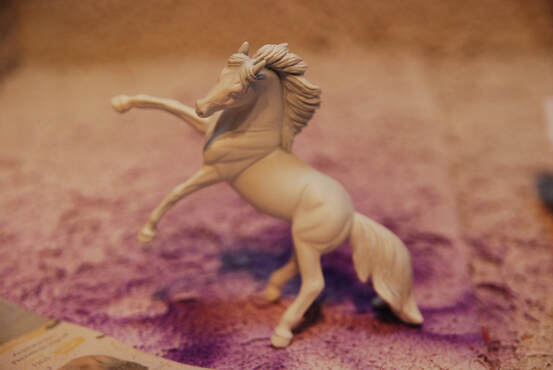
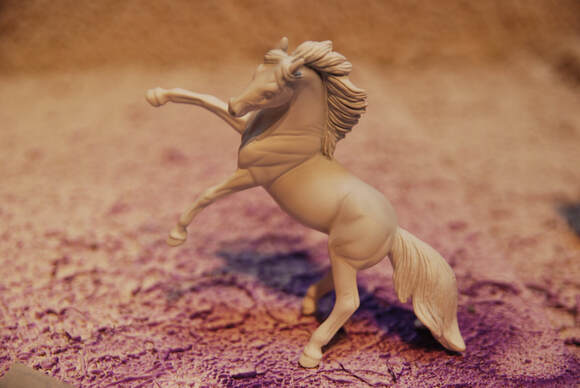
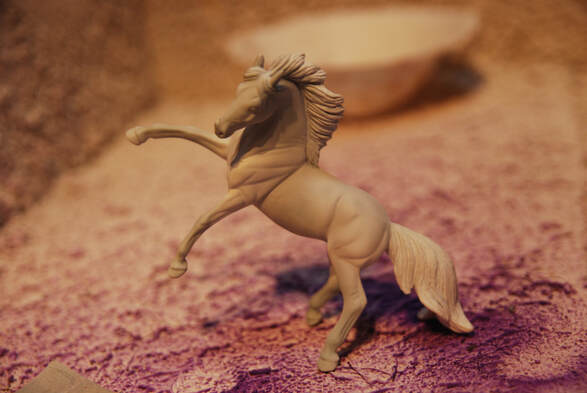
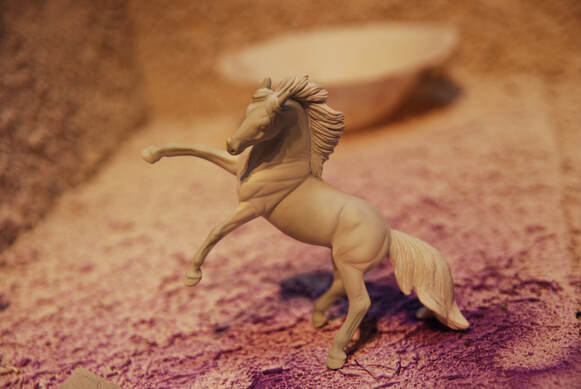
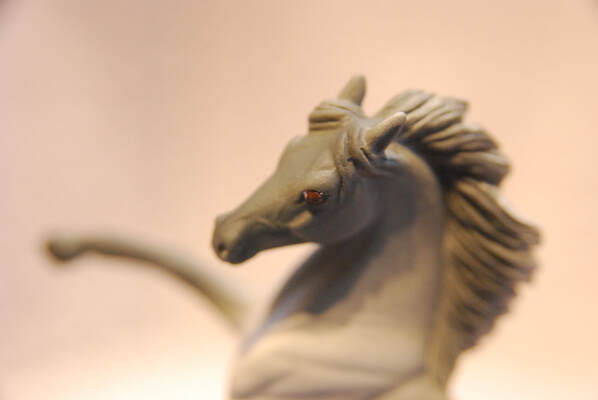
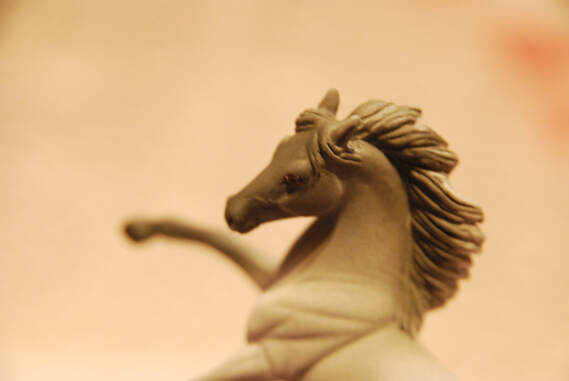
The model used is a Breyer Stablemate G3 Andalusian.
This model was painted using a combination of airbrushed acrylics, pastels and hand painted acrylics. The paint used were from the Citadel range by Games Workshop. Approximate costs are based on you buying all the items needed for this tutorial including brushes and sealant. It is assumed you are painting a Stablemate model horse but this tutorial will work for all scales.
Difficulty Level: Medium
Approximate Cost: £41.00
Shopping List
Paints
Light Grey
Medium Grey
Black
White
Burnt Umber
Gold
Supplies
Set of Paint Brushes
Primed Model Horse
Sealant
Light Grey
Medium Grey
Black
White
Burnt Umber
Gold
Supplies
Set of Paint Brushes
Primed Model Horse
Sealant
The Basics
Step 1
You will need to start with a model horse that has been primed in white primer. If you have used grey primer add a coat of white now.
You will need to start with a model horse that has been primed in white primer. If you have used grey primer add a coat of white now.
Step 2
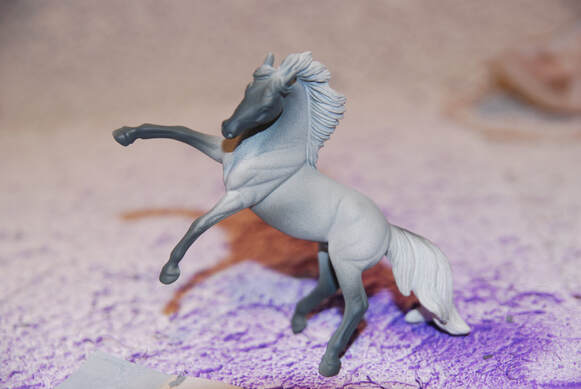
Add a small amount of very light grey paint (you can mix some light grey with white if needed) to the horse's muscle grooves, neck and legs.
Add a small amount of very light grey paint (you can mix some light grey with white if needed) to the horse's muscle grooves, neck and legs.
Step 3
Take a light grey (slightly darker than step two) and apply this to the bottom of the horse's legs (up to the hocks/elbows), genitals, neck, face and topline.
Take a light grey (slightly darker than step two) and apply this to the bottom of the horse's legs (up to the hocks/elbows), genitals, neck, face and topline.
Step 4
Add some 50/50 medium grey/light grey to the neck, muzzle and cheeks.
Add some 50/50 medium grey/light grey to the neck, muzzle and cheeks.
Step 5
Add medium grey to the lower legs, face, top of the neck, topline and genitals.
Add medium grey to the lower legs, face, top of the neck, topline and genitals.
Step 6
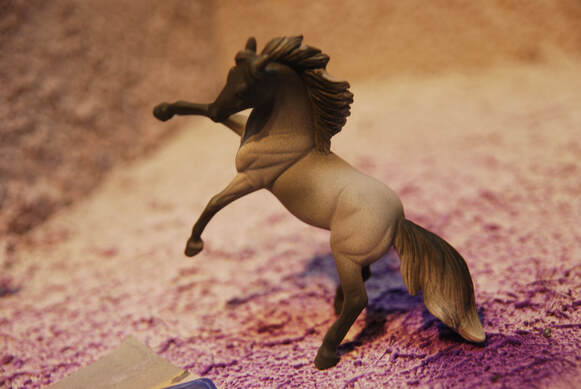
Add black to the head, base of the mane, top of the tail, genitals and lower legs.
Add a small amount more across the horse's barrel, going away from the point of elbow, as shown.
Your base colour is now complete! Make sure to seal your model before working on the details.
Add black to the head, base of the mane, top of the tail, genitals and lower legs.
Add a small amount more across the horse's barrel, going away from the point of elbow, as shown.
Your base colour is now complete! Make sure to seal your model before working on the details.
The Eyes
Step 1
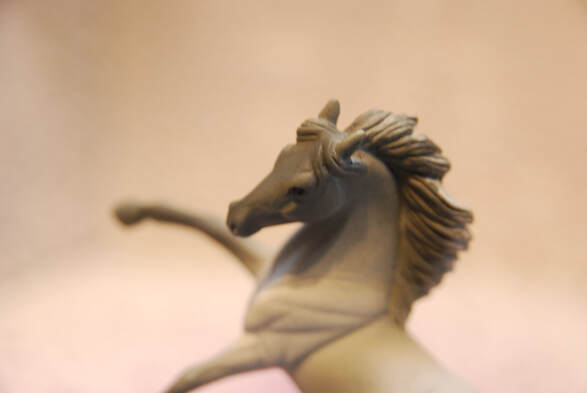
Paint the eyes black.
Paint the eyes black.
Step 2
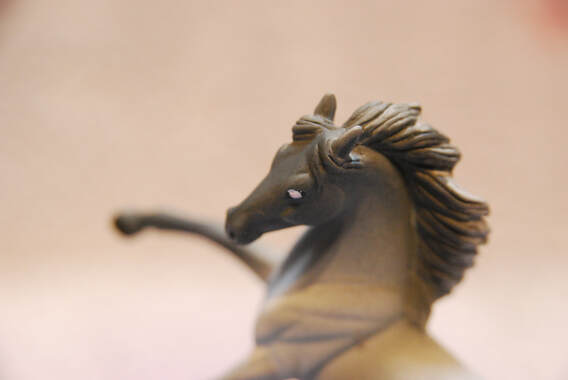
Paint a layer of white over the eyes. Then get a small amount of red and put this in the corner of the eye. Draw it out and mix it with the white. Repeat for both eyes.
Paint a layer of white over the eyes. Then get a small amount of red and put this in the corner of the eye. Draw it out and mix it with the white. Repeat for both eyes.
Step 3
Paint the Iris in burnt umber with a small amount of gold mixed in.
Paint the Iris in burnt umber with a small amount of gold mixed in.
Step 4
Add the pupil in black paint. It should be oblong shaped, not round.
Add the pupil in black paint. It should be oblong shaped, not round.
The Hooves
Step 1
Note: This is for dark coloured hooves only. If you have added white markings you will need to use a light shell colour.
Paint the hooves with a light grey.
Note: This is for dark coloured hooves only. If you have added white markings you will need to use a light shell colour.
Paint the hooves with a light grey.
Step 2
Add a layer of dark grey over the hooves, make sure to leave a little line of light grey visible at the top of the hoof where the coronet band is.
Once your horse is complete seal with with a good quality sealer and gloss the eyes and hooves.
Add a layer of dark grey over the hooves, make sure to leave a little line of light grey visible at the top of the hoof where the coronet band is.
Once your horse is complete seal with with a good quality sealer and gloss the eyes and hooves.
Gallery of Finished Pieces
Finish your piece with a few layers of sealant. You can then gloss the eyes and hooves of your model.
Once done make sure to sign your new custom so that everybody knows it was by you! If you have used this tutorial to finish a model horse why not email us a picture and we can feature it in our completed pieces gallery below.
Once done make sure to sign your new custom so that everybody knows it was by you! If you have used this tutorial to finish a model horse why not email us a picture and we can feature it in our completed pieces gallery below.

