The following tutorial was written in 2010.
The model used is a Breyer Classic Keen.
This tutorial will show you how to carve out ears using a rotary tool (or Dremel to use the brand name commonly associated with it). These come in a variety of prices but you will also need to buy a set of attachements. We use a diamond based attachment for this tutorial but others may also work. Approximate costs are based on buying a non-branded rotary tool and attachment set. Price is based on using a Classic scale body.
Difficulty Level: Medium
Approximate Cost: £36.00
Shopping List
Supplies
Model Horse Body
Rotary Tool (dremel)
Diamond Attachment
Carbide Scraper (optional instead of rotary tool)
Sand Paper
Model Horse Body
Rotary Tool (dremel)
Diamond Attachment
Carbide Scraper (optional instead of rotary tool)
Sand Paper
Tutorial
Step 1
Make sure you have reference of real horse ears to work from. Start by hollowing out the centre of the ear, it needs to be an oval type shape.
Use a diamond attachment on a rotary tool. If you only have a carbide scraper this will also work but doesn't allow you the same amount of fine detail.
Make sure you have reference of real horse ears to work from. Start by hollowing out the centre of the ear, it needs to be an oval type shape.
Use a diamond attachment on a rotary tool. If you only have a carbide scraper this will also work but doesn't allow you the same amount of fine detail.
Step 2
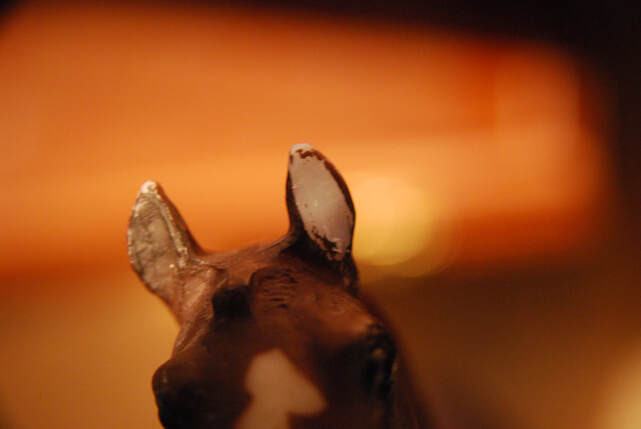
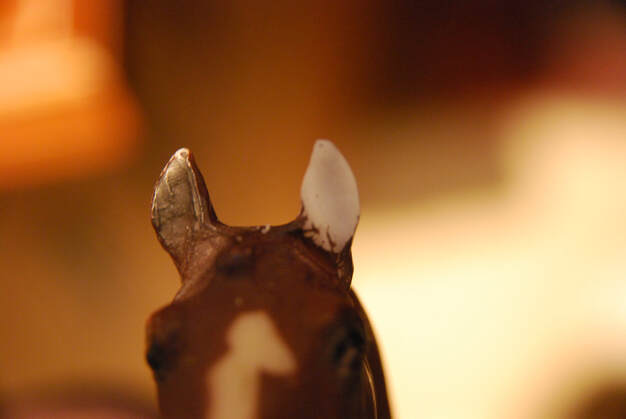
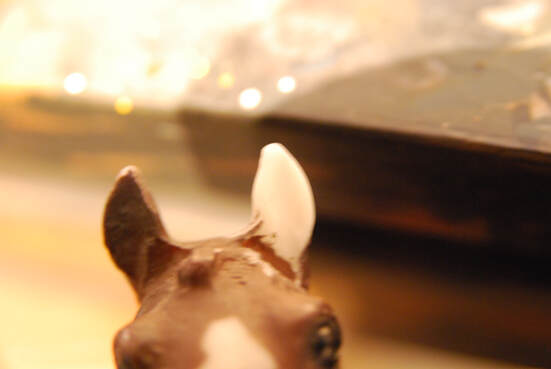
Now add shape to the outside of the ear. You need to create a small dent three quarters of the way up on the inside. Look at the comparison here between the two ears and also at reference to help you.
You may like to change to a more rounded attachment, if not use the side of the diamond attachment to get the shaping.
Step 3
Use a fine grade sand paper to carefully sand down where you have carved out the ear.
Use a fine grade sand paper to carefully sand down where you have carved out the ear.
Step 4
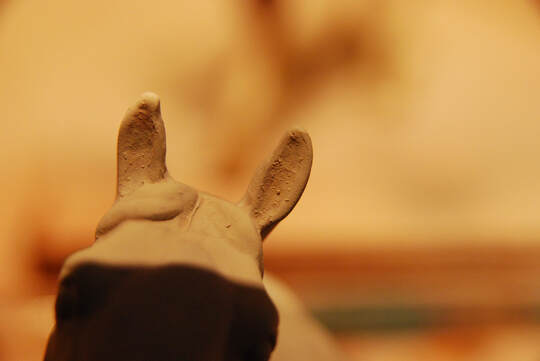
Prime your model to get an idea of any extra sanding that needs to be done. Here you can see it is far from smooth so this will be resanded to get a smoother finish.
Once you are happy with the finish proceed to the other ear. Once done your horse will be ready for painting.
Prime your model to get an idea of any extra sanding that needs to be done. Here you can see it is far from smooth so this will be resanded to get a smoother finish.
Once you are happy with the finish proceed to the other ear. Once done your horse will be ready for painting.
Gallery of Finished Pieces
If you've attempted this tutorial and would like to share an image with us for our gallery please email [email protected]
Make sure to let us know which tutorial you completed and any information (such as your name) you would like included with your picture.
Make sure to let us know which tutorial you completed and any information (such as your name) you would like included with your picture.


